Showing posts with label Not Moving Forward. Show all posts

Wednesday, August 30, 2017

Hello? Hello? Is this mic on? Hello?

Jeez, it’s been so long since I’ve posted I’ve forgotten how to do it.

Have I been beavering away on the refit project? Nope. Are things getting done on the boat? Yes. And no. Do I feel guilty about it or stressed? No.

To really hammer it all home I read the articles in Cruising World magazine by Onne Van Der Wal about purchasing an older Pearson 36, him hauling it into his driveway and spending less than a year doing exactly what I am doing. But really, what he did and the time frame that he completed it in is truly impressive. My new boat refit hero!

So, where was I? Oh yes, finished spraying the gloss topcoat on the decks just before winter shut the painting opportunities down. Nine months have gone by. Almost a year. I had high hopes that with heaters and moderate temperatures I would spend a good deal of time in the shed working on interior projects but that didn’t pan out. Some of it due to the fact that many of the projects involved having the deck hardware back in place. Which I couldn’t do because I had not finished the deck repaint task. The gloss was on and the boat taped in anticipation of applying the non-skid. Temperatures were too cold to apply the Awlcraft 2000 with non-skid so I just left the boat taped and spent the winter watching TV.

No, actually I don’t watch TV. Did go to Sarasota Florida and race in the Corsair Nationals. Trip to California to ride my Ducati with a good friend. Another off-road motorcycle riding week in Utah with my brother and friends. Did the Down the Bay race in May as the “Two" part of the Two-handed race on an Andrews 28 sport boat. We finished first, almost getting line honors but passed by a J-124 in the last mile. Fun in starting conditions of 25 knots, gusts over 30 knots. Back to Barcelona, Slovenia and Croatia for a month. Spent a week on a 54’ Jeanneau in the Adriatic. I wished I had been on our C&C 37, a much finer sailing machine.

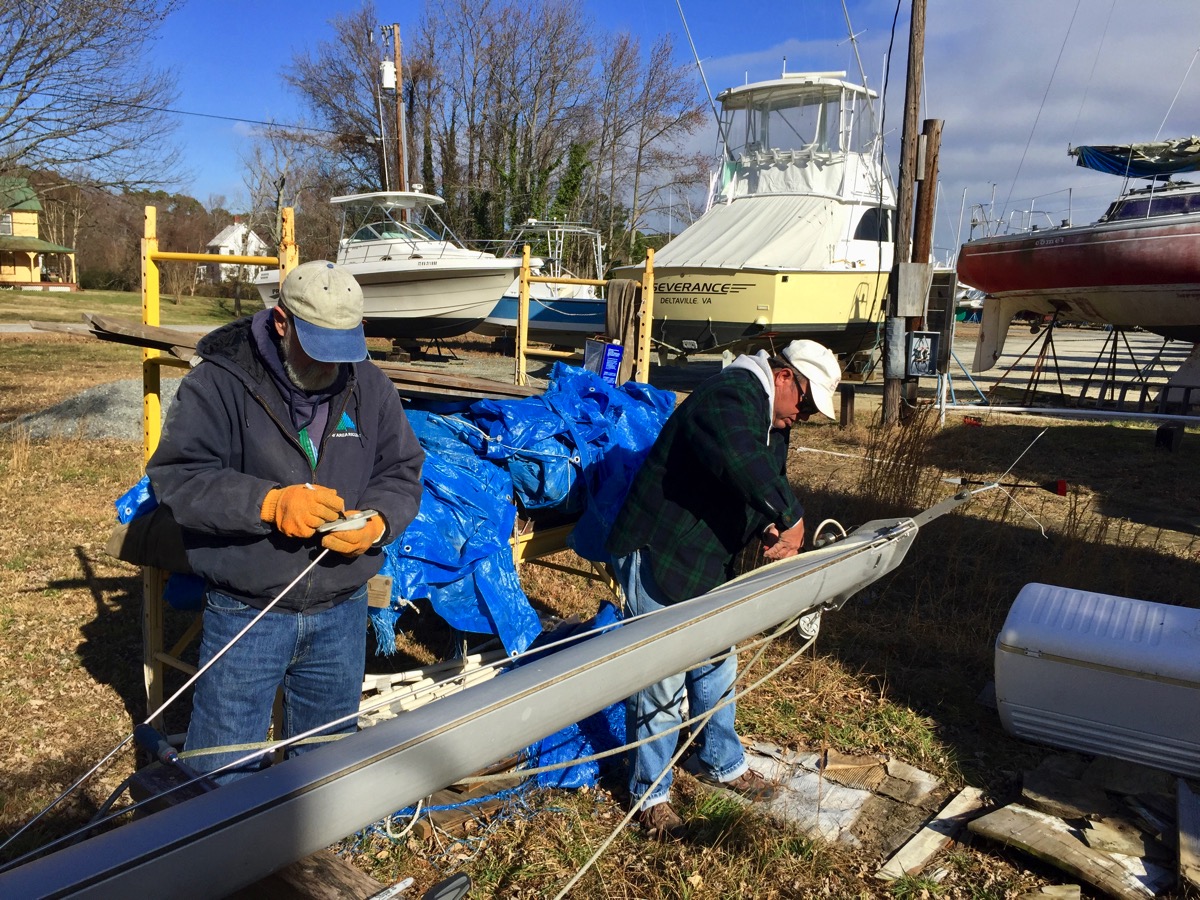
One thing I did do last year was contact a local rigging company and get an estimate on replacing almost all the standing rigging and all of the running rigging and lifelines. We discussed replacing the original Navtec rod rigging with stranded wire, especially in light of the fact that Navtec had just gone out of business. I opted to stay with the rod rigging, especially given that I had already spent a good amount of money on the new tang fittings years ago. 

Pulling the rig apart.

.Fullsizeoutput 421

Old aluminum.

.Fullsizeoutput 420

Having all new rigging is going to give me a good bit of confidence in the safety of our boat. Worth the money and effort.

Next post: The trials of not being an expert spray painter. Or even a moderately good one...


Tuesday, August 16, 2016

Just gotta sweat.

Well, I’ve not had much to post in some time. The weather here on the East Coast has been brutal. A prolonged heat-wave for most of the time. It has been just too hot to work on the boat, either in the boat shed or at my shed.

Which provided me with enough of an excuse to go ride to Ohio and fly out to San Diego and ride my bike in Northern California. Where it was just as hot or hotter. But, “it’s a dry heat…”.

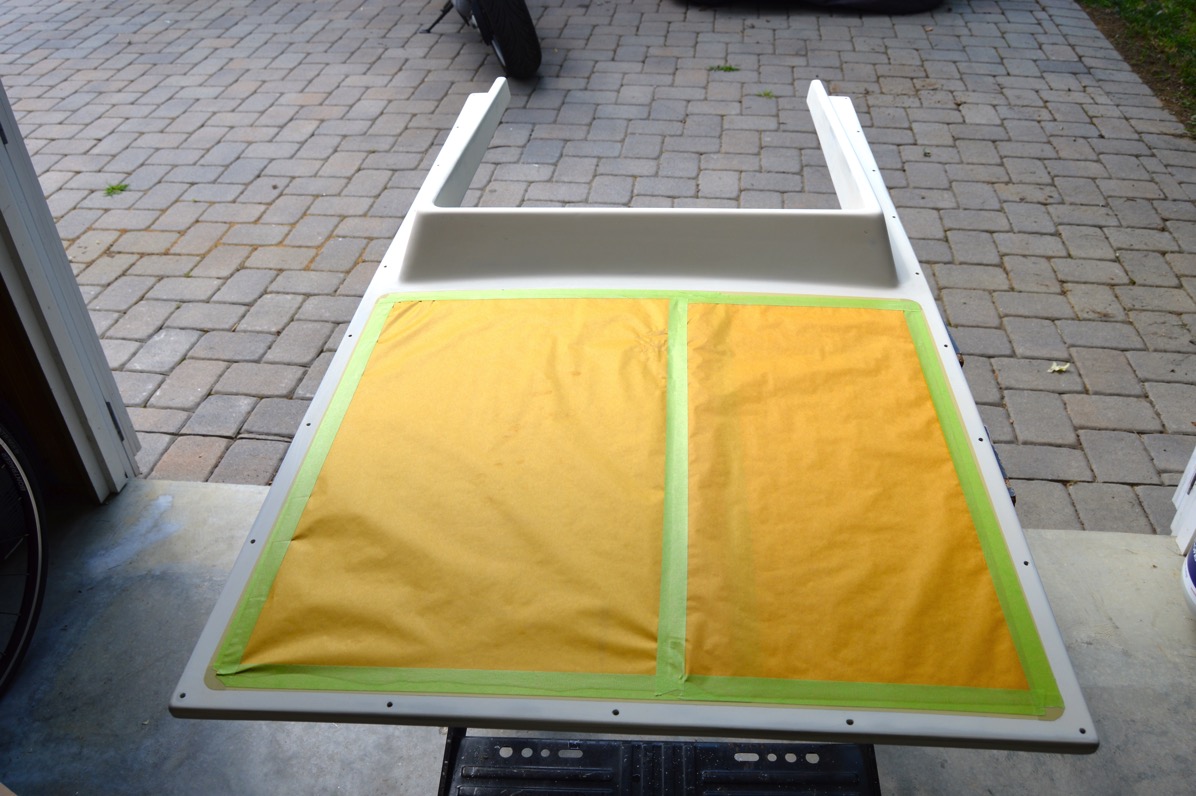
Since the last post I have, over a period of weeks, sprayed the Awlgrip High Build Epoxy primer on the hatches. After letting it cure I sanded with 220 and 320 grit sandpaper prior to bringing out the topcoat. After cleaning the surfaces I masked and taped the non-skid areas in preparation for spraying.

It took awhile but there was finally a morning where the temperatures were in the mid-80’s. I mixed up a small amount of Awlcraft 2000 Matterhorn White and set it aside. After doing the two-rag wipe down of the surfaces I started to spray the exposed gloss surfaces.

The results were okay. There was a minor amount of orange-peel, a couple of sags which I was able to polish out and some small areas where the paint did not flow out enough.

After researching it and showing it my to friend who painted the hull, it is almost certainly the result of too little air-pressure at the gun and not enough material flow.

A week later I re-taped and masked over the gloss coat and prepped the exposed non-skid areas. This time I used a roller to apply the first coat. After about 10 minutes I “salted” the area with a 50/50 mix of fine and coarse Griptex. After letting that sit for about 30 minutes I removed any excess Griptex with air pressure and rolled on a second coat of Awlcraft 2000. Another “Salting” with the Griptex mixture to get an even distribution of particles. After another 30 minute wait and excess Griptex removal I rolled on the third and final coat of Awlcraft.

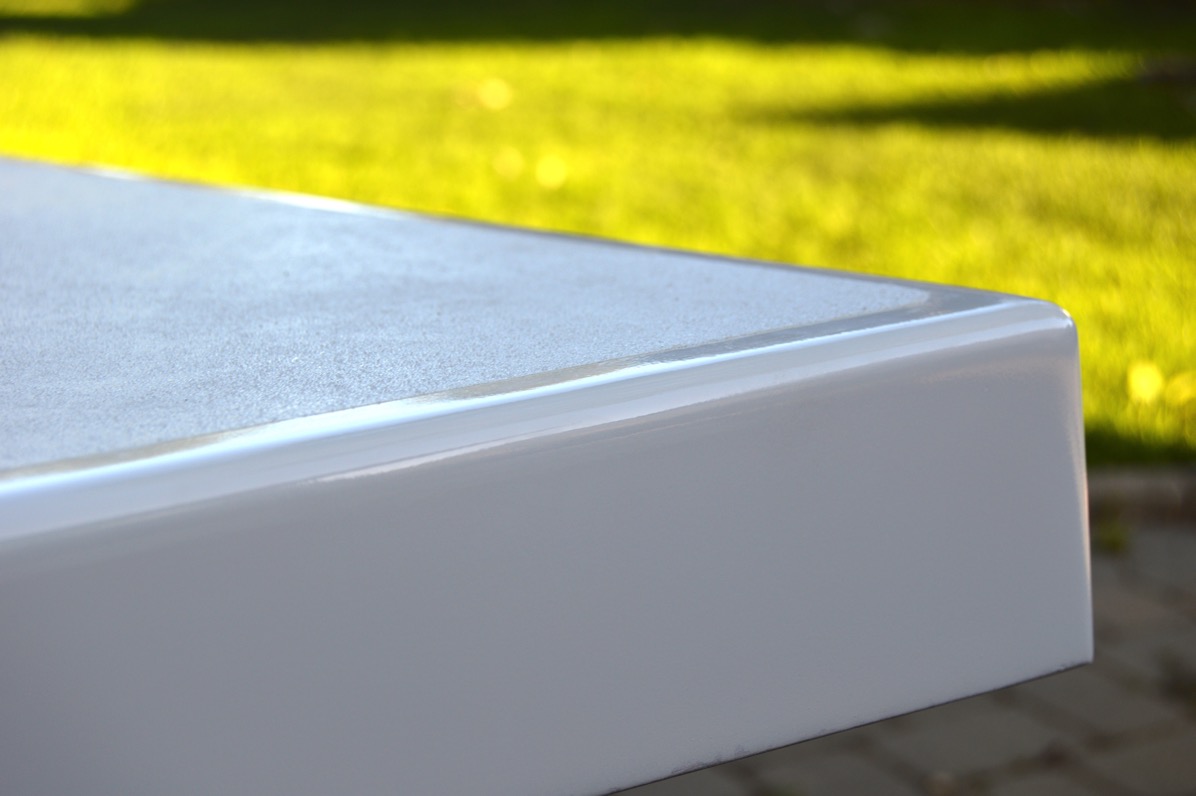
The non-skid areas came out pretty nice. Just the right amount of grip but not too rough.

Prep work.

Find the low spots

Masked

Painting.

Gloss coat done

Finished products.

DSC 0078

DSC 0080

Out in the rain

And trial fitting...

A bit different

Hatch cover test  

DSC 0077

Now I wait for a break in the weather to start in on the deck. Looks like September...

Tuesday, May 31, 2016

The project limps along...

Literally.

Work on the boat pretty much stopped back in mid-April. I developed a pretty nifty infection in a toe on my right foot and couldn’t navigate very well. In addition, I went on my annual week-long trip to Utah to do some off-road riding and pretty much spent the entire time sick as a dog. Got back from that the and the infection in my foot went nuclear. Stuffing my foot into a rigid dual-sport boot was probably not a great move. Multiple doctors visits and antibiotic regimes later, I’m finally able to hobble around a bit.

So, in the past few days I’ve started to get back on track. I still can’t climb around under the cockpit to finish off the work on putting in hoses and thru-hulls for the new bilge pumps but that can wait for a little longer.

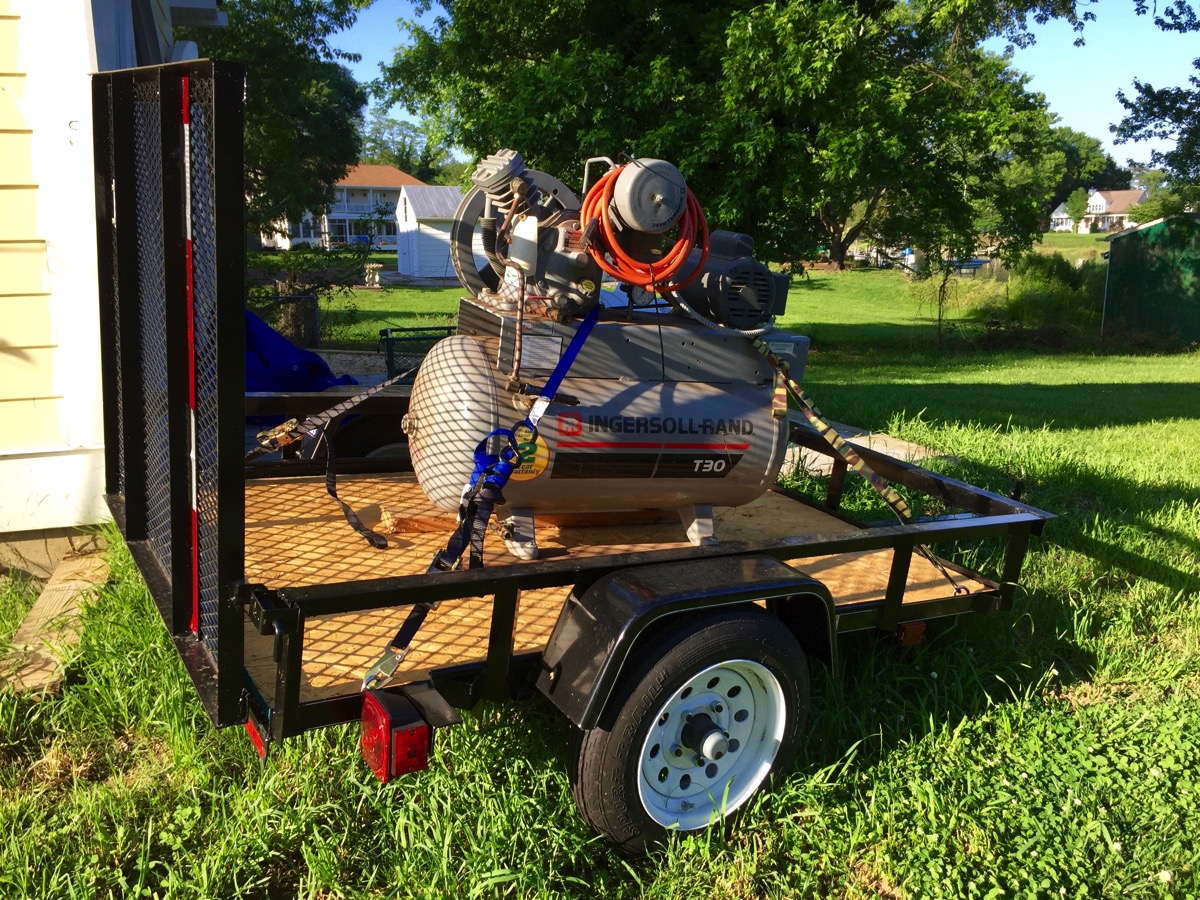
I’ve promised myself that I will have the decks painted by the end of June, come Hell or high water. Finding a suitable compressor for the jobs was a bit of a problem. I needed something that will push a good amount of air and most units require either a gas-powered rig or a big high-volume electric unit. Turns out my brother had a nice Ingersoll-Rand electric compressor in his garage that was collecting dust.

I bought a small utility trailer and on one of my many doctors visits I dropped by my brother’s and got him to load it onto the trailer with his tractor’s bucket. It’s heavy enough that I will not be moving it by hand. With that on the trailer and a powerful gas generator (not enough electric service in the yard…), I should be in good shape. It also allows me to drag it to and from the boatyard and avoid having it go “walk-about” if it were left there.

Should do the trick:

Air pump

I’ve ordered two 50’ sections of Goodyear 3/8” air hose, a 3M PPS paint system and other painting sundries to allow me to start in on the decks. I already have a couple of serviceable spray guns.

With that taken care of I am going back to the yard and starting in the final sanding task, the cockpit. I purposely left that because I knew that I would be stomping all over that area and wanted to wait until last to get it prepped.

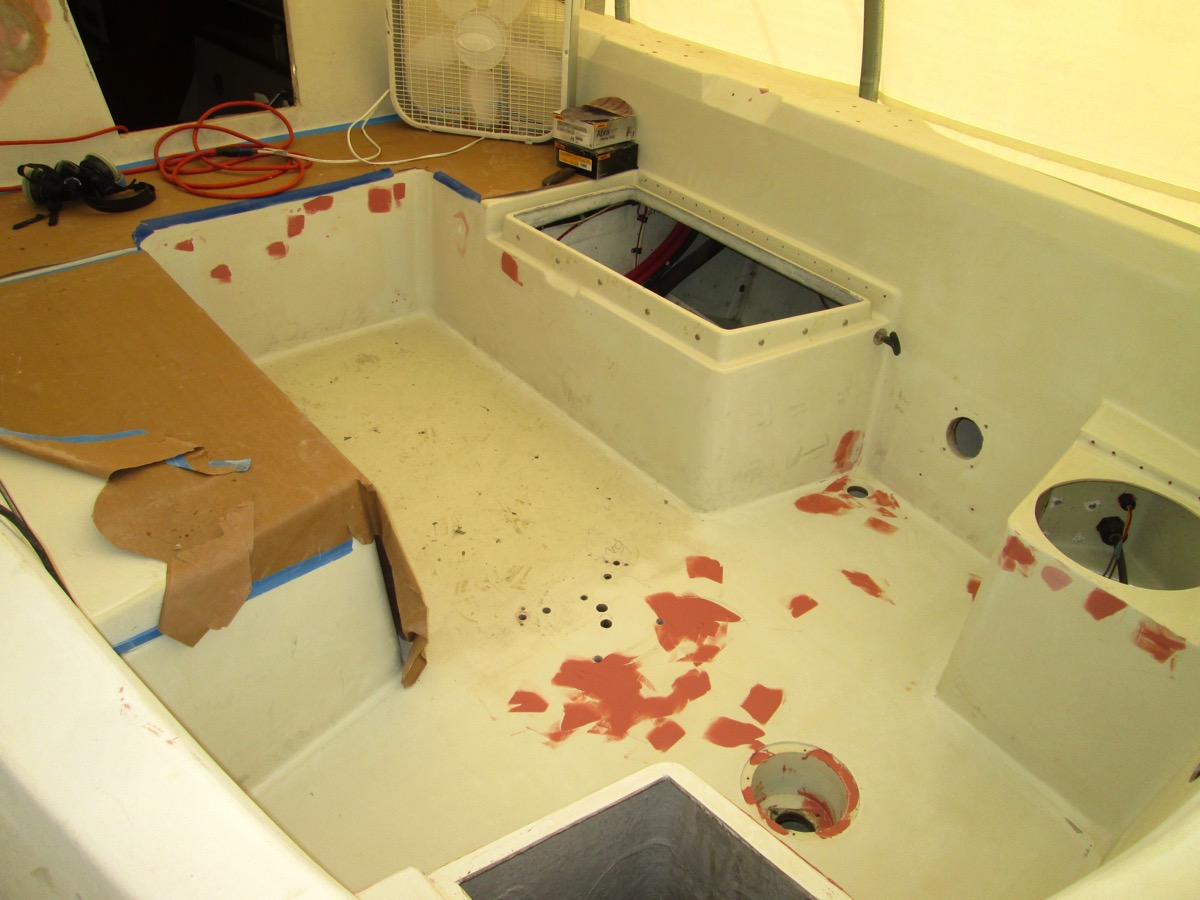
I’ve sanded the vertical gloss areas of the cockpit and am gradually working on removing all the non-skid. As I do this, I’ve been repairing nicks, voids, scratches and cracks. I figure on another 2-3 days of that sort of effort.

I’ve pulled most of the hatches off and will use them to practice painting and applying the non-skid. That taskt will happen behind my shed. That way when I really screw up no-one will see it and I can try it again...

Cockpit sanding:

Back to work

Sand and fair

Removing cockpit sole nonskid

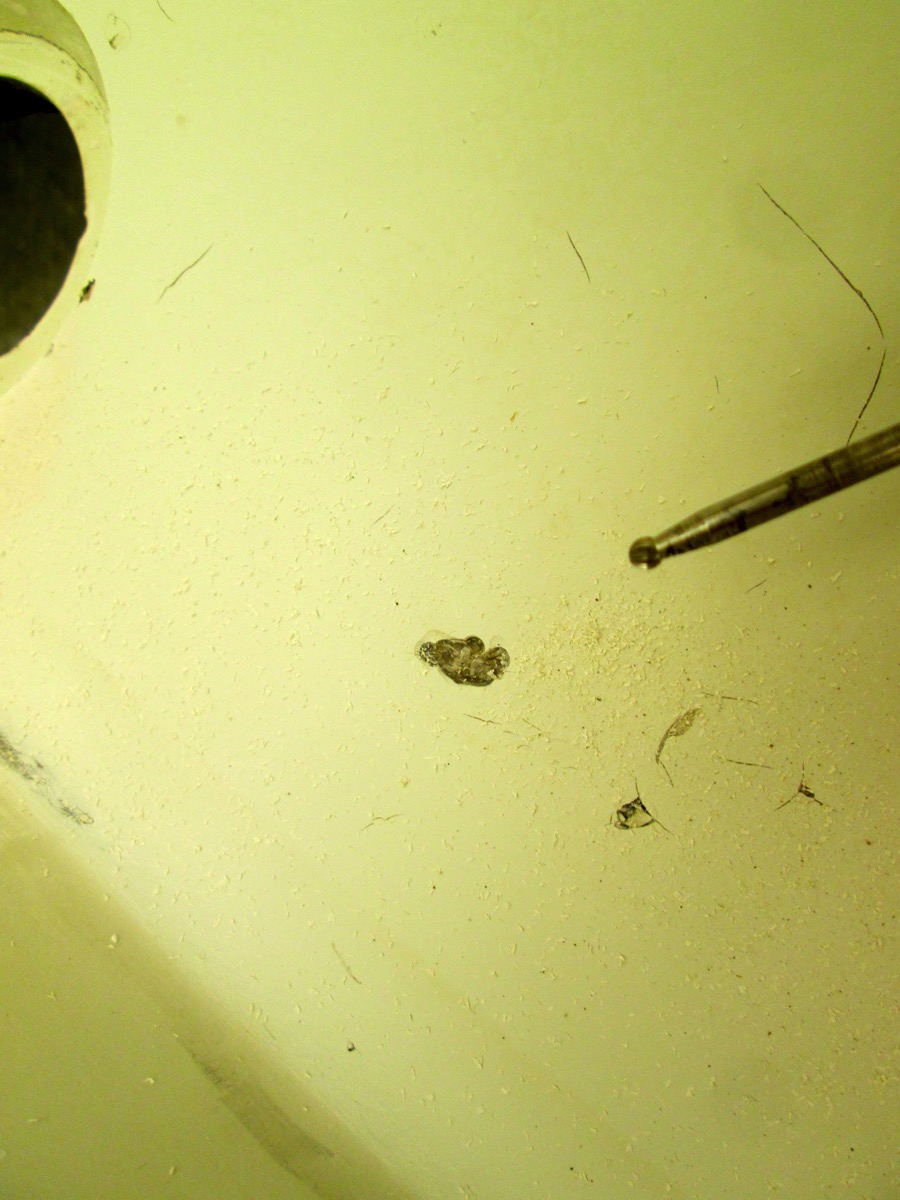
There were a few areas that had some bad glasswork which created voids. Some quick work with the Dremel tool, some Awlfair, sanding and it should be good.

Grind it out.

Grinding bad layup

Voids in the layup

Well, despite the delay, it’s good to get back to work. Next up, ordering the paint...

Monday, November 2, 2015

Things that shift deadlines.

Well, it’s pretty clear that I view deadlines as movable moments.

I haven’t worked on the boat in any real fashion since last August. Even those work sessions were less than highly productive.

My wife took an apartment in Barcelona, Spain for a month starting the last week of August. I flew in on the 1st of September and proceeded to eat and drink my way through the city for the next three weeks. It was my second time there and it is still a wonderful city to visit. A young Marine friend of mine and I rented a couple of Ducati Scramblers and spent two days leaning into turns in the Pyrenees and the Costa Brava. A superb time and a great ride.

After all that I came back, spent four days making sure that things were in order and then took off for a week in Top Sail Beach, NC for my 45th high school reunion. No, I didn’t go to school in North Carolina. Canadian Academy in Kobe, Japan actually but one of the hosts of the reunion live in Top Sail Beach now and it became the destination for the class. Easier to drive to than Kobe...

Came back home from the reunion, checked on the house and cats and then my wife and I flew to Santiago, Dominican Republic for our annual medical mission work. Another week of no progress on “Ronin."

Now I’m getting back to work.

Last week I finished off sanding all the non-skid that was butting up to the base of the toe-rail as the final effort on the deck. Using the Fein Multitool with 80-grit sanding pads worked fairly well. As I was doing this I made a note to run a strip of gloss (non non-skid?) along that edge instead of running non-skid right up to the bottom edge of the toe-rail. Should be easier to shoot and a better look for the finished product. As part of the sanding process I noted that pretty much all deck surfaces were non-skid and I made a note to not re-apply it in areas that have bolts and sealant like I found under the chainplates and jib-track.

80-grit works quite well:

DSC 0013

After that final bit of effort I spent close to a full day vacuuming and cleaning the decks and interior to remove copious amounts of gelcoat dust that was blown in. When I do my next boat refit project I’ll make sure to tape up the ports and openings. No, wait, what am I saying? I will never, ever do another refit….

A light dusting, that’s all really...

Dust Everywhere


Today I loaded up the tool truck with my Makita compressor and a new Ingersoll-Rand 2”/3” high speed sander and drove to the boat.

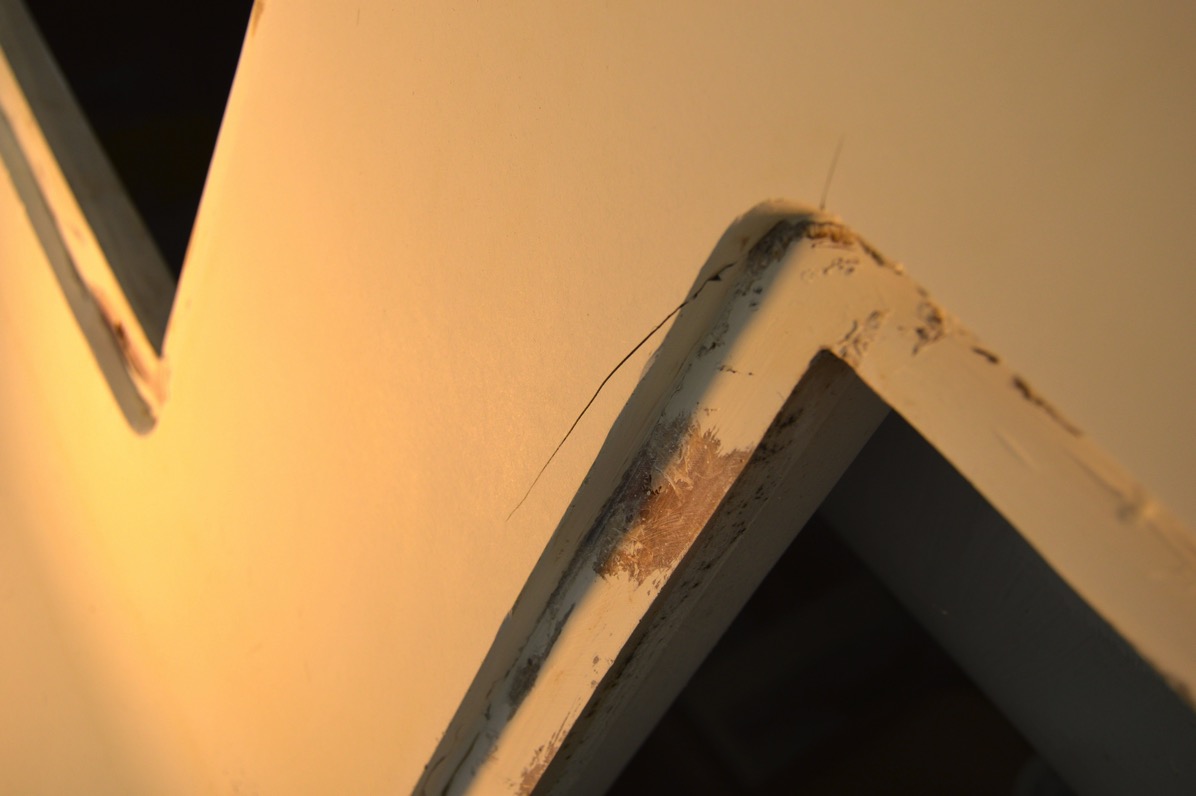
After getting the air-hose led and tool attached I started grinding out the small, hairline cracks that were present on the deck. Most were around the stanchion bases and radiating out from the edges of the fixed ports. There were scratches and gouges from previous work that I had done. Edges and corners that had grooves work by halyards that had run directly across them without any edge protection had grooves down the glass. There were divots from old halyard winches on the deck that had been removed and given a quick fill by previous owners that needed a fairing prior to primer and paint.

Chicken pox.

DSC 0039

The fixed ports required special attention. There were significant spider cracks radiating from the edges in addition to the inner surface that the port glues to that needing fairing compound.

Never looked nice from the day we got the boat.

DSC 0015

DSC 0046

It was messy and I was not doing my best work. The upside is that the AwlFair is easy to sand after setting up so the overall level of effort isn’t much. I tend to under-apply filling and fairing compound and then have to re-fair at least one more time, often several. I’m not efficient that way...

Mix Part A to equal amount of Part B...

Mix Well

The stern edge of the cockpit coaming had some fiberglass voids that needed work. A couple of passes with a very large amount of fairing compound was in order.

Before...

DSC 0006

and semi-after….

DSC 0036

When the fairing application work was done, I still had an hour to go for the day.  Last week I did some research on Lewmar opening ports and decided that I would go with a Lewmar Atlantic 30 port to replace the miserable old round screw-in port that ostensibly provided air to the quarter-berth. After making a template to insure that it would fix, I started in on readying that area for the new port. First thing is to glass in the old opening.

Bringing out my trusty DeWalt small grinder I worked out a rough 12:1 radius surface grind. Later this week I’ll glass it it.

More before and after.

IMG 5518

DSC 0050

DSC 0052

Anyway, back to sanding. But only after I get back from taking one of our cats back to Maryland in the middle of the week for some vet work at my sister-in-law and brother’s veterinary practice. 

There goes that deadline again...

Also, too. Holiday snaps:

IMG 2418

Sunday, May 3, 2015

Working on OP's boats...

I know that I’ve tried to post at least once a week with progress on the refit but as usual other things get in the way.

After getting back from my great Interstate excursion I received an emergency request to assist with timing duties in a weekend endurance (horse) race near West Virginia in the Shenandoah Valley. I spent a Friday, Saturday and Sunday standing in the cold and wet ensuring that the horses coming into the checkpoint were pulsing down to 60 BPM. 

From there I ended up in Arlington for two days attending to some chores and catching up with one of my old bosses and her husband. Truthfully, I’ve enjoyed the days off from working on our boat.

However, that does not mean that I have not been working on boats. I have been. Other peoples (OP) boats...

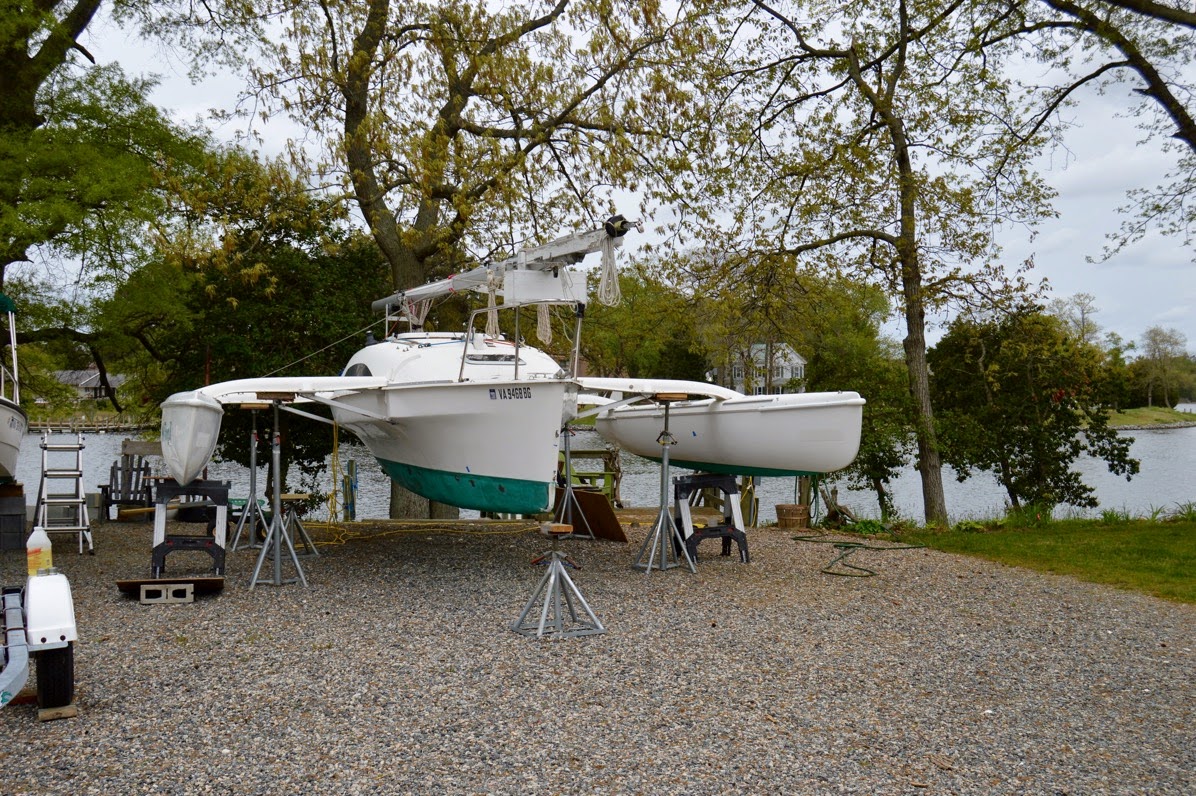
I have two neighbors here in Reedville who have sailboats that either accidentally acquired holes in their hull or needed to have a couple of thru-hulls removed and glassed over. My friend, and the builder of our new home, Vincent has a Corsair F-24 trimaran designed by Ian Farrier that he sails every free moment he has. And I go along with him whenever possible. Flying along at 14 knots in light winds is quite the bit of fun!

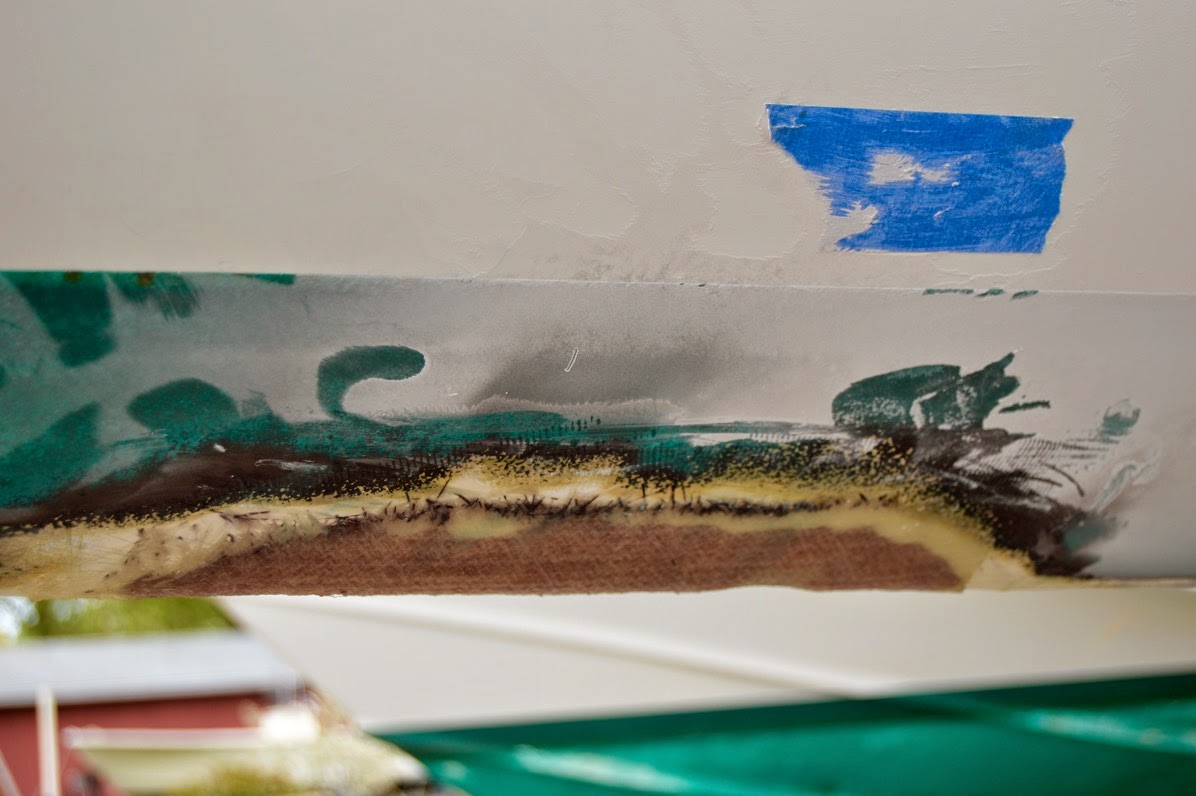
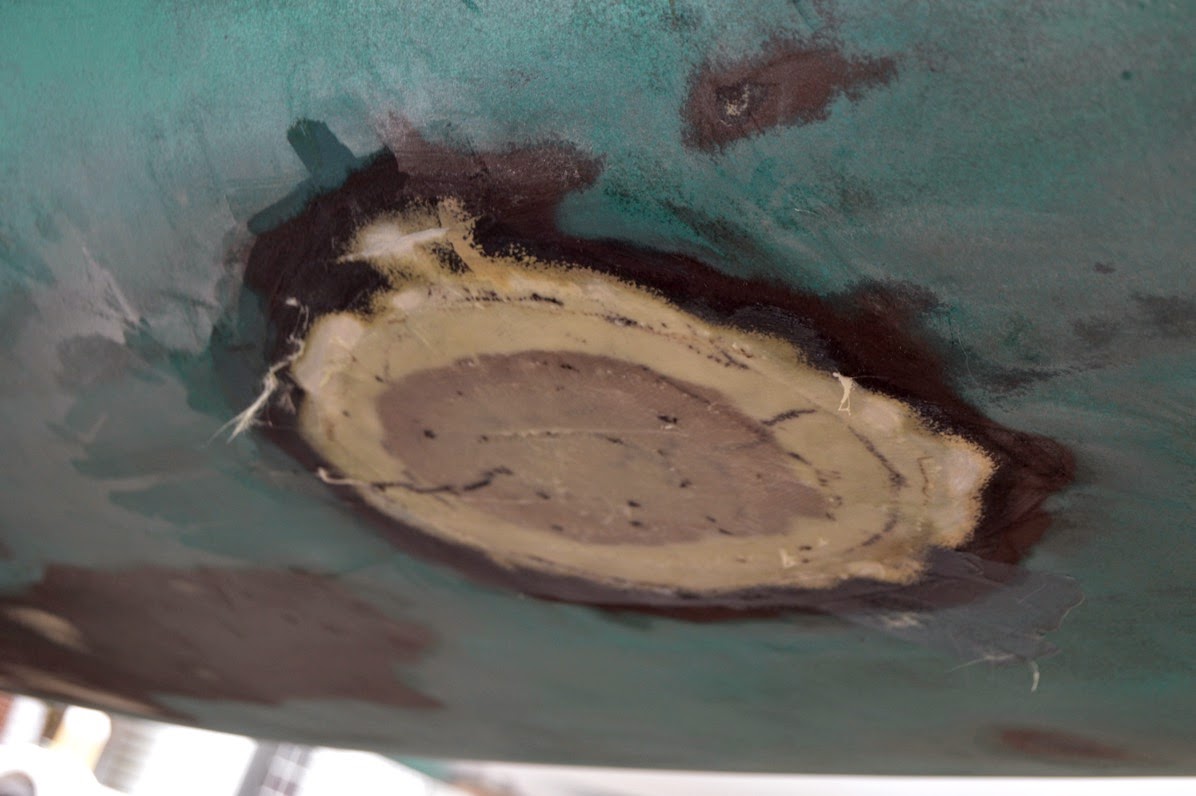
Earlier this spring we had abnormally high winds and during a particularly windy day, his boat was blown of the jack-stands in his driveway while being readied for bottom paint. There was not damage to either of the floats but one jack-stand managed to put a 4” cracking the laminate near the rest of the main hull. Repair work was in order.

After having no luck finding a boatyard that could get to the repair within a reasonable amount of time, we decided to do the repair work ourselves. Over the past few days I have been working on that crack and another one found in the starboard float. Fortunately the damage was not too great and did not extend completely through the laminate. After grinding out the areas I worked up a schedule of 10-oz woven cloth for the punctured hull section and some biaxial cloth tape for the edge of the float. After applying the cloth using a slightly thickened mixture of West System and colloidal silica, I let it set up.  A quick check today when the rain stopped confirmed that the fix was strong and ready for grinding, sanding and finish fairing.

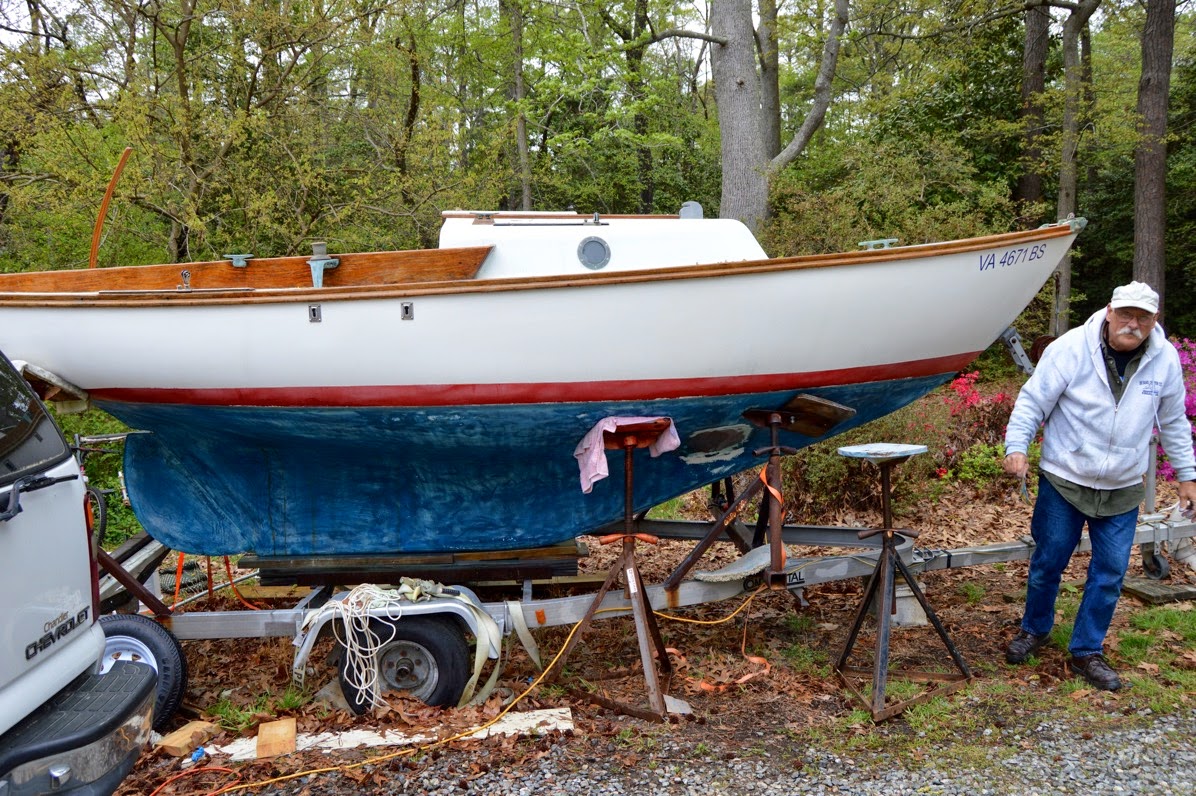
For another neighbor and friend, new to sailing, we removed the non-function head thru-hulls and glassed the holes over. Since the boat will be used for afternoon sails in the creek and out in the Wicomico River, it made no sense to provide for a head. Illegal one at that...

Nice Cape Dory Typhoon with head thru-hulls glassed over and ready for bottom paint: 

DSC 0101

DSC 0103 

Fast Corsair waiting for more glasswork:

DSC 0104

DSC 0107

DSC 0109