Showing posts with label Fabrication. Show all posts

Sunday, April 10, 2016

Houdini, hoses and a box.

Using the list of materials that I put together for the new and upgraded bilge pump systems, I pulled out the credit card and got to the real work. Ordering stuff. I’m good at that. Actually putting the stuff into and on the boat, Less so.

A few days later the hose that I ordered started to arrive. Three boxes of 50’ each, 1 inch, 1-1/8 inch and 1-1/2 inch respectively. With those in hand I cut segments of each and went over to the boatyard and had Charlie order some Scandvik 316 S.S. hose clamps and Ancor cushion clamps. Included in that order was a Forespar Marelon vented loop/siphon valve for the new Rule 2000 bilge pump system. Other orders coming in had new cockpit Marelon cockpit drains, two new Marelon thru-hulls, one for the existing manual Whale pump and the other for new Rule bilge pump. The Whale Super Sub Pump 650 pitched up on my porch too.

Armed with my "box o’ bilge supplies", I started making short trips to the yard to get some measurements and ideas of how to run things. In-between those trips and because the weather in the Mid-Atlantic region has been awful for weeks, I continued to work on the storage box project in my shed.

Taking the sheets of 3/16” FRP I ordered from McMaster-Carr, I cut out the side panels and a floor panel using an old dull table-saw blade. Worked pretty well actually. With the pieces  assembled I “tacked” the structure together using some West System Six10 that I had lying around. With that set up I ran some fillets along the inside corners using Awlfair so that there wouldn't be tight corners that were hard to clean.

Wear a respirator!

Cheap blade

Not enough sides

After getting the entire box put together I started applying strips of 4” tape along the edges to give it some structural integrity. That was a mistake. Trying to get a bond between the glass and the sharp corner was unpossbile. I stopped and set that project aside for later work.

Don’t try this at home.

Fail

So, back to the bilge systems. Like many of the items on the project list, I always assume that the effort required will be, well, effortless. 

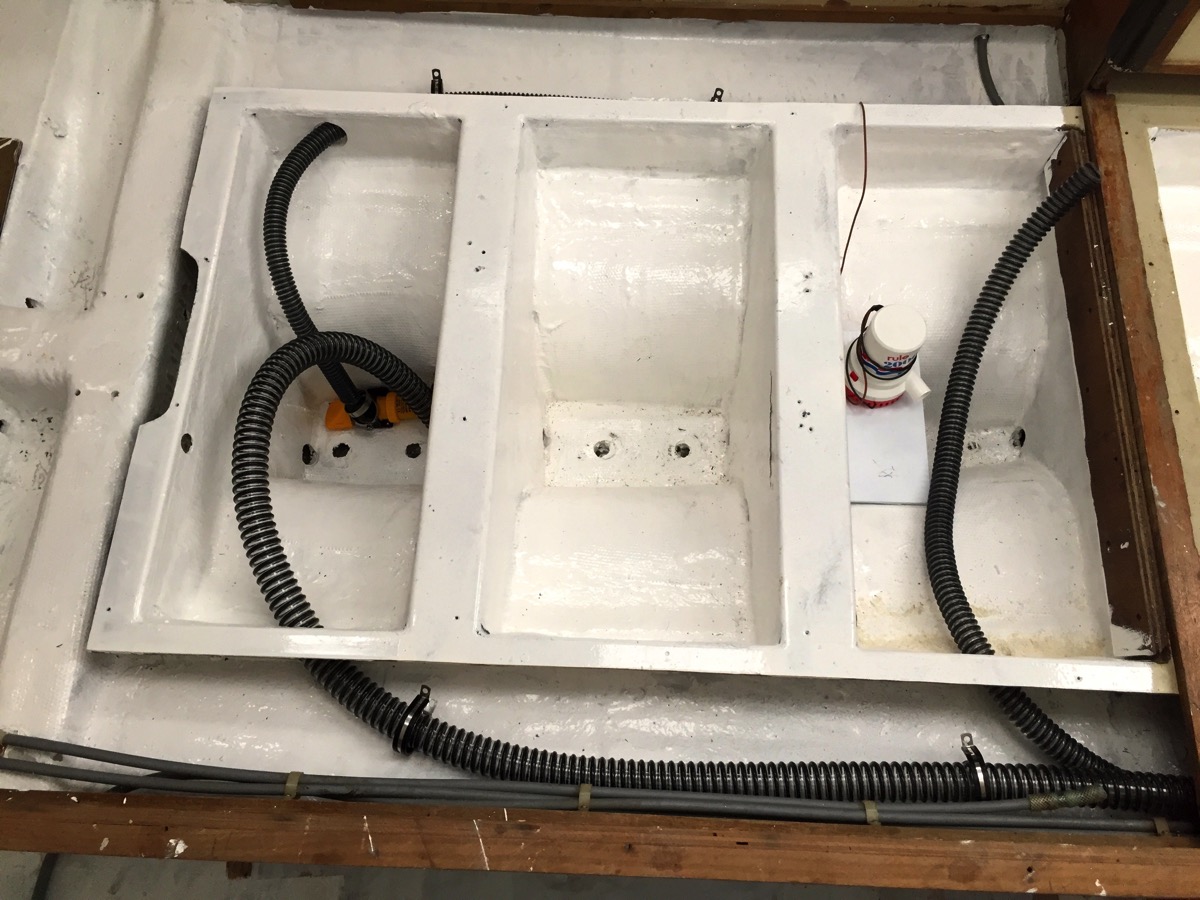
Pulling that new bilge hose put paid to that nonsense. Running the 1” line from the small Whale sump pump, no problem. Running the 1-1/8” line from the new Rule 2000 alongside the motor and aft to the transom, a bit more effort.

Then is was time to replace the 1-1/2” for the original Whale Gusher 10. Lord, that sucker kicked back. With a combination of external ribs, intrinsic stiffness and a very shallow bend angle, I spent 2 hours pushing and pulling. And to make matters worse, trying to run the same route as the original was a bust. Because the new hose was unable to navigate some tight turns it ended up kinking badly. I had to start sawing away at little bulkhead into the bilge in an effort to get a direct line through but that wasn’t going to work no matter what.

I also had to cut the hose in order to get (force) it through that opening. That hose size prefers to run in straight lines. One connector and four hose-clamps later I had the line rum from the front of the bilge back to the pump location near the wheel. And I have the scratched and bloody arms to prove it.

Starting to look okay.

Hole saw work

With the hoses pulled I started to dry-fit the connections and pumps. I placed the cushion clamps to get an idea of ideal locations but will not secure them until later when all the pumps and connections are finished.

Should work.
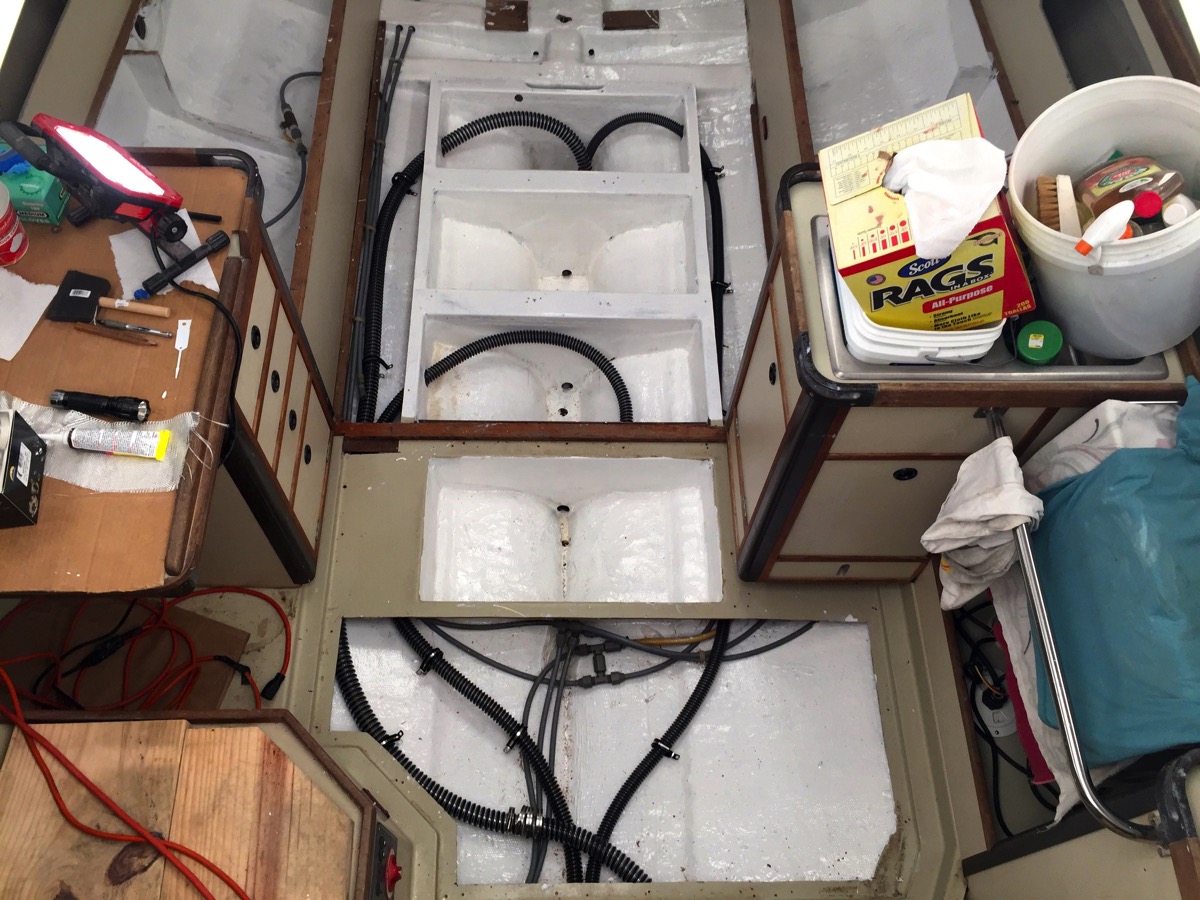
Clamp placement

More dry fitting

The next day I came back to the boat to start in on getting the new bilge pump system (Rule 2000) in order. To do this I needed to crawl underneath the cockpit and get to the stern. I’ve mentioned previously that this requires one be a top-level yoga instructor. And thin.

I grabbed as many tools and supplies that I figured I would need and started to contort and wiggle my way aft. Once there things went well. I pulled the hose and secured it in places with clamps. Those that went into core were drilled and filled with caulk. After that was done I started to figure out the placement of the vented loop. I thought that securing it to the stern would work fine. And it would except for the fact that the mounting screws would poke right through the transom and my new paint-job. Okay, time to stop.

I went home and grabbed some wood, cut and painted it so that the vented-loop screws into it. After the paint drys I will once again make the journey to the stern, epoxy it into place and when the epoxy cures, secure the hose.

Oh, and once that effort is done, I need to start obsessing about drilling a new hole in the hull for the discharge. Oh boy.

It’s stuffy in here.
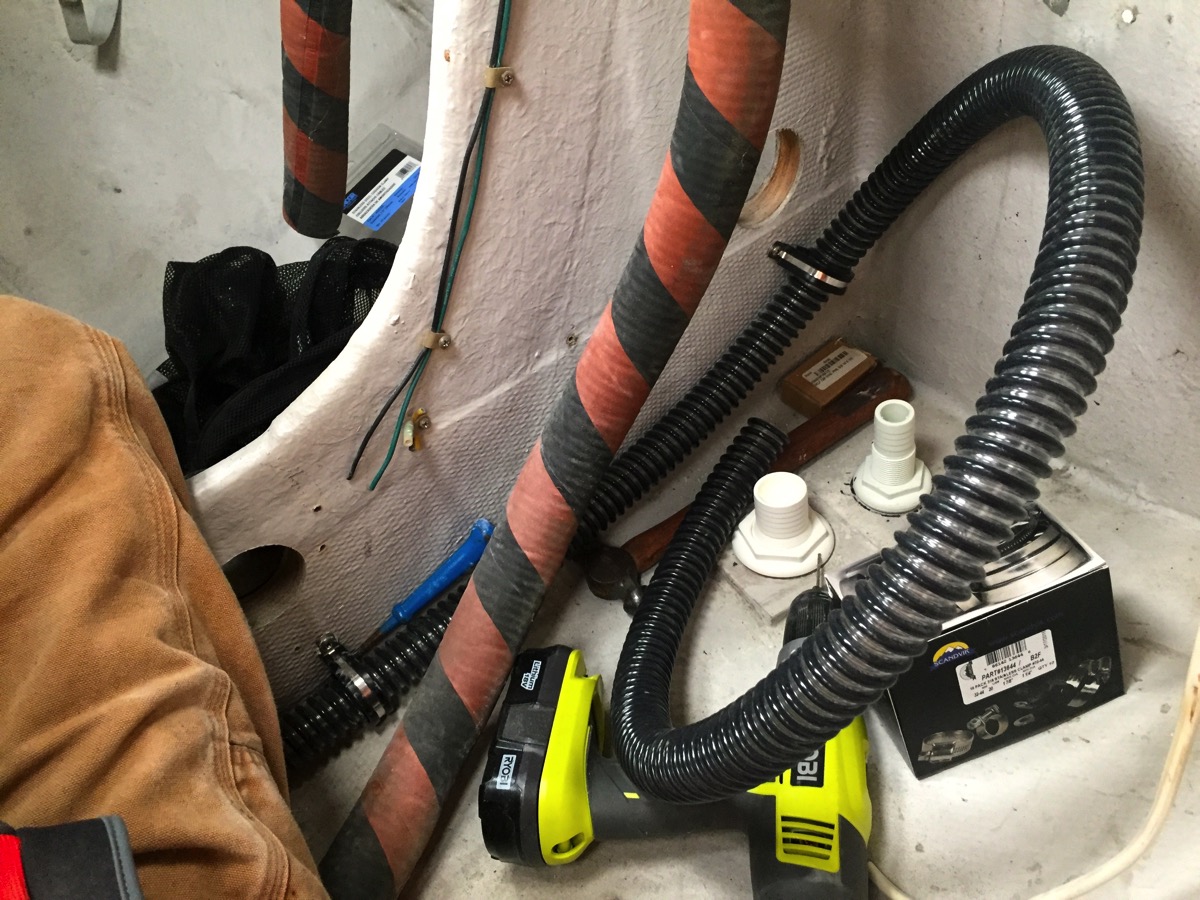
Tight fit


Sunday, March 27, 2016

Planning takes more time than I thought.

Still working on the new and upgraded bilge pump systems. After measuring and climbing underneath the cockpit a week ago I started to finalize my thoughts about how to go about the project.

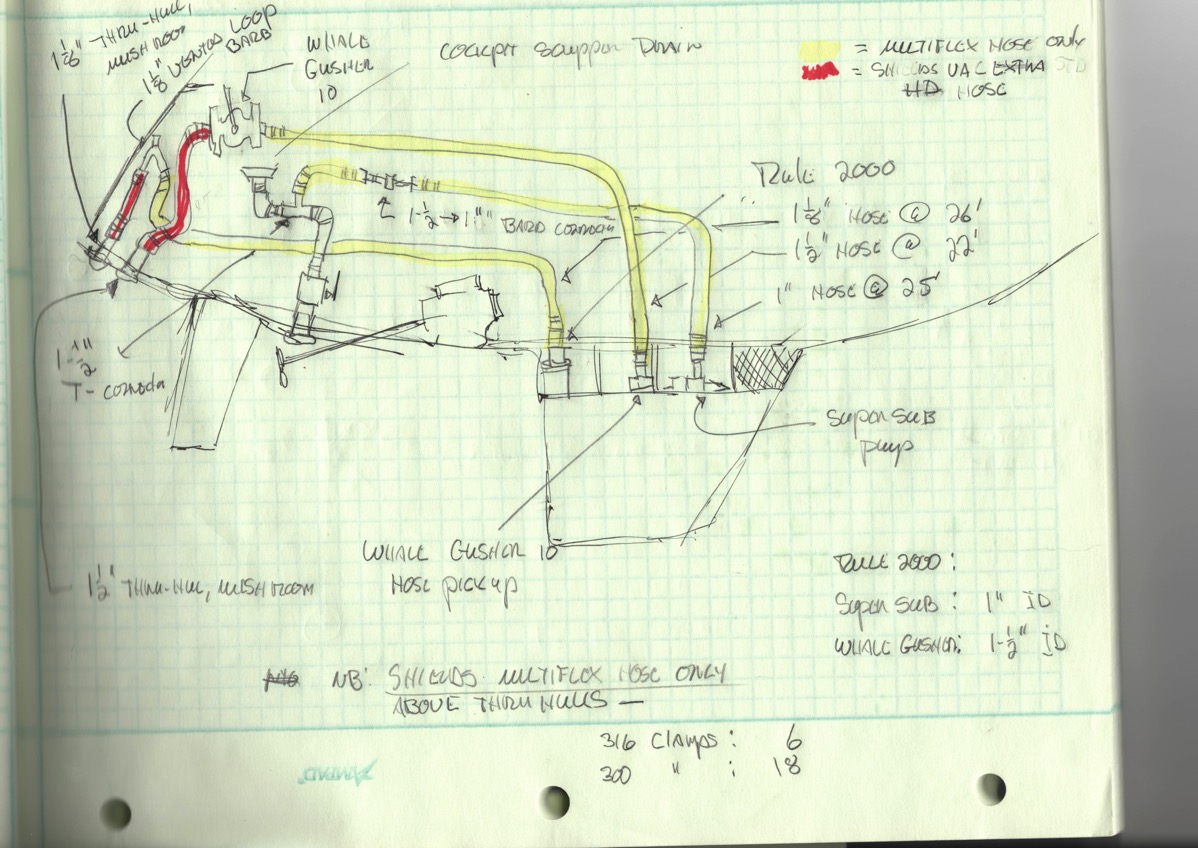
First thing that I knew I needed is a list of materials. I sat down and started with simple line drawings of the 3 basic systems and then got “creative” on the second iteration. In that plan I scoped out each length of hose and its diameter, any connectors and thru-hulls required, the pumps and types of hose clamps. After refining that a few times and finding simple mistakes I had my list of materials.

I gave the list to Charlie at the boatyard in the hopes that I could get some business steered that way but they had a hard time with some of the pricing. So I went out to some of my regular sources and started ordering. I should have most of the items this coming week.

On thing’s for sure, I going to have a good bit of bilge hose left over. In one case it was cheaper to buy an entire single 50’ roll for about 22’ and in another the 50’ roll price was exactly the same as buying 26’, each on a per foot basis. Maybe I’ll have some use for that hose in the future.

Not to scale:

Rough Plan

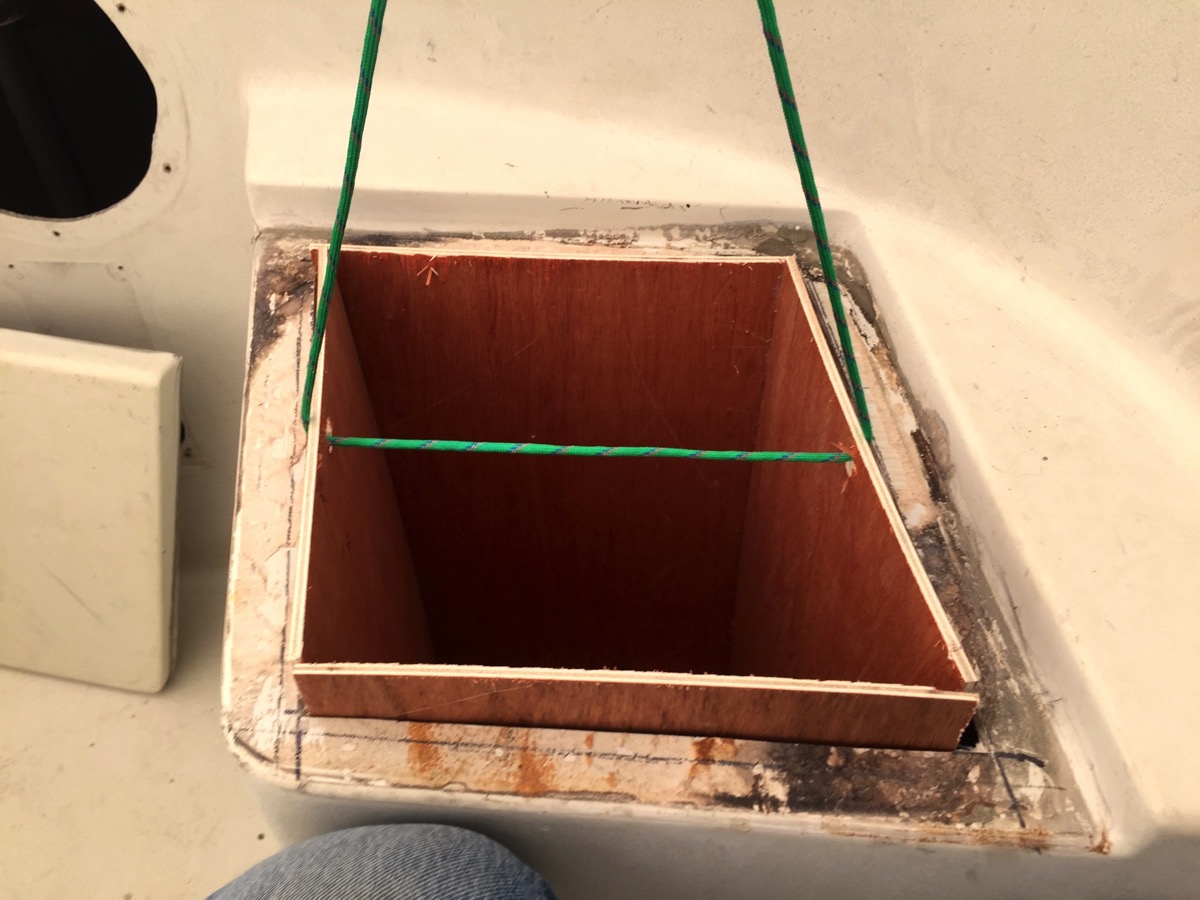
From there I returned to the new storage under the port helmsman’s seat project. I cutout and hot-glued together a box section of 1/4” luan plywood and gave it a quick test fit. It fit, perhaps even a bit loose. Once I was convinced of the feasibility of the modification I ordered up some 3/16” thick FRP sheet stock from McMaster-Carr. That order will show up this coming week also.

Crude but effective:

Scratch built

Slots in nicely:

Don t drop it

The real planning effort, one that I have rolled around in my head for quite some time without any great ideas springing forth is the hardware and rigging updates for the decks. This has to be done before I can start painting the decks and I’m pushing to get that going sometime in late May.

The boat has had a really jury-rigged setup for years and I’ve told myself that I would make it right. The problem is that I am not a really good “ideas” guy with it comes to this sort of thing. I’ve worked with pros and it’s clear that I’m not one.

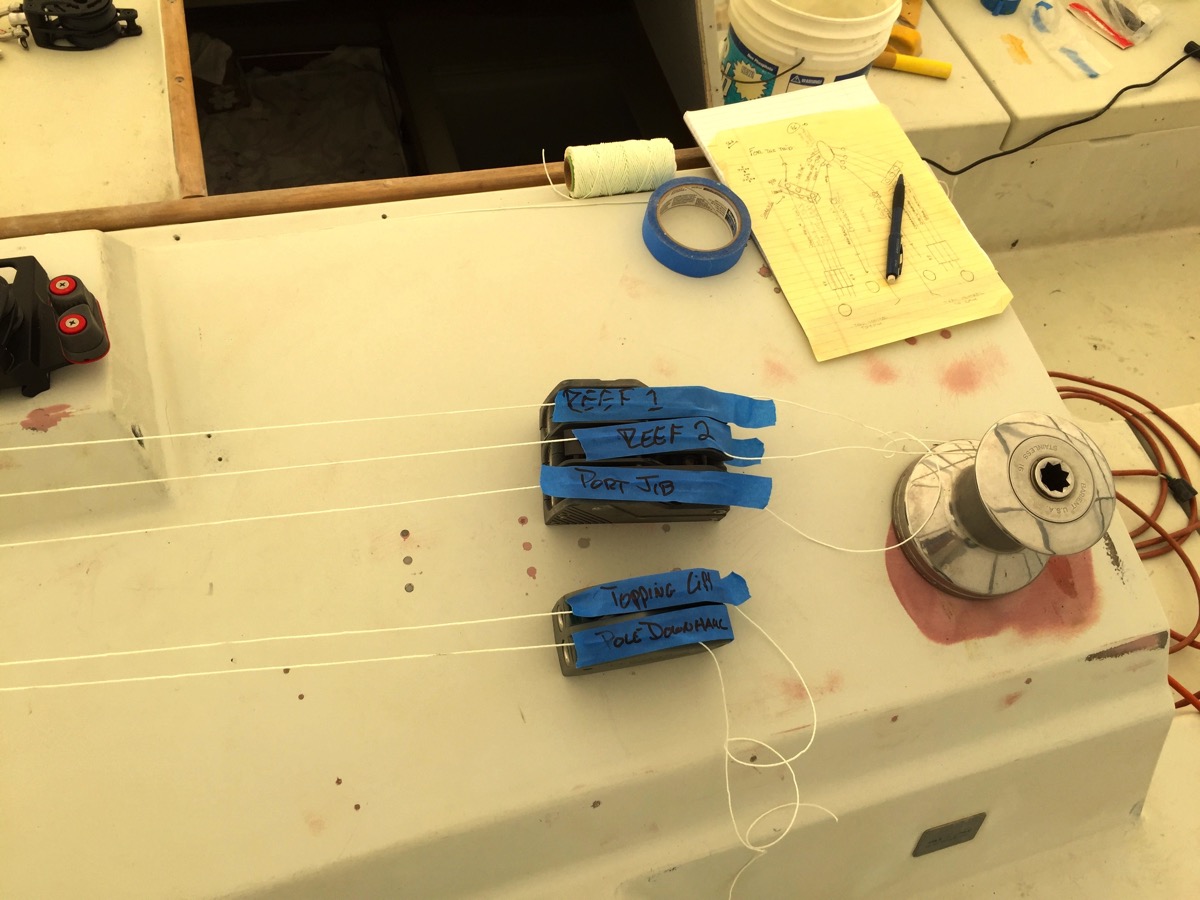
One of my primary goals has been to reduce the number of lines led aft to the cockpit in an effort to reduce clutter. As I’ve said, we don’t race this boat so quick and efficient line-handling isn’t critical. I was hoping to go from four cabin mounted winches down to two. That idea didn’t survive the hours I spent moving loose hardware around and running string to simulate line runs.

In the end, it was clear that I would need to bring the old Barient non-self tailing winches back to their original placement. And here’s the best part, I now have even more lines led aft. Clever...

Just keep at it:

Spider webs

Tape solves everthing

Old winch with blue tape

The way it was

After taking notes on the layout I spent an afternoon working up a rough schematic of the lines and equipment needed. That forced me to undertake an inventory of all the hardware that I had on hand. Some of it came off the boat and some was sitting in boxes in my shed.

Hope I didn’t cross lines:

Keep the costs down

Original hardware from the factory.

Unused old hardware

Some new and some newish:

New and old hardware

When I wasn't working on the boat project I did do some fun stuff.

Ninth Annual Sock Burning Party:

Socks burn nicely

Not quite 16 knots. Next time...

Fast is fun

Thursday, March 10, 2016

So, where did I leave off?

Oh yeah, back to boat work.

I thought that with the fancy boat shed I would be able to get a fair amount done in the dead of winter. Not so much. A week in the Dominican Republic doing our regular medical mission volunteer work only to come back to the Great Mid-Atlantic Blizzard  and then quickly getting on a plane for another week and a half of sitting on a beach in Florida pretty much ruled that out.

February was just too stinking cold, windy and wet. All I did was check on the boat shed to make sure that it was still there and keeping Ronin dry. Which it was and did admirably.

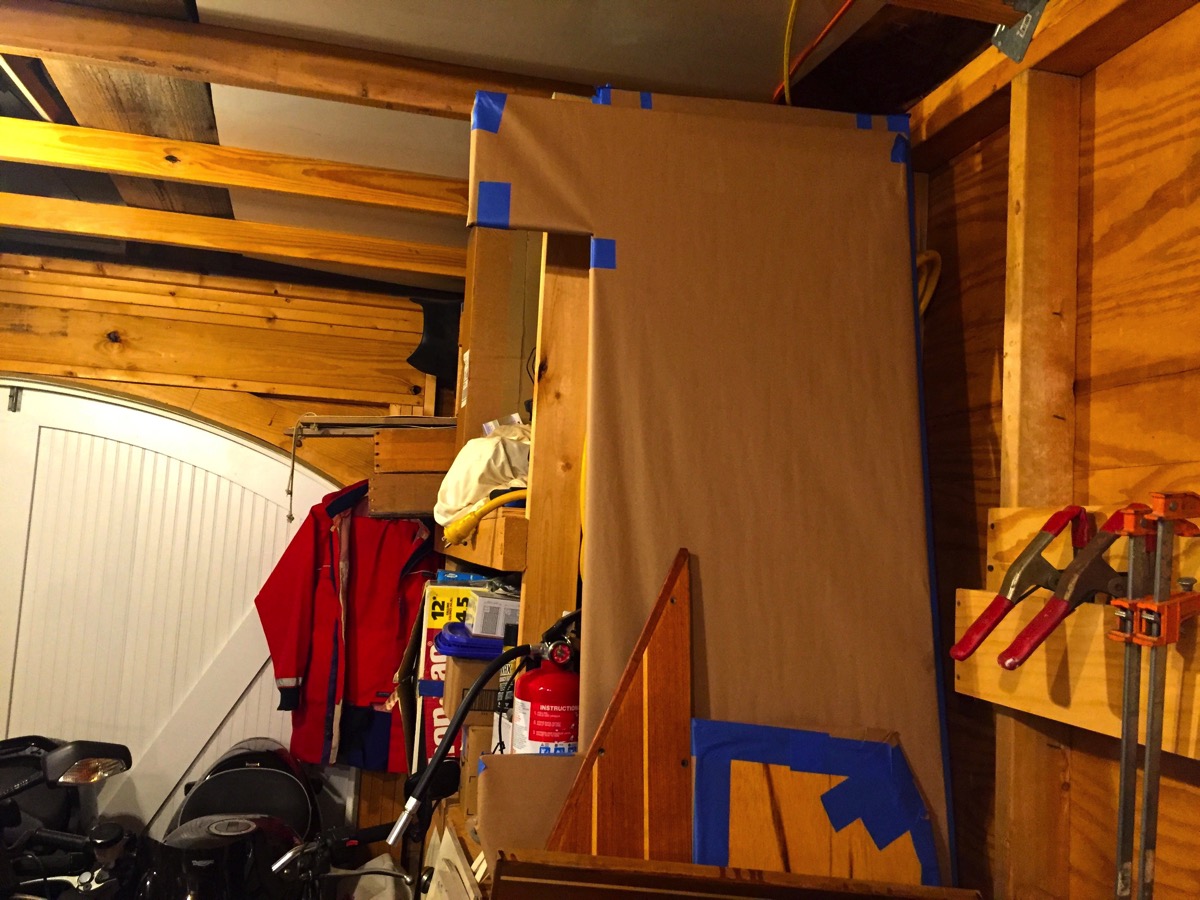
I would occasionally fire up the heaters in my backyard shed and do some small woodwork and varnishing on the final odd pieces of the cabin sole. Tomorrow I will put a final satin finish coat on top of the last piece that goes on the v-berth step, wrap it in construction paper like the rest of the cabins sole, set aside and be done with that project task.

Last bit of cabin sole work:

New V Berth Step

Cabin soles ready to install in some future date...

Wrapped and warm

The past two days have seen near record breaking warm temperatures here on the Chesapeake Bay so I, like many others in the boatyard, got back to work. The first day I did some administrative work, mostly thinking about what tasks to get started on this spring.  I did a quick survey of the mast and took notes for when I get together with a local rigger.

Another item that needs to get started is installing a small capacity bilge pump. I’ve pretty much decided to go with one of the new Whale Supersub Smart low-profile bilge pump. It is not intended to move large amounts of water, rather, to just keep the bilge dry during normal conditions. I worked up a quick wooden mockup to ensure that it would fit in my small, narrow bilge. The good news is that it should fit nicely. I was concerned that it might not fit with the keel bolts.

Replace with the real deal.

Small Bilgepump Mockup

I have not done any sanding or prep work in the cockpit for the upcoming deck painting because I knew that it would be a high traffic area. A lot of dirt and grit gets carried onto the boat so I wanted to wait until the last moment to start in on the task. I have spent quite a bit of time worrying about having a soft balsa core in the cockpit and that I would need to completely rebuild that area.

I spent some time sounding the entire cockpit sole in minute detail today. My ears a still ringing from that effort. But, the really good news is that there is no wet or rotten balsa. Both the sounding and a visual inspection from underneath verified that it is strong. That was a great relief and means that I can “save” at least a month’s worth of work that would have been required to replace the core and fiberglass.

Solid.

Balsa core sounding

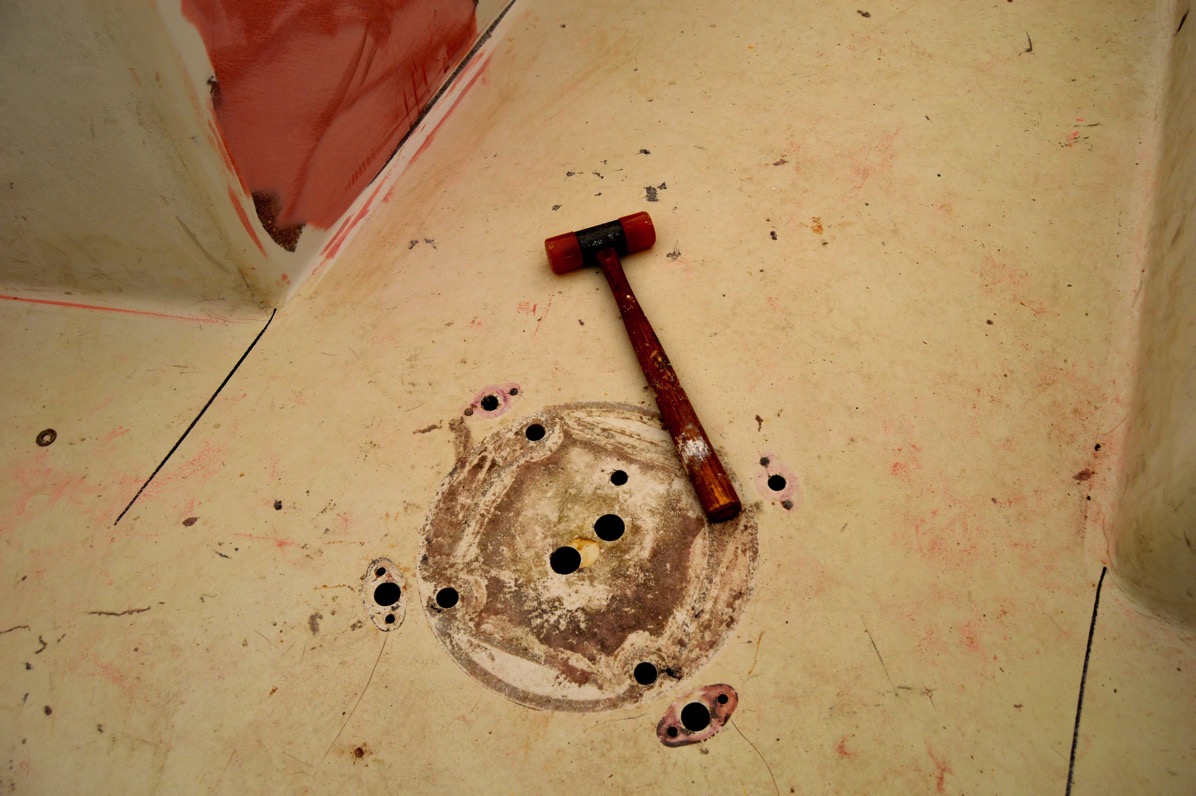
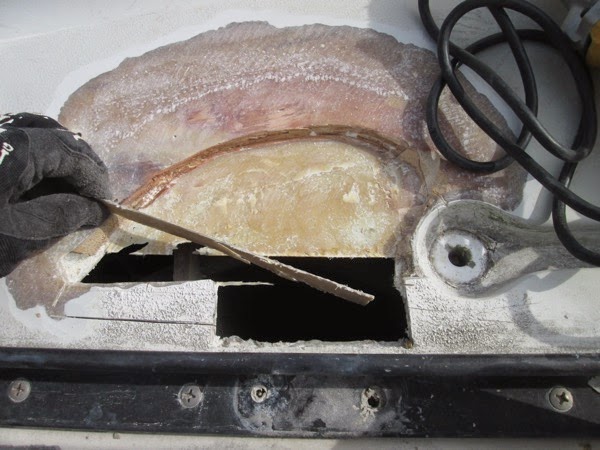
I will need to seal the aft-most two openings that carried the throttle and shift cables when I install the new Edson Classic pedestal that is in the shed. Amazingly the core that was exposed around the holes drilled in the cockpit sole was dry and solid.

Quick verification.

Dry fit new pedestal

While I was at it I applied more AwlFair to the old cockpit/quarter-berth opening on both sides. Standard apply and sand off process. A previous owner had slapped a gob of filler of some sort on the aft bulkhead and it kept bugging me so I sanding it down and faired it too.  I should be done with this job in the next few days.

Pastels:

Old Port Repair V 2 0

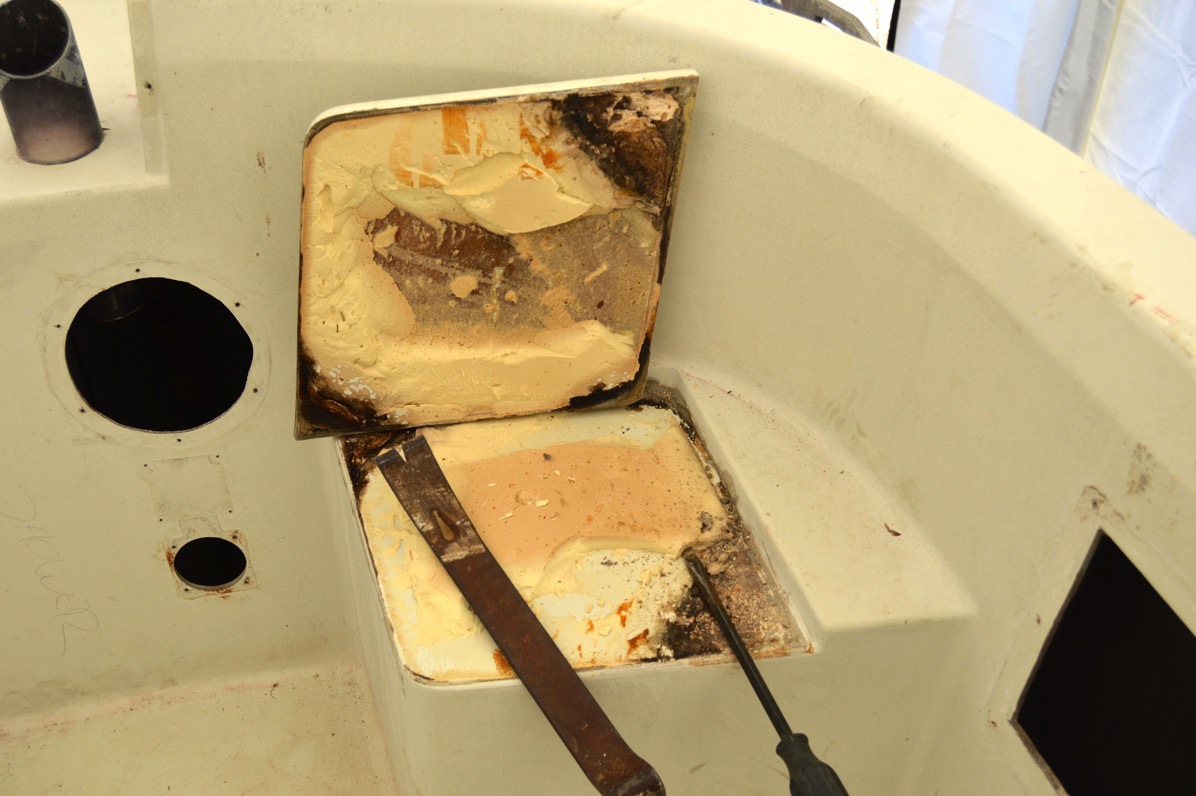
And since I was on a roll, I started to think about doing something with the area underneath the port side of the cockpit driver’s seat. It may have been an option from the factory to put a hinged lid over some sort of storage like  the propane locker on the starboard side but on my boat is was simply glued downed.

So, using tools that usually get me in trouble, I decided to investigate. Fifteen minutes later I had my answer.

Not subtle.

Don t Break It

C&C “stuff:"

Off in one piece

I’m going to work up some sort of storage underneath this. Most likely a removable soft pocket of some sort. TBD.

Looks like an one-hole outhouse...

Starboard pit toilet

Oh, and I did some Frostbite racing in Annapolis last weekend and yesterday put on some shorts and went sailing with my good friend and home builder Vincent on his Corsair 24. Fun.

First Sail 2016Early start.

Thursday, June 4, 2015

Stairway to Heaven...

Earlier I had posted that I was helping my friend, a fellow sailor and a builder, whose company, Ingram Bay Contracting rebuilt/built our house, to fix his 24' Corsair trimaran that was damaged in a Spring wind storm. Looks like my glass work on his boat was worth it.

I knew that if I tried to build a set of stairs it would take too long and probably fall down at an inopportune time.

I asked him if he would draw up some plans and list of limber for a set of stairs that I wanted to build. I knew that over the coming year, going up and down a ladder was not even close to ideal.

After I got the the list and purchased the lumber, Vincent came by to show how it is done. An hour and a half later, I had this:

DSC 0013

So much better.

The Pro (another one…) at work:

DSC 0003

DSC 0006

Sunday, February 1, 2015

In the shed, Week 1.

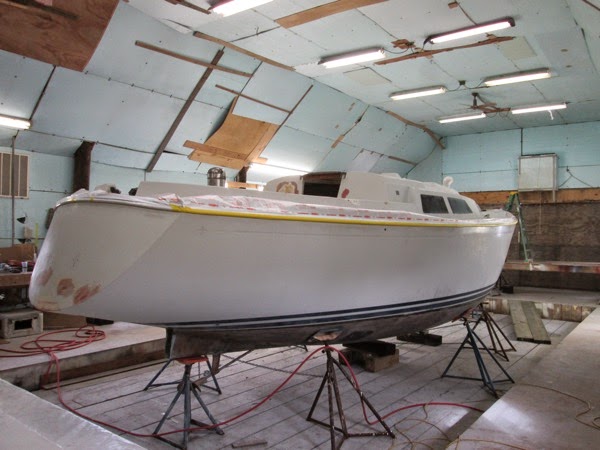
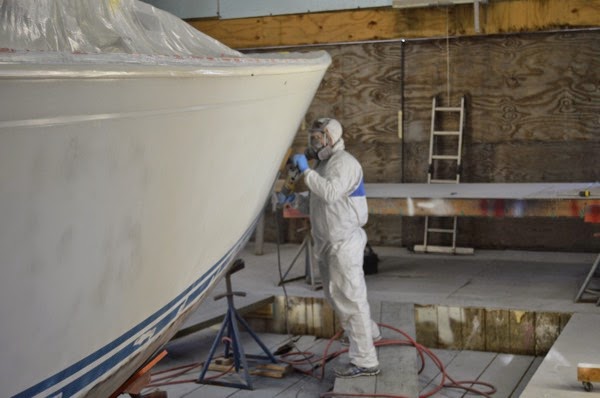
The hull has been in the shed for a week now and Charlie has started in on prepping the hull for painting. When we realized that removing the vinyl rub-rail was pretty much a non-starter, he ran a buffer with mineral spirits along it and despite some cuts and gouges it cleaned up pretty nicely.

The next step was a complete wash of the hull using Mean Green. Afterwards Charlie started taping the boat. Before he completed that I needed to get below the cockpit to look at the layout of the bilge lines and the cockpit scupper drains. This has been an area of annoyance for me since we bought the boat. The main bilge line using the manual Whale pump next to the wheel in the cockpit exits on the port side underneath the stern. The smaller electric bilge pump line snakes up from the bilge, extends over to the starboard side and then “Tee'd” in the starboard scupper drain just above the thru-hull fittings.

When I replaced the replaced the thru-hulls and seacocks some years back, because of the extended height of the seacocks, the hose run from the scupper drains was not direct and had a small sump. Because of this water never completely drained and if there was any debris it often developed a clog. To make matters worse, C&C designed deck level drains with a narrow grove to channel the water to a small scupper drain that led to a 6’ length of hose that, again, did not drain directly downhill. While in theory this seemed a great idea, those drains never did. These lines “Tee’d” into the scupper drains too. A mess.

Up, down and around:

IMG 0881

Going forward I plan on doing three things: 1.) running the electric bilge pump line directly to a new thru-hull near the existing manual bilge pump thru-hull, 2.) capping the two small scupper drains in the deck and removing the lines and 3.) removing the grey polypropylene fittings and ensuring that the cockpit scupper drain hose run downhill and free.

The reason for not completely removing and glassing in the shallow groves is that if in the future the boat is used for cruising and I want to catch rainwater, they can be plumbed to the port and starboard fresh-water tanks using small valves to open the flow after all the contaminants have run off.

The drain and channel; nice idea in theory but...

IMG 0244  Version 2

Manual bilge line running aft:

IMG 0886

After I finished scoping all that out, Charlie continued taping the boat. Afterwards sanding started. He mentioned that the gelcoat was “hard” and that it was taking longer to sand and using sanding disks at a pretty high rate. Oh well. In addition to sanding he spent some time grinding out any cracks and irregularities that he came across.

Taping:

IMG 0892

IMG 0894

Sanding and grinding:

DSC 0031

DSC 0036

An area of resin deficient layup near the bow: 

DSC 0038

Thursday, January 22, 2015

The Hull Starts To Comes Off

Another quick (and sporadic post) after being away from the boat for the past 6 weeks. Holidays, flu and medical mission work in the Dominican Republic. And cold weather.

Anyway, I had the bottom paint blasted off in early January prior to removing the keel.

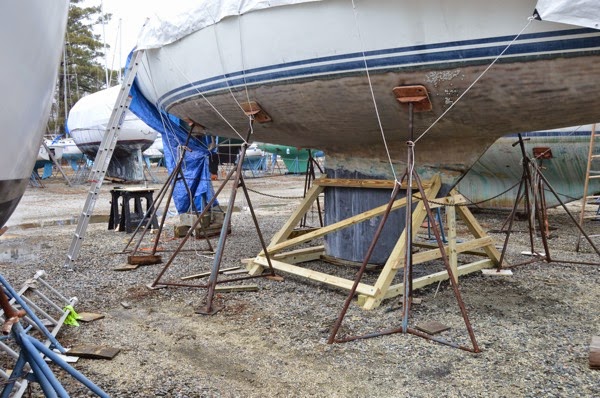
I spent the past day and a half frabricating bracing for the keel. Today we unbolt the keel, remove the rudder although I’m not sure about that one yet, and move the hull into the shed for painting.

Pictures of the bracing for now. 

Made out of pressure treated 4X4’s, 2X4’s and lag bolts.

First draft:

DSC 0043  

Final product:

DSC 0052DSC 0055

I’ll post pictures of the removal tonight. If all goes well...

Thursday, November 6, 2014

Time Shift - Deck Repairs

Since I’m not posting on a continuum here, I thought I’d add a short post about what I found while doing some deck repairs. It was “interesting."

One of the former owners had done or had someone do some “quick” deck repair to the areas radiating out from the inboard ends of the stanchions that are used for the gates. On our boat we have gates port and starboard in line with the cockpit bulkhead. As stands to reason, as people, including me, grabbed them to haul themselves up or just to get aboard, the levering action seemed to have really put a lot of stress in that area. I assumed that the fix involved replacing core and adding fiberglass but that appears to not have been the case. It seems that essentially someone just ground out the stress cracks, filled them in and did a quick paint and non-skid cover.

Port side deck at lifeline gate:

IMG 0829

So after attacking the deck with my trusty grinder I discovered the good and the bad. 

The Bad: It seems that when C&C built the deck it smartly designed it so that the areas that are on top of the hull are solid glass. Good idea in theory. But what seems to have happened is that as the deck layup transitioned/tapered from the core areas to the solid glass areas, the overall thickness of the laminate became very thin. So what happened is that the area was prone to movement throughout. Constant springing whenever the stanchion was pulled on.

I would guess that the total thickness of the deck at the area where it overlaps the hull, just before and under the toe-rail to be at best 3/8” thick. In the area where there was still some coring, in this case some very thin foam, the bottom laminate layup was exceeding thin, maybe 1/16”.

Initial grinding and exposure:

IMG 0813

After cutting and removing the lower laminate schedule:

IMG 0824

So, the Good News: the core was dry! Even the plywood that was used instead of balsa core. Not sure if that was put in at the factory or if it was part of the initial repair. From the looks of it I think that the factory used plywood...

Anyway, I ground out the area on a 12-to-1 radius, based on the thickness of the top laminate layer, cleaned every thing up and formed sections of pre-made 1/4” FRP and epoxied them into place as replacement for the 1/2” balsa core.

First layup:

IMG 0827

While that section was curing, I moved over to the port side. Closer inspection lead me to believe that all that was compromised was the up level of the laminate that have a few stress cracks in it. It seemed to be a good bit stiffer that the starboard side so I decided to just grind out the area and re-glass it.

First look:

IMG 0830

When I was finished grinding and cleaning the area I cut sections of biaxial cloth along with as small section of 10 oz cloth and epoxied them into place.

Layout and epoxiing:

IMG 0835

IMG 0836

More to come after the epoxy sets up. Waiting for the rain to stop...