Monday, November 9, 2015

Repetitive Stress Injury (RSI) and (bonus!) wooden boats.

I have been doing quite a bit of sanding, primarily using my Mirka Ceros 6” DA sander on successive applications of AwlFair filler. I’ve been doing so much of it that my left forearm is beginning to exhibit some of the symptoms of RSI. Makes sense I suppose.

Nothing terribly interesting to report as far as the work goes. I continue to fill and sand and fill and sand. One of the things is the disturbingly large number of spots that I miss. I’ll work my around the deck, inspecting and marking potential spots for grinding and filling. After finishing that process and then coming back the next day to sand I am continually finding cracks in need of grinding that have been missed. Worse are those spots that I have ground out and completely missed when it came time to apply the AwlFair.

Nonetheless, although it is fairly uninteresting work I am making progress. I think that after a few more passes on the deck I will be ready to cover them with the construction paper I bought earlier this week. Since it is pretty certain that I will be shooting the primer and topcoat sometime next Spring I want to try and keep the decks dirt, grime and grit free as possible.

Second pass with AwlFair.

DSC 0005

Filling large depressions and bolt-holes.

DSC 0009

Interestingly, in the picture shown above, the large area filled in with AwlFair is a slight depression in the deck that contained one of the original winches, in this case for the mainsheet. I’m assuming (and hoping…) that it was designed in from the factory. The same thing occurs on the port side as well.

The original control setup that I inherited was comprised of four non-self-tailing winches arrayed across the cabin top to work all the halyards and lines that were led aft. Early on I ditched two of the old Barients and replaced them with Harken 40 aluminum self-tailers. When the boat is put back together I am completely re-designing the layout of the lines led aft. A reduction in the number of lines is high on my list but that’s a chore left for later. Bottom line is that all the used and un-used holes in the deck will be filled, faired and painted over.

The port side after board sanding.
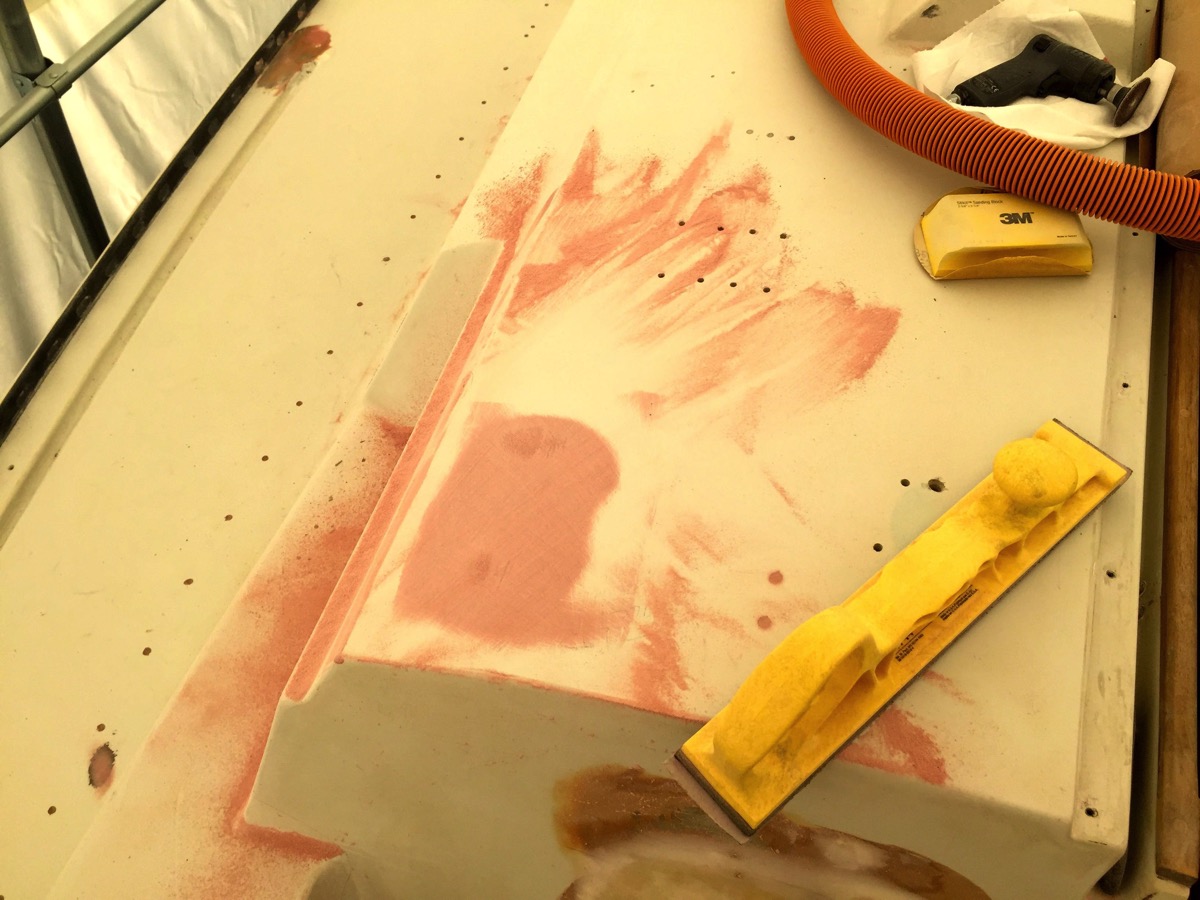
IMG 5563

After that session more filler went on. Before leaving for the day, after cleaning up my tools and equipment I decided to just sit and ruminate. Catch up on progress and to-do notes for the project.

Does this qualify as a “man cave”? Not with that pink chair...

IMG 5569

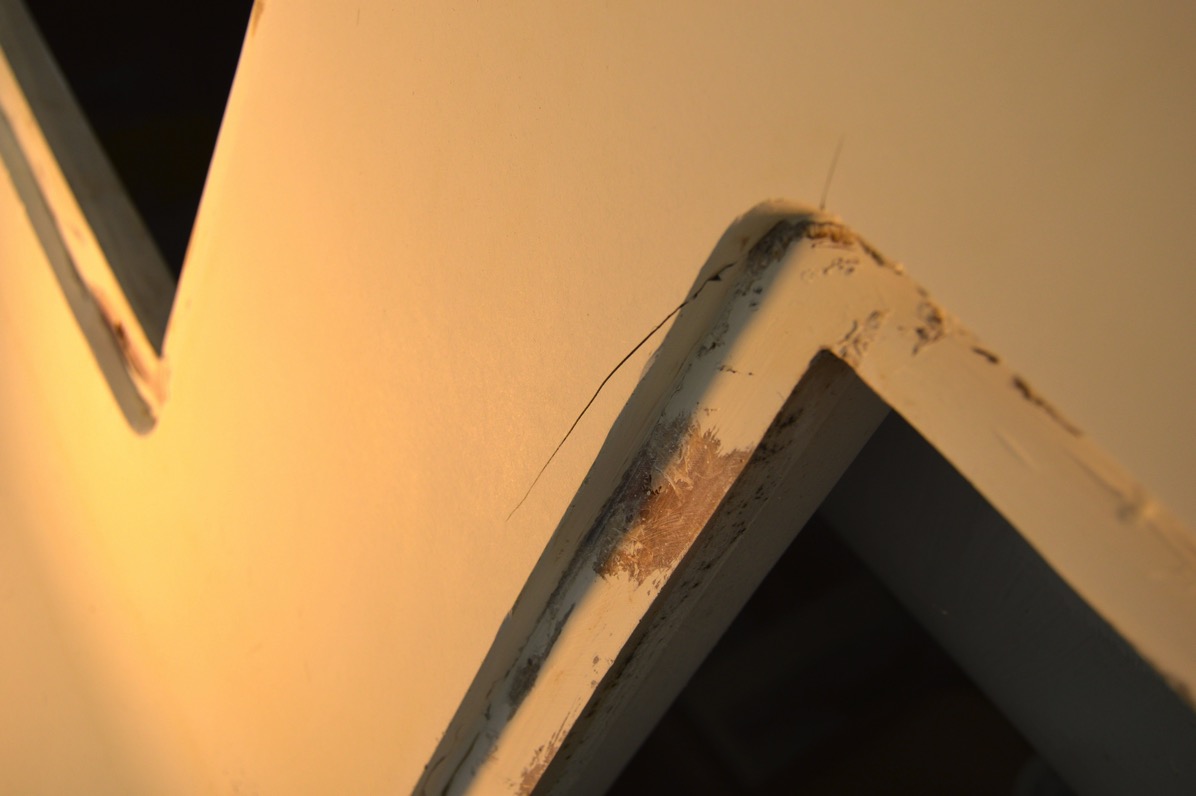
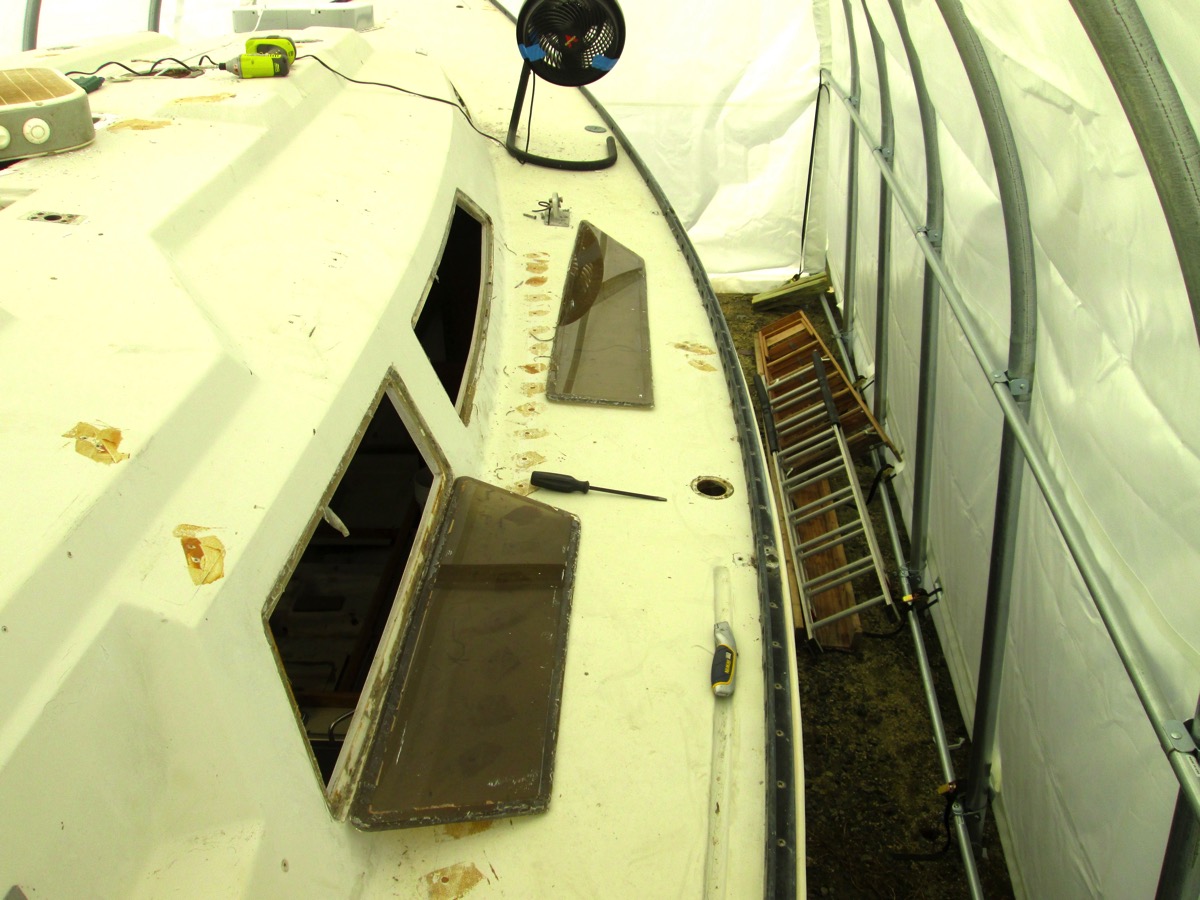
The next day I came back and, surprise, did more sanding, concentrating on the four fixed port openings. I’ve been paying particular attention to these because of the large radiating cracks in the gel-coat and the damaged backing lip for the ports themselves. I’m carefully prepping these for installation of new ports when the decks are painted next year.

Went on heavy and got sanded away.

IMG 5574

IMG 5575

What would I do without my trusty construction pencil?

IMG 5578

While my work effort was proceeding over the past week or so, I managed to move the Butler skiff over to the the place where it was built, Reedville Marine Railway, so that some leaking and rot damage could be attended to. Since I have neither the time nor the skill to do the woodwork on it, I hired a local woodworker and wooden boat repair professional to deal with it. Smart move on my part.

Been sittin' for a year and the barnacles were happy...

IMG 5498

Rotten wood coming out.

IMG 5503

IMG 5507

I think we found the leak….

IMG 5513

New wood!

IMG 5524

IMG 5525

Of note: the original mast from the Chesapeake Bay buyboat, "Elva C” shown in the background of the picture below is now a feature in the main room of our house. A bit of local history that fits with the fact that our house used to have a wooden boat building concern in the backyard.

IMG 5561

Anyway, the woodwork is completed and now I need to do more sanding on this boat too.

My arm is not wild about the prospect of that... 

Monday, November 2, 2015

Things that shift deadlines.

Well, it’s pretty clear that I view deadlines as movable moments.

I haven’t worked on the boat in any real fashion since last August. Even those work sessions were less than highly productive.

My wife took an apartment in Barcelona, Spain for a month starting the last week of August. I flew in on the 1st of September and proceeded to eat and drink my way through the city for the next three weeks. It was my second time there and it is still a wonderful city to visit. A young Marine friend of mine and I rented a couple of Ducati Scramblers and spent two days leaning into turns in the Pyrenees and the Costa Brava. A superb time and a great ride.

After all that I came back, spent four days making sure that things were in order and then took off for a week in Top Sail Beach, NC for my 45th high school reunion. No, I didn’t go to school in North Carolina. Canadian Academy in Kobe, Japan actually but one of the hosts of the reunion live in Top Sail Beach now and it became the destination for the class. Easier to drive to than Kobe...

Came back home from the reunion, checked on the house and cats and then my wife and I flew to Santiago, Dominican Republic for our annual medical mission work. Another week of no progress on “Ronin."

Now I’m getting back to work.

Last week I finished off sanding all the non-skid that was butting up to the base of the toe-rail as the final effort on the deck. Using the Fein Multitool with 80-grit sanding pads worked fairly well. As I was doing this I made a note to run a strip of gloss (non non-skid?) along that edge instead of running non-skid right up to the bottom edge of the toe-rail. Should be easier to shoot and a better look for the finished product. As part of the sanding process I noted that pretty much all deck surfaces were non-skid and I made a note to not re-apply it in areas that have bolts and sealant like I found under the chainplates and jib-track.

80-grit works quite well:

DSC 0013

After that final bit of effort I spent close to a full day vacuuming and cleaning the decks and interior to remove copious amounts of gelcoat dust that was blown in. When I do my next boat refit project I’ll make sure to tape up the ports and openings. No, wait, what am I saying? I will never, ever do another refit….

A light dusting, that’s all really...
Dust Everywhere


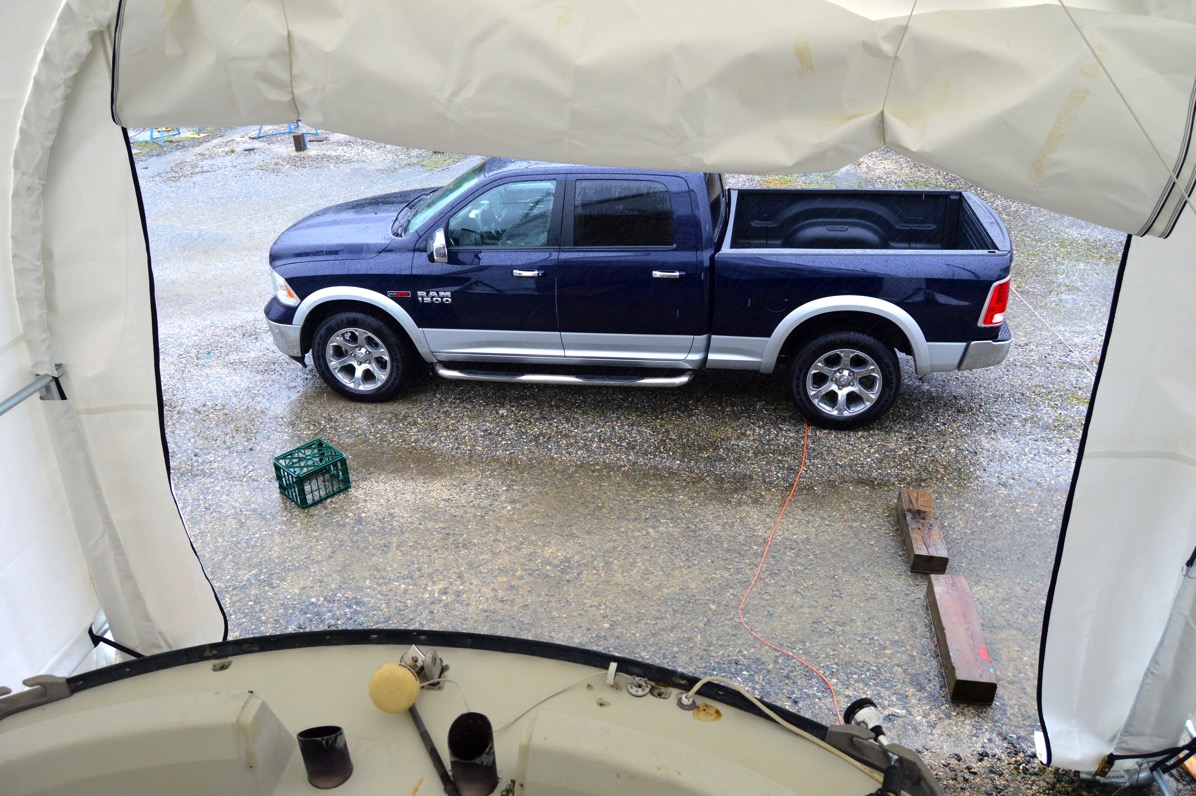
Today I loaded up the tool truck with my Makita compressor and a new Ingersoll-Rand 2”/3” high speed sander and drove to the boat.

After getting the air-hose led and tool attached I started grinding out the small, hairline cracks that were present on the deck. Most were around the stanchion bases and radiating out from the edges of the fixed ports. There were scratches and gouges from previous work that I had done. Edges and corners that had grooves work by halyards that had run directly across them without any edge protection had grooves down the glass. There were divots from old halyard winches on the deck that had been removed and given a quick fill by previous owners that needed a fairing prior to primer and paint.

Chicken pox.

DSC 0039

The fixed ports required special attention. There were significant spider cracks radiating from the edges in addition to the inner surface that the port glues to that needing fairing compound.

Never looked nice from the day we got the boat.

DSC 0015

DSC 0046

It was messy and I was not doing my best work. The upside is that the AwlFair is easy to sand after setting up so the overall level of effort isn’t much. I tend to under-apply filling and fairing compound and then have to re-fair at least one more time, often several. I’m not efficient that way...

Mix Part A to equal amount of Part B...

Mix Well

The stern edge of the cockpit coaming had some fiberglass voids that needed work. A couple of passes with a very large amount of fairing compound was in order.

Before...

DSC 0006

and semi-after….

DSC 0036

When the fairing application work was done, I still had an hour to go for the day.  Last week I did some research on Lewmar opening ports and decided that I would go with a Lewmar Atlantic 30 port to replace the miserable old round screw-in port that ostensibly provided air to the quarter-berth. After making a template to insure that it would fix, I started in on readying that area for the new port. First thing is to glass in the old opening.

Bringing out my trusty DeWalt small grinder I worked out a rough 12:1 radius surface grind. Later this week I’ll glass it it.

More before and after.

IMG 5518

DSC 0050

DSC 0052

Anyway, back to sanding. But only after I get back from taking one of our cats back to Maryland in the middle of the week for some vet work at my sister-in-law and brother’s veterinary practice. 

There goes that deadline again...

Also, too. Holiday snaps:

IMG 2418

Tuesday, August 11, 2015

The Zen of sanding.

So, precious little work on the boat over the last eight weeks.

I spent a few days delivering my buddy’s Sabre 426 to Rhode Island. The trip was the quickest delivery along that route that I have ever done. Fast, flat and dry. May be bringing her back next week.

The next few weeks were taken up with family and friends. My wife and I had dinner with close friends at The Inn in Little Washington. My first experience there and it was superlative.

I spent a fair amount of time (and money…) prepping my two Ducati motorcycles for a long planned ride of the Rockies in Colorado and New Mexico. After getting those sorted I drove to Denver, met my old and close friend Jim and we rode for three days. After the ride was over he loaded my Ducati ST2 into his pickup and drove it back to his garage in San Diego where it resides, waiting for me to fly in and ride the West Coast with him. Looking forward to that.

Lost in Kansas:

IMG 5251

After getting back I started to sand the decks of Ronin, starting with the non-skid areas. Before I did that though I had to finish cleaning out the hardened Plexus material in the frames of the fixed ports. Not an easy or as a quick a job as it turned out. Took severals days of sanding, chipping and grinding. Those inner frame surfaces will be getting some epoxy work sometime in the future.

Tenacious:

IMG 1101

IMG 1102

We’ve been having a fair amount of heat here on the Mid-Atlantic, high 80’s F to low 90’s F. I was concerned about the temperatures when working on the boat but have been pleasantly surprised with the working conditions. With an early start, several fans blowing directly towards me and a breeze that generally flows through the structure I’ve been able to work fairly comfortably. On the really high heat and humidity days I’ve pretty much downed tools, cleaned up the site and headed for home around 3:30 PM. Despite the expense, the decision to purchase the shelter was an extremely good move.

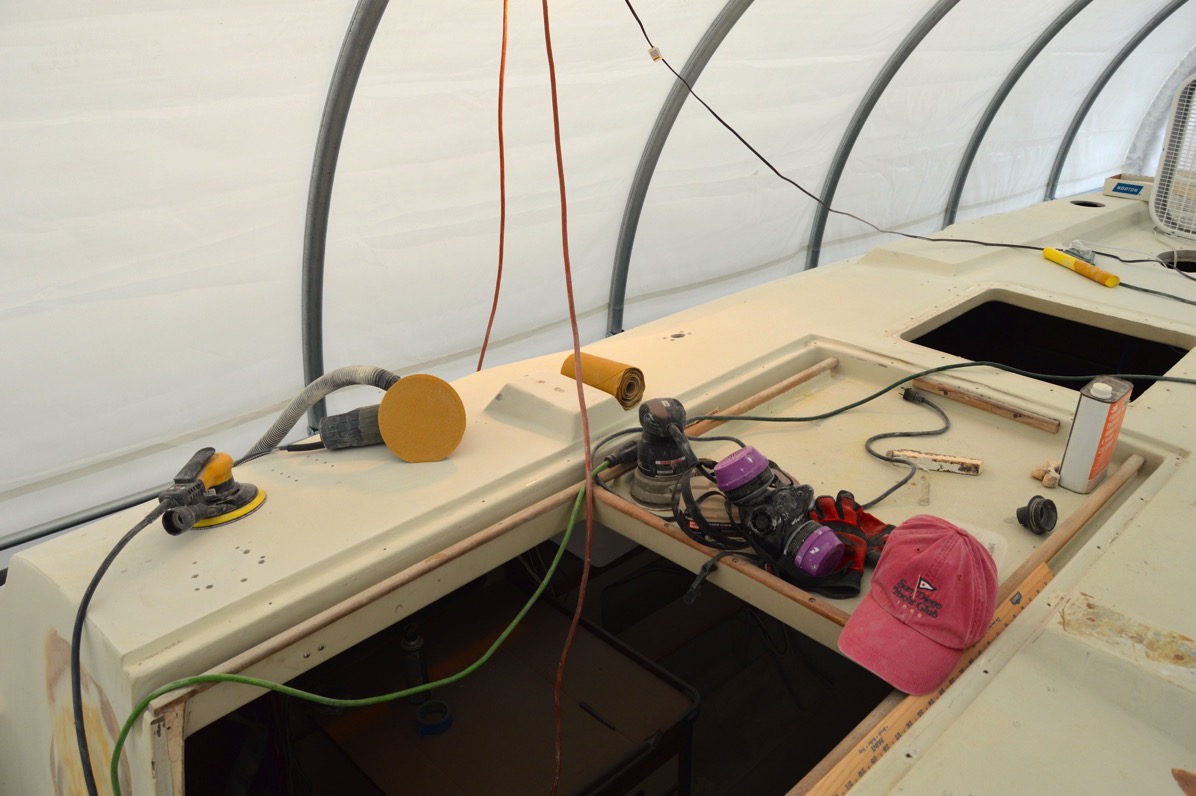
I’ve started at the bow and am working my way aft along the port side removing all the non-skid. The gloss areas, primarily vertical, will get sanded on the second pass. Right now I’m sanding away with an assortment of sanders, my old trusty Porter-Cable 7336 dual-action sander with Gold Sikit P80 sheets slapped on. For some of the tighter areas I’ve been using my Porter-Cable 333 DA sander with hook-and-loop P60 Norton discs. I’ve done some sanding with my new Mirka 12VDC sander with some aggressive sanding disks but I’m concerned that it may be a bit fragile for long-term use. We’ll see. It’s a really nice tool and I expect that for finer sanding of some areas and the primer it will be the go-to sander. I’ve been rolling through twenty-five to thirty discs per day.

It’s all about dust control...

DSC 0016

Removing the West System Low Density filler used to plug the holes in the deck:

DSC 0029

DSC 0031

Jennings Boatyard is putting up a web-site and asked me for some action and before-and-after photos of the work on Ronin. I was happy to oblige so we’ll see if she shows up in the future. Hope so, the yard has been a great place to have a boat project.

Thursday, June 11, 2015

Quick update and getaway

I’m getting ready to roll out and head up to Annapolis this morning to help an old friend deliver his Sabre 426 to Rhode Island. He’s part of the Race Committee for Block Island Race Week. Should be a comfortable and easy trip; mostly Southerlies for the next 2-3 days. This is Delivery Trip A, Annapolis to the C&D Canal, down the Delaware Bay and straight shot from Cape May to Pt. Judith, RI.

I continued to work for a few days on removing ports and the last bit of pesky deck hardware. Nothing special to report except that when I pulled the fixed main ports out I knew that the work load increased.

The Plexus adhesive used to secure the ports is pretty tenacious. So much so that when I started scrapping to remove bits of silicone sealant, it came off with fairly large chunks of the gelcoat. This will mean some small but time consuming glasswork on the inside surfaces of the ports.

And that damn round port that was responsible for my previous rant? Out….

Gone port:

IMG 1069

Kind of a mess:

IMG 1078

Fixed ports ready for cleaning and storage:

IMG 1073

IMG 1082

When I was removing the chainplates the good news, again, is that the original installation using butyl as sealant proved its effectiveness. No rot in the balsa core.

But not surprisingly, there was a fair amount of electrolysis at the base of the plates. I had to scrape the build-up off in order to get the cover plates off the shaft. No real degradation to the chainplate itself though:

Up and out:

IMG 1084

IMG 1088IMG 1097

Not THAT kind of white powder...

IMG 1090

If I don’t write it down I’ll forget:

IMG 1095

Thursday, June 4, 2015

Slotted screws: A Rant.

Back to the boat in yet more rain this morning. We’re easily looking at eight inches in the past three days. The shed is paying for itself.

Today I went back to getting the last of the ports out of the deck. I started with the two Beckson opening ports in and across from the head. I replaced the originals 15 years ago because they were toast. They came out quite easily that time. This time around the sealant had good grip on them. I destroyed my replacement starboard hatch in the removal process. The port side hatch came out much easier but that was mostly due to “learned technique” from wrestling with the starboard port. Didn’t really matter as I’m going to replace both of them again after the decks are painted. Dirty sock on clean feet or is it the other way around?

After getting those out I moved aft to the cockpit to remove a Beckson screw-in deck plate that the PO, affectionally know as Mr. Potato Head had brutally installed to provide ventilation to the quarter berth. Every time I see that job it reaffirms my strong desire to replace it with a Lewmar opening hatch.

After unscrewing the hazy clear port I started to unscrew the machine screws and nuts. In the original installation the port was installed with 5/16 “ x 18 S/S machine screws. That’s fine but they used slotted screw heads. I hate slotted screw heads. Really hate them. They should be banned. Outlawed.

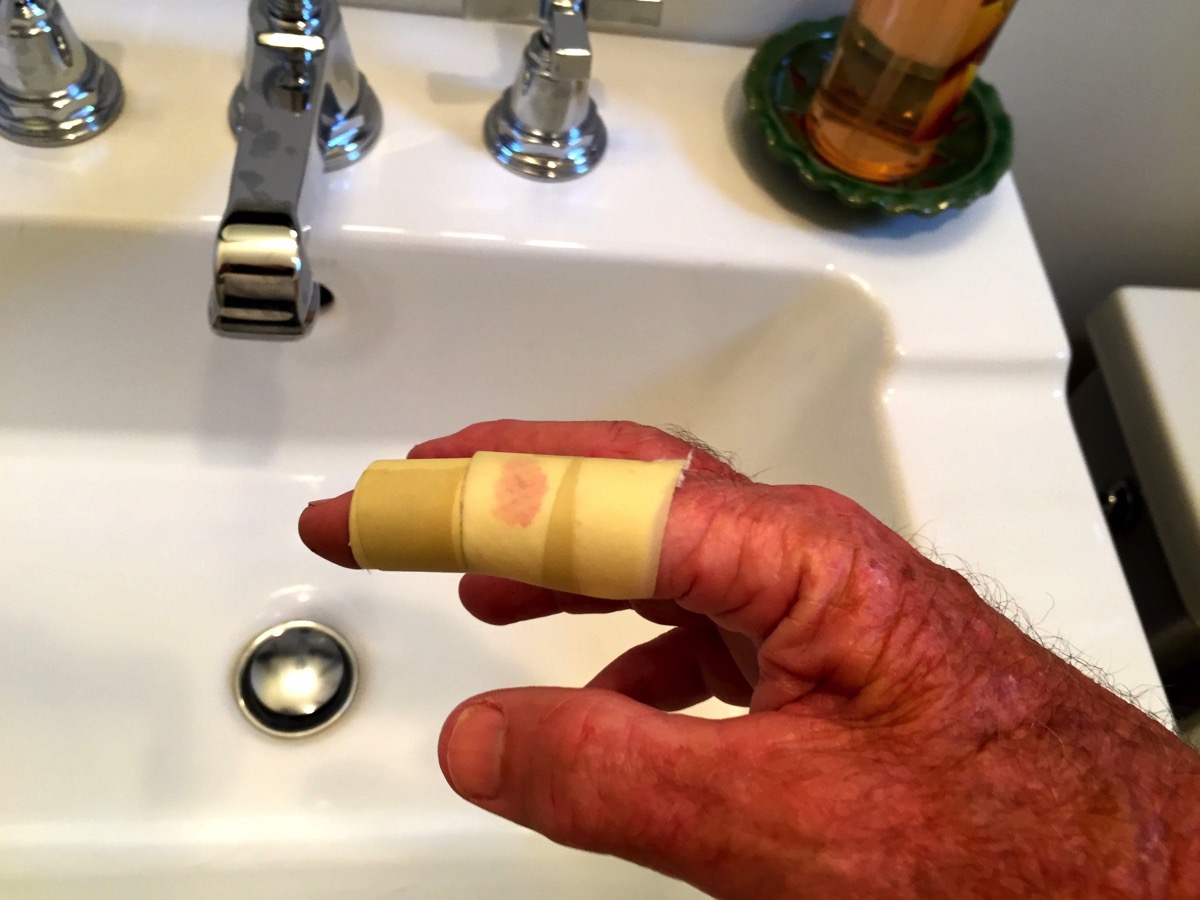
I was thinking how much I hated them right about the time that the drill-driver slipped off the head and caused me to rake my finger across the flat-head slotted screw head. Yup, it hurt. And it opened up a 2” laceration that was pretty impressive.

Well, that stopped work for the afternoon. A piece of white (sterile?) box-o-rag, some ever present blue tape and I was able to keep from bleeding on the decks. It also reminded me that our house had nothing other than bandages suitable for a minor nick.

After a trip to the nearest, and that’s a very relative term, pharmacy I was back on the road.

Okay, end of rant.

A yard worker’s first-aid kit:

IMG 5111 

Less bleeding than I would have imagined:

IMG 5114

Amazing what you can do with a paper towel and 3M fine-line tape:

IMG 5117

Anyway, more pictures of me destroying perfectly good opening ports.

Unusable:

DSC 0003

Usable but still going in the waste bin:

DSC 0006

Also of note: The Annapolis to Newport Race got underway today and as of this post, the fleet is nearing our house near Smith Point Light. There are three “vintage” C&C’s of the same era and design as Ronin in the race. They are doing well and I hope they sail fast, collect lots of trophies and most importantly, have a safe race.

Stairway to Heaven...

Earlier I had posted that I was helping my friend, a fellow sailor and a builder, whose company, Ingram Bay Contracting rebuilt/built our house, to fix his 24' Corsair trimaran that was damaged in a Spring wind storm. Looks like my glass work on his boat was worth it.

I knew that if I tried to build a set of stairs it would take too long and probably fall down at an inopportune time.

I asked him if he would draw up some plans and list of limber for a set of stairs that I wanted to build. I knew that over the coming year, going up and down a ladder was not even close to ideal.

After I got the the list and purchased the lumber, Vincent came by to show how it is done. An hour and a half later, I had this:

DSC 0013

So much better.

The Pro (another one…) at work:

DSC 0003

DSC 0006

Tuesday, June 2, 2015

Bonehead

There are times when it becomes pretty clear to me that although I may think that I have a pretty good hand working on boats it really isn’t true. Today I made a costly mistake. Something that was so stupid and silly that I realized that I was hacking away at this refit. A truly boneheaded mistake.

The weather for the past two days has been rain. Lot’s of it. At least three inches and it’s raining still as I write this. But I’ve been pretty psyched because I’ve been able to get back to the refit due to the protection provided by the new shed. I can tell that it is going to help speed the work schedule.

So, there I am, finishing off the removal of the last of the deck hardware items that had to stay put until the boat was under cover. Some water and holding tank deck fills, the dorades and the two hatches. The front hatch came off easily. Disturbingly so. Although it it’s been some time since the boat was subjected to heavy seas I’m pretty sure that it would have developed a leak. I had the hatches rebuilt sixteen years ago and re-bedded them myself. I made a mental note to do a better job next time using butyl as a sealant.

The main cabin hatch did not want to come free so easily. I slowly but steadily worked a gasket scraper between the frame and the deck, cutting the sealant. After some time working my way around the frame I could see that it was starting to free up. So, I started to pry the frame up. It was tougher than I thought. And not paying attention, I was also bending the frame...

As soon as I removed it from the deck I realized what I had done. I clamped the hatch shut and sure enough, a gap large enough to allow gallons of water to rain down on the interior. One heavy duty Atkins & Hoyle hatch ruined. 

Anyway, despite the expensive setback given that I will almost certainly need to purchase a new hatch, probably a Lewmar of some sort and do some glass-work to get it to fit, I kept working on prepping the hull for work. One step forward, two steps back.

Hardware removal wreckage:

DSC 0004

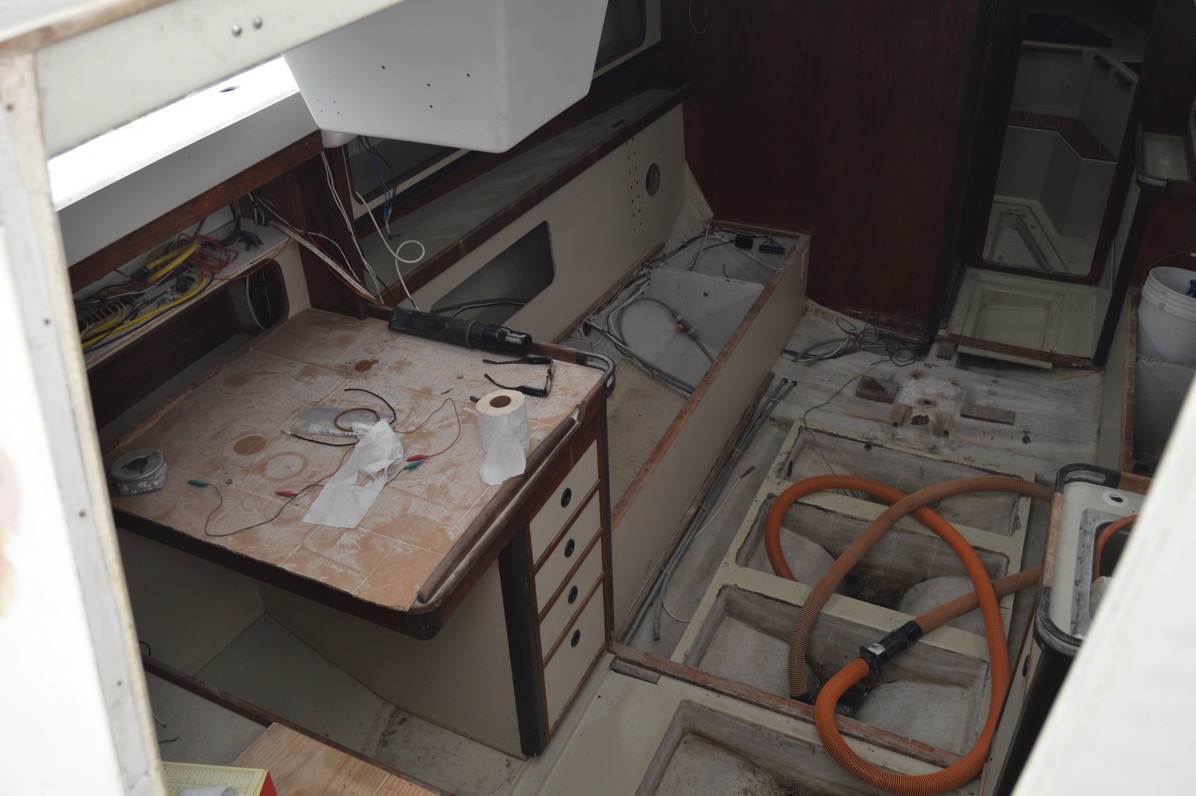
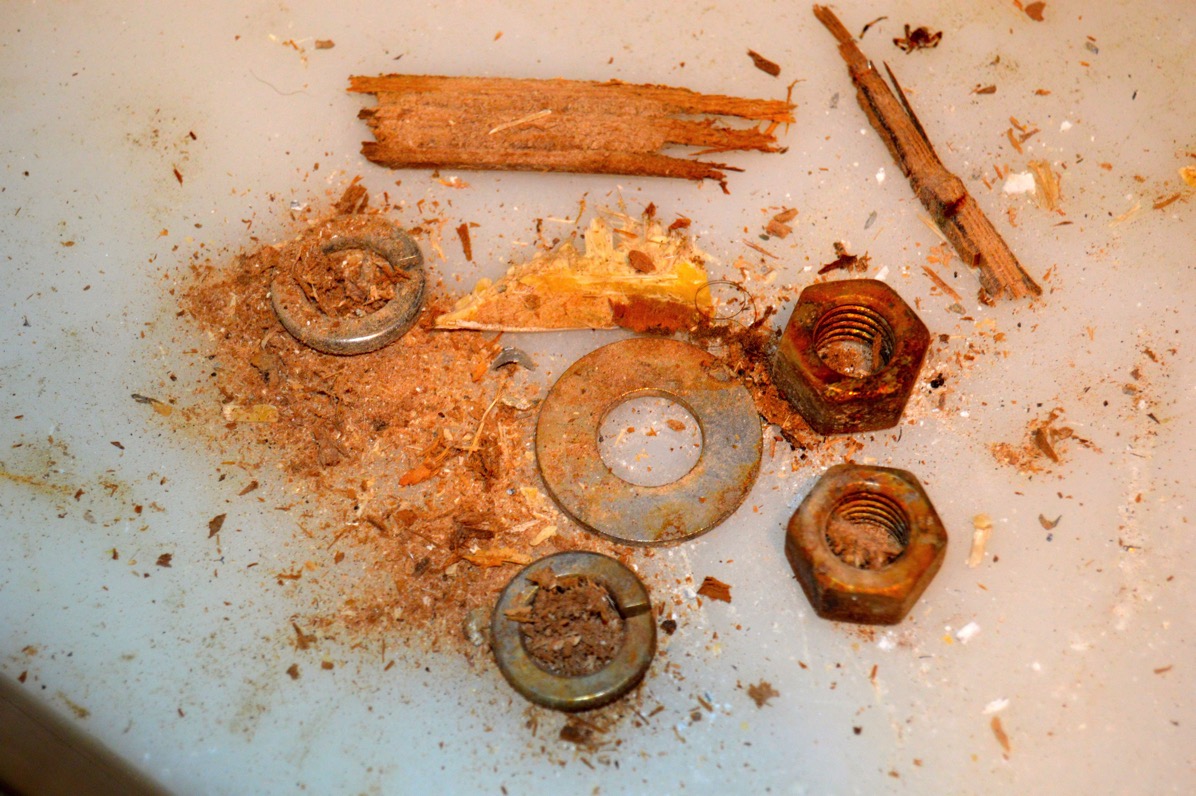
As part of the cleaning process prior to upgrading the interior I had to clean out the space behind the chainplates. The factory had apparently drilled the bolt holes and bolted the chainplates up pretty quickly. In the tight spaces behind there was a great deal of sawdust and fiberglass shards. Along with that were some nuts and washers that must have fallen off during the install which they just left behind.

Extra hardware:

DSC 0016

I disconnected the fresh water tank plumbing and pulled the tanks out for storage. One of the interesting things about the tanks and lines on this boat has been the fact that there has been no mold or gunk. Frankly, the potable water on Ronin has always been pretty good. I hope to keep it that way.

Tanks gone:

Water Tanks Removal

Starboard FW Space

Next to go were the fresh-water fill hoses, manual and automatic bilge pump lines and the mast baseplate.

Still a mess:

DSC 0009

DSC 0044

Discarded Bilge Plumbing

Well, I can tell myself that I’m maximizing my time by being able to work on the boat when ordinarily conditions would prohibit it. Not a great deal of consolation given the cost of replacing the main hatch...

Forty Days and Forty Nights….

DSC 0039