Showing posts with label Semi-bad Ideas. Show all posts

Monday, March 14, 2016

Ramping up. But it's a low ramp angle...

Last Friday my wife and I took a day trip to the big city of Richmond to catch the Rodin exhibit at the Virginia Museum of Fine Arts before it moved on this week. It was, not surprisingly, very nice. We both agreed that the next time we go see an exhibit like that that we do some research before going.

Afterwards, to put a nice end on the trip we drove over to the new Stone Brewery. We’re beer snobs and have been to the original brewery in San Diego and loved it. Great surroundings, food and extremely good beer. Unfortunately the new Stone plant is still not running and the brewpub itself hasn’t even broken ground. They did have some inside and outside seating along with a small bar so we stopped for a beer. 

Saturday was the Smith Point Sea Rescue Oyster Roast which we always attend and donate money for. I was asked to join a few months back and I finally got my application in after which I went back to shoveling steamed oysters down my throat.

Sunday afternoon I did a few small jobs just to add a few hours towards knocking off the project list. In the morning I spent a few hours with a pencil and graph paper working up some ideas on creating storage under the port side helm seat. The more I thought about putting some type of soft pocket/bag hanging in the space the less I liked the idea. I was concerned about having a large hole in the cockpit that might allow large amounts of seawater into the hull if pooped or worse.

I decided that I would fabricate something out of FRP. More on that in another posting. But I did spend some time grinding off the filler that C&C used to glue it down. I also ground out the polyester and fiberglass laminate to give it more definition along the edge.

Bring out the brutal tools:

Filler removal

Ground out and ready

Casting about for a quick task to complete I spotted the two plywood shelves that support the 30-gallon fresh-water tanks and gave them a quick coat of white paint. I know that they will never be seen but I’ll feel better about it.

Fresh paint.

It will never be seen

Before heading off to dinner I put the final coat of satin varnish on the small v-berth ledge teak and holly cover.

Today, after getting back from the YMCA I drove the tool truck to the yard to do some planning and mockups. One thing that I wanted to do is install a secondary larger automatic bilge pump for use in the event of a large amount of water ingress. Hopefully never needed.

The current setup is a manual Whale pump located next to the wheel in the cockpit which exits a though-hull in the port side counter. The new Whale low-profile, low volume pump I’m ordering will continue to dump into a “T” fitting in the starboard cockpit scupper drain the way the original bilge pump did. With the new larger pump I want to run it aft and have it dump out just above and in line with the manual bilge pump through-hull.

Despite having misgivings about the hose exit being very close to the waterline and underwater when powering at speed which is not recommended because of the possibility of back flow into the bilge, I decided to go ahead with the plan. My friend who runs the yard felt that it would fine with a tall loop up to deck level with an anti-siphon vented loop installed.

Whale Pumps says 12” minimum with NO submersion:

Doesn t meet minimums

So, I started crawling around underneath the cockpit and measuring. Along with a new through-hull I’ll need around 26’ of hose. I have a couple of Rule 2000 GPH pumps in the shed so I brought one along to figure out the placement. It will be higher in the bilge so that it only switches on when the water is well up.

Height and location works well:

Fits nicely

I’ll need to make the shelf removable to allow for easy access to the keel bolt. I’m pretty pleased with the location though.

After getting that task documented, I turned to the pedestal holes in the cockpit sole that need to be closed off. Even though the sounding indicated no softness I somehow convinced myself that the area around the holes should be removed and re-glassed.

Well, that was a dumb idea. After cutting the starboard side and have to pry the laminate off, which essentially broke as I did, I realized that all I need to do was plug the holes and keep going.

Not balsa core but quite dry.

Seemed like the right thing

Not Balsa but dry

I pulled out the West System and mixed up a small amount with colloidal silica to thicken it, found some 3/4” and 1/4” wooden dowel material and put it all back together.

Quick fix for now.
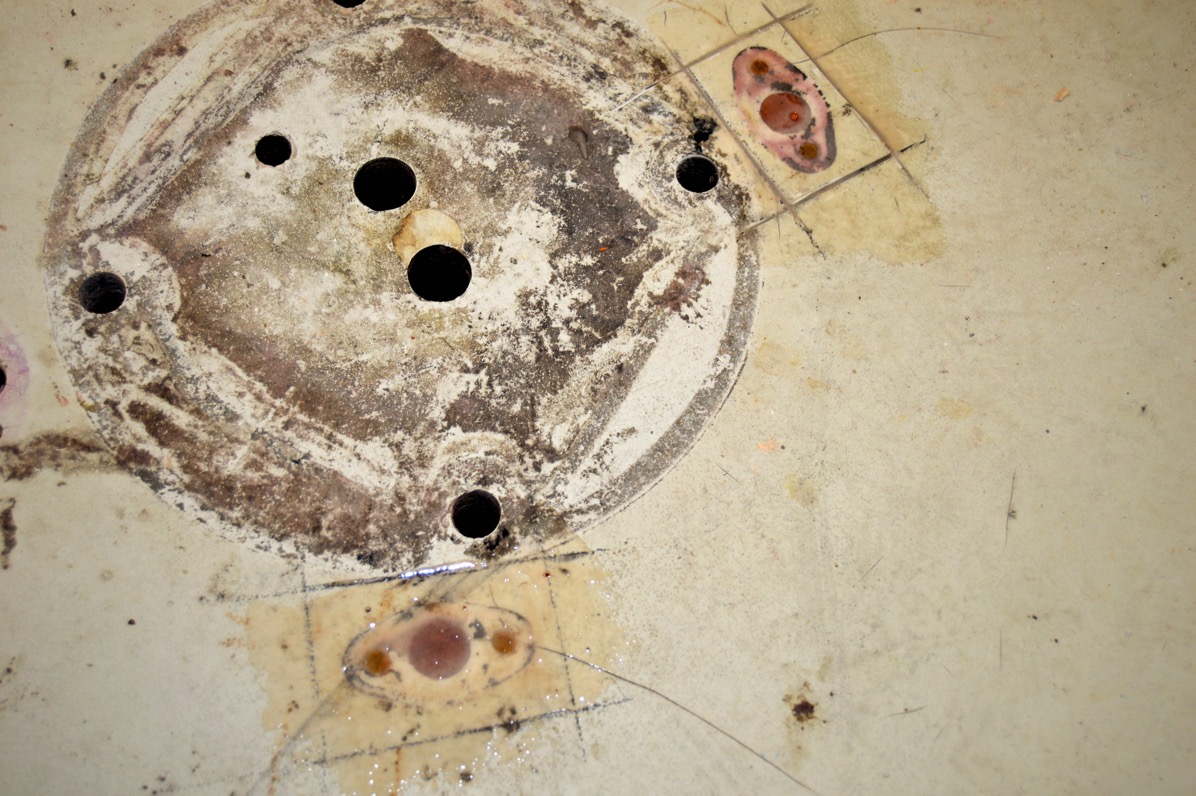
Plugged and epoxied

Later this week I will come back and grind out the area and apply some fiberglass cloth just to make sure that it is tied together and closed off. I expect that I will soon start sanding the non-skid in the cockpit in preparation for painting the decks so no harm, no foul...

Tuesday, June 2, 2015

Bonehead

There are times when it becomes pretty clear to me that although I may think that I have a pretty good hand working on boats it really isn’t true. Today I made a costly mistake. Something that was so stupid and silly that I realized that I was hacking away at this refit. A truly boneheaded mistake.

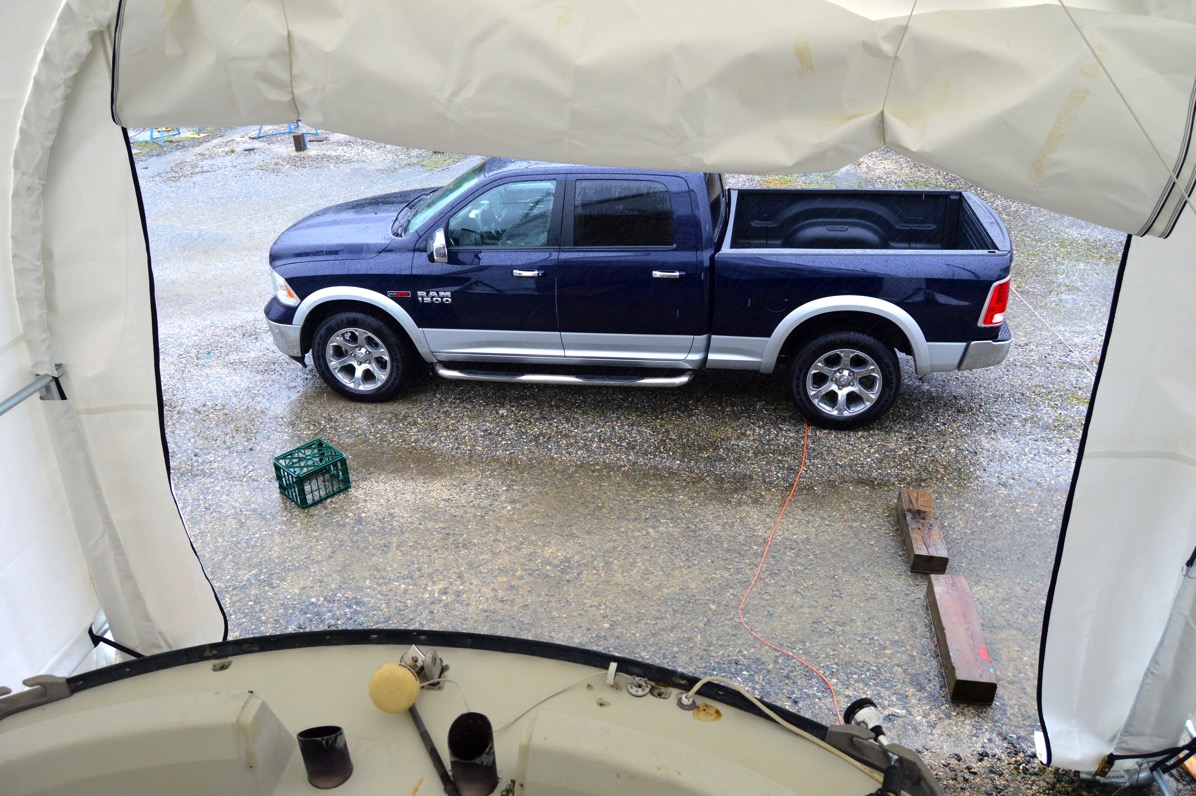
The weather for the past two days has been rain. Lot’s of it. At least three inches and it’s raining still as I write this. But I’ve been pretty psyched because I’ve been able to get back to the refit due to the protection provided by the new shed. I can tell that it is going to help speed the work schedule.

So, there I am, finishing off the removal of the last of the deck hardware items that had to stay put until the boat was under cover. Some water and holding tank deck fills, the dorades and the two hatches. The front hatch came off easily. Disturbingly so. Although it it’s been some time since the boat was subjected to heavy seas I’m pretty sure that it would have developed a leak. I had the hatches rebuilt sixteen years ago and re-bedded them myself. I made a mental note to do a better job next time using butyl as a sealant.

The main cabin hatch did not want to come free so easily. I slowly but steadily worked a gasket scraper between the frame and the deck, cutting the sealant. After some time working my way around the frame I could see that it was starting to free up. So, I started to pry the frame up. It was tougher than I thought. And not paying attention, I was also bending the frame...

As soon as I removed it from the deck I realized what I had done. I clamped the hatch shut and sure enough, a gap large enough to allow gallons of water to rain down on the interior. One heavy duty Atkins & Hoyle hatch ruined. 

Anyway, despite the expensive setback given that I will almost certainly need to purchase a new hatch, probably a Lewmar of some sort and do some glass-work to get it to fit, I kept working on prepping the hull for work. One step forward, two steps back.

Hardware removal wreckage:

DSC 0004

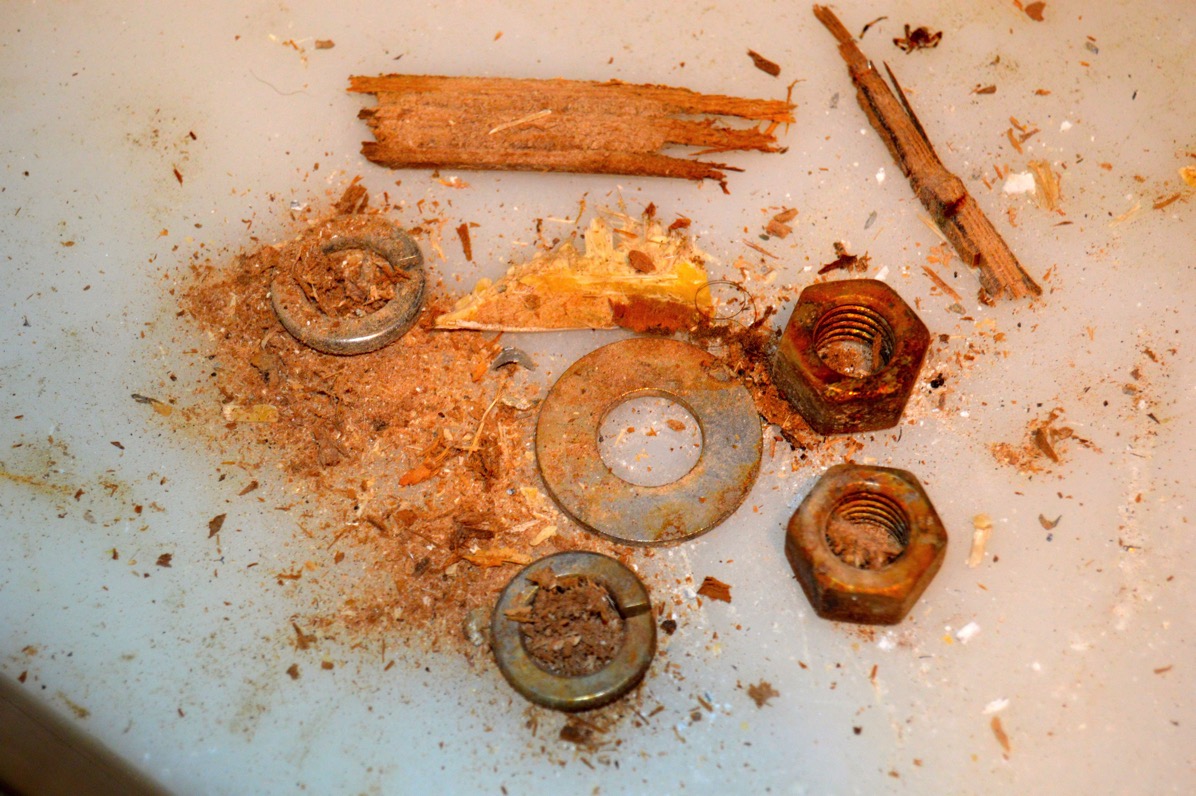
As part of the cleaning process prior to upgrading the interior I had to clean out the space behind the chainplates. The factory had apparently drilled the bolt holes and bolted the chainplates up pretty quickly. In the tight spaces behind there was a great deal of sawdust and fiberglass shards. Along with that were some nuts and washers that must have fallen off during the install which they just left behind.

Extra hardware:

DSC 0016

I disconnected the fresh water tank plumbing and pulled the tanks out for storage. One of the interesting things about the tanks and lines on this boat has been the fact that there has been no mold or gunk. Frankly, the potable water on Ronin has always been pretty good. I hope to keep it that way.

Tanks gone:

Water Tanks Removal

Starboard FW Space

Next to go were the fresh-water fill hoses, manual and automatic bilge pump lines and the mast baseplate.

Still a mess:

DSC 0009

DSC 0044

Discarded Bilge Plumbing

Well, I can tell myself that I’m maximizing my time by being able to work on the boat when ordinarily conditions would prohibit it. Not a great deal of consolation given the cost of replacing the main hatch...

Forty Days and Forty Nights….

DSC 0039

Sunday, March 1, 2015

Week Five - Amateur Woodworker

Work progresses on the hull. Despite still being extremely cold the sanding and priming of the hull continues. Still more snow has shut down operations in this area on several occasions. During the last week I have been away much of the time, back in Arlington visiting friends and seeing my family.

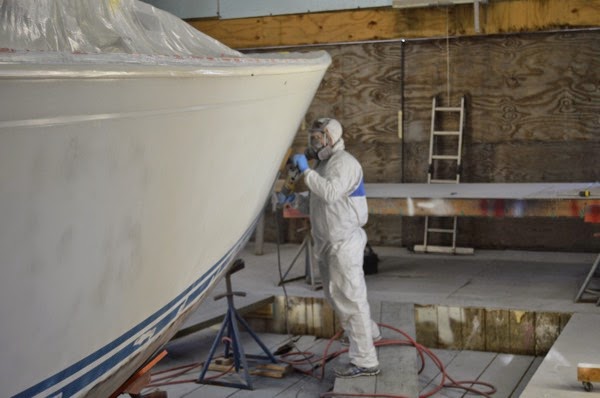
I checked in on Ronin last Friday and not much the way of “action photos” to show but Charlie and I did spend some time discussing the merits of painting methods and the appropriate spray guns. After listening to Charlie describe shooting techniques and the quality of guns he uses, I really felt out of my depth. I know that when I go to shoot my decks that the results will be “interesting."

A spray gun for every job (pro tip, the Sata, 2nd from right):

DSC 0176

Primed and ready for yet more sanding:

DSC 0112

DSC 0117

I’ve turned my focus back to working in my shed on the cabin sole yet again. Confession time: a few weeks back I set up everything to make a rip of the first 4X8 sheet that would become the two pieces in the main cabin. I measured, measured again, set up a guide and took my time to make sure that I had everything set up correctly. It all looked okie-doke.

One thing though. I wasn’t sure about what was the best blade to use in my trusty old Bosch jigsaw. Now, I have used that tool for many things over many years yet for some reason I overthought the problem. So, since we know that everything on the Internet is true, I did a search for the correct blade to use.

Put the recommended blade into the jigsaw, flipped the switch and started in on the cut. About half-way down cut, the blade torqued, veered off on an angle and that was that. One completely ruined expensive sheet of teak and holly plywood. After calming down, I inserted the blade that I had originally planned on using, set up the guide and made a “test” cut on the now useless piece of plywood. Perfect...

After ordering another sheet, I went the simple route after getting some advice from my friend Vincent who built our house and just used my Skillsaw. Another perfect cut.

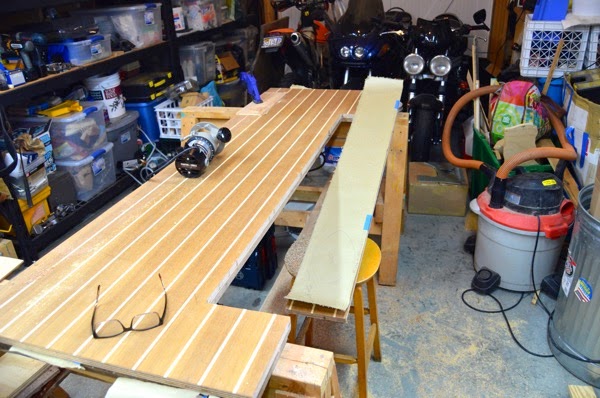
Sooo, after after getting over my understandable doubts about my abilities I pulled out the router to carve out the section that will be used for the hatch boards. After practicing many times with some cheap stock, I put in a 1/2” by 1” router bit and fired it up.

I got it about 97% correct this time. I wasn’t paying attention but the old cable sole being used as the template had delaminated in some spots and as I was running the router down the line, the guide dropped into some voids in the ply. Not pretty but I will do some work with West System and pieces of salvaged laminate and it should be okay. The 1/4” teak edging on each side will hide some of the problem I hope.

Prep and router cut:

DSC 0152

DSC 0154

The problem with rotten templates:

DSC 0157

Prepping the cut-out for three hatchboards:

DSC 0161

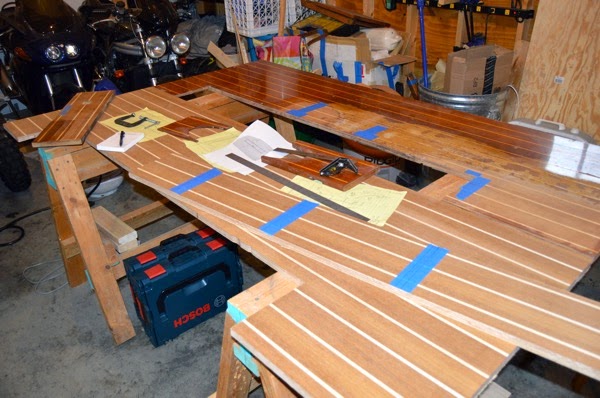
Later during the week I pulled the second sheet of plywood out and started laying out the templates for the two sections at the navigation station and galley. The one in front of the head is still on the boat so I was only able to cut out the one in the v-berth.

By and large these cuts went okay although there is a very slight gap between the two sections in the galley/nav area. That’s due to the problem of making a third cut-out based on a (rotten) template of the original cabin sole boards.

Laying out the old cabin sole templates and screwing them down:

DSC 0202

DSC 0205

Finished with routing the edges:

DSC 0209

Panels arranged on the shed floor:

DSC 0210

When the weather warms up and I can get stable temperatures in my shed I’ll start sealing the plywood with epoxy and then applying the finish coats to the surface.

Sunday, February 1, 2015

In the shed, Week 1.

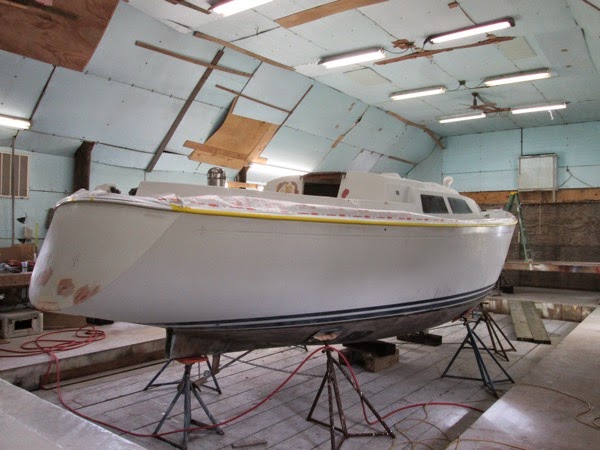
The hull has been in the shed for a week now and Charlie has started in on prepping the hull for painting. When we realized that removing the vinyl rub-rail was pretty much a non-starter, he ran a buffer with mineral spirits along it and despite some cuts and gouges it cleaned up pretty nicely.

The next step was a complete wash of the hull using Mean Green. Afterwards Charlie started taping the boat. Before he completed that I needed to get below the cockpit to look at the layout of the bilge lines and the cockpit scupper drains. This has been an area of annoyance for me since we bought the boat. The main bilge line using the manual Whale pump next to the wheel in the cockpit exits on the port side underneath the stern. The smaller electric bilge pump line snakes up from the bilge, extends over to the starboard side and then “Tee'd” in the starboard scupper drain just above the thru-hull fittings.

When I replaced the replaced the thru-hulls and seacocks some years back, because of the extended height of the seacocks, the hose run from the scupper drains was not direct and had a small sump. Because of this water never completely drained and if there was any debris it often developed a clog. To make matters worse, C&C designed deck level drains with a narrow grove to channel the water to a small scupper drain that led to a 6’ length of hose that, again, did not drain directly downhill. While in theory this seemed a great idea, those drains never did. These lines “Tee’d” into the scupper drains too. A mess.

Up, down and around:

IMG 0881

Going forward I plan on doing three things: 1.) running the electric bilge pump line directly to a new thru-hull near the existing manual bilge pump thru-hull, 2.) capping the two small scupper drains in the deck and removing the lines and 3.) removing the grey polypropylene fittings and ensuring that the cockpit scupper drain hose run downhill and free.

The reason for not completely removing and glassing in the shallow groves is that if in the future the boat is used for cruising and I want to catch rainwater, they can be plumbed to the port and starboard fresh-water tanks using small valves to open the flow after all the contaminants have run off.

The drain and channel; nice idea in theory but...

IMG 0244  Version 2

Manual bilge line running aft:

IMG 0886

After I finished scoping all that out, Charlie continued taping the boat. Afterwards sanding started. He mentioned that the gelcoat was “hard” and that it was taking longer to sand and using sanding disks at a pretty high rate. Oh well. In addition to sanding he spent some time grinding out any cracks and irregularities that he came across.

Taping:

IMG 0892

IMG 0894

Sanding and grinding:

DSC 0031

DSC 0036

An area of resin deficient layup near the bow: 

DSC 0038

Thursday, November 20, 2014

Cabin Sole Replacement - Round 2


About 13 years ago I replaced the entire cabin sole. As the boat was a bank repo, the original cabin sole was delaminating, worn out and in one place directly in front of the companionway steps, completely broken through. Since we had other priorities for the first couple of years, we screwed down a section of cheap plywood to keep folks from breaking their ankles and essentially ignored the condition of the rest of the flooring.

When we threw out all the original cushions and decided to have new ones made. The new cushions set against peeling plywood laminate was not going to impress folks. Or us.

We bought 15 yards of close-out Ultrasuede from close friends in the fabric business for an absurdly low price, contracted with a local boating canvas guru and had all new cushions made. From there it was on to replace the cabin sole.

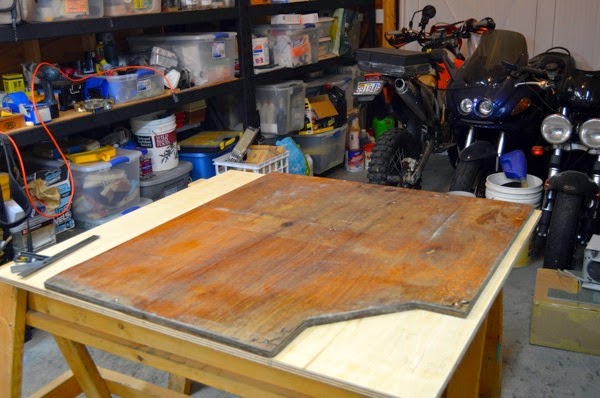
I purchased two sheets of 18mm (~3/4”) x 4’ x 8’ teak-and-holly plywood and arranged to use the basement of a fellow racer and good friend since my condo rules probably weren’t going to allow me to stink up the place with varnish and epoxy fumes. I pulled the original flooring as templates and after sanding, epoxying, varnishing, cutting, routing and 1/4” x 3/4” teak edging that I had ripped, the flooring went in. It looked magnificent.

But. There were built in problems from the beginning. These issues finally reared their head after about 10 years of use.

When I didn’t do was, despite completely coating all the surfaces and edges with several coats of epoxy, was get ALL of the edges sealed. The reason for this is that I not so cleverly finished both sheets of plywood before making the cutouts. So, during the install phase, and when another good buddy who had done boat cabinetry gave me a hand, we just routed out out the shape and nailed the teak edging in place.

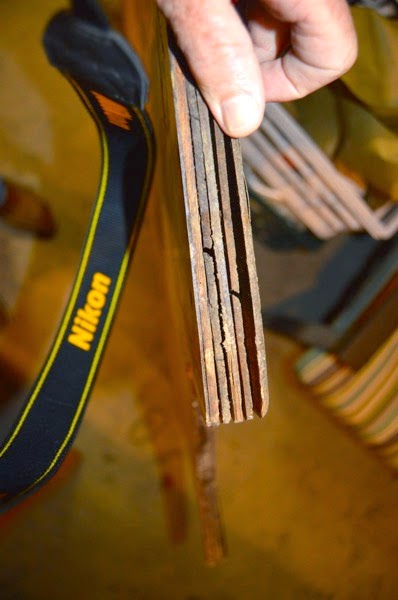
So, over the years and a few incidents of high water and just plain moisture in the bilge, the replacement cabin sole started to give up.

Replacement flooring gone bad:

DSC 0002

DSC 0003

DSC 0006

The weather has turned unseasonably cold so there is no more work to be done on the hull and decks. I purchased another two sheets of teak-and-holly plywood, which interestingly cost me less this time and brought them to my new shed. At least I won’t have to bother my old friend again. Especially given that he has stopped boating and gave me all his boat building supplies, of which there is a really nice vacuum pump along with all the sheeting and System Three epoxy that I could ever use. A good friend indeed.

So far, all that has been done is to layout the new and old plywood to make sure that things will line up and that the cuts will be correct. Pretty expense mistake if I get it wrong.

New and old plywood in the shed:

DSC 0020

Protecting the surface of the new plywood:

DSC 0041

Removing supports and screws:

DSC 0044

Checking alignment:

DSC 0051

Getting ready to trace the template outlines:

DSC 0056

That’s all the work that I did for the afternoon. In the next couple of days I expect to start cutting and routing. With the exception of West System epoxy, I don’t have any finishing product yet but I’m looking seriously at the new AwlBrite product in a semi-gloss. The original flooring was finished in many coats of gloss varnish and I’m not inclined to go that route again.