Showing posts with label Sanding. Show all posts

Sunday, November 6, 2016

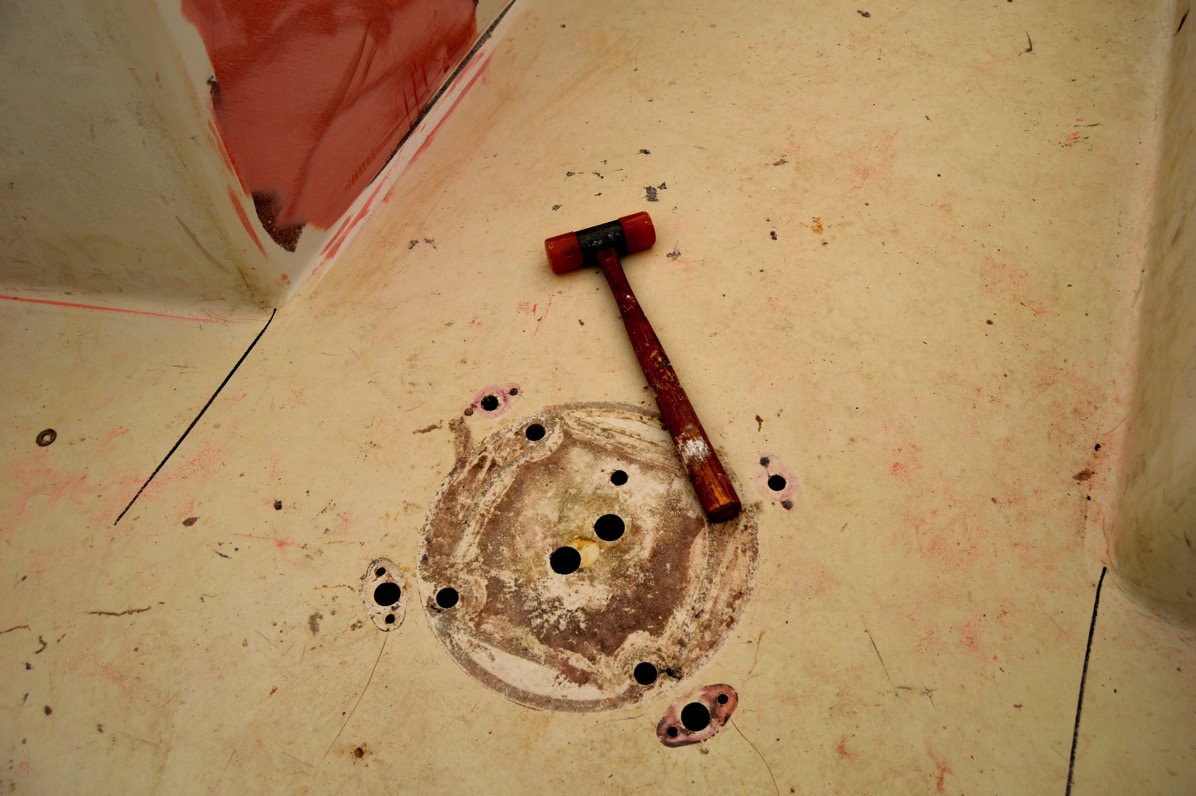
I think I'm done with the sanding.

With the weather cooperating and after getting back from helping my brother and sister-in-law put on a 3-day, 100-mile endurance race in the Shenandoah Valley, I’ve been pushing to get the deck ready for the gloss topcoat application.

Over the years I’ve surfed the internet for examples of others painting their boats in order to get some sense of what I’m up against and how to go about it. It seems to me that all those guys get their tasks done pretty quickly and efficiently. That is not what I am experiencing.

I’ve spent two or three days just block sanding and machine sanding the primer with 320 grit for the final surface. My fingers are raw from digging into the corners and along the toerail. I finally started to “cheat” and use my Mirka sander because time is running out with the onset of the Fall season.

Protection is key.

Tired of finish sanding

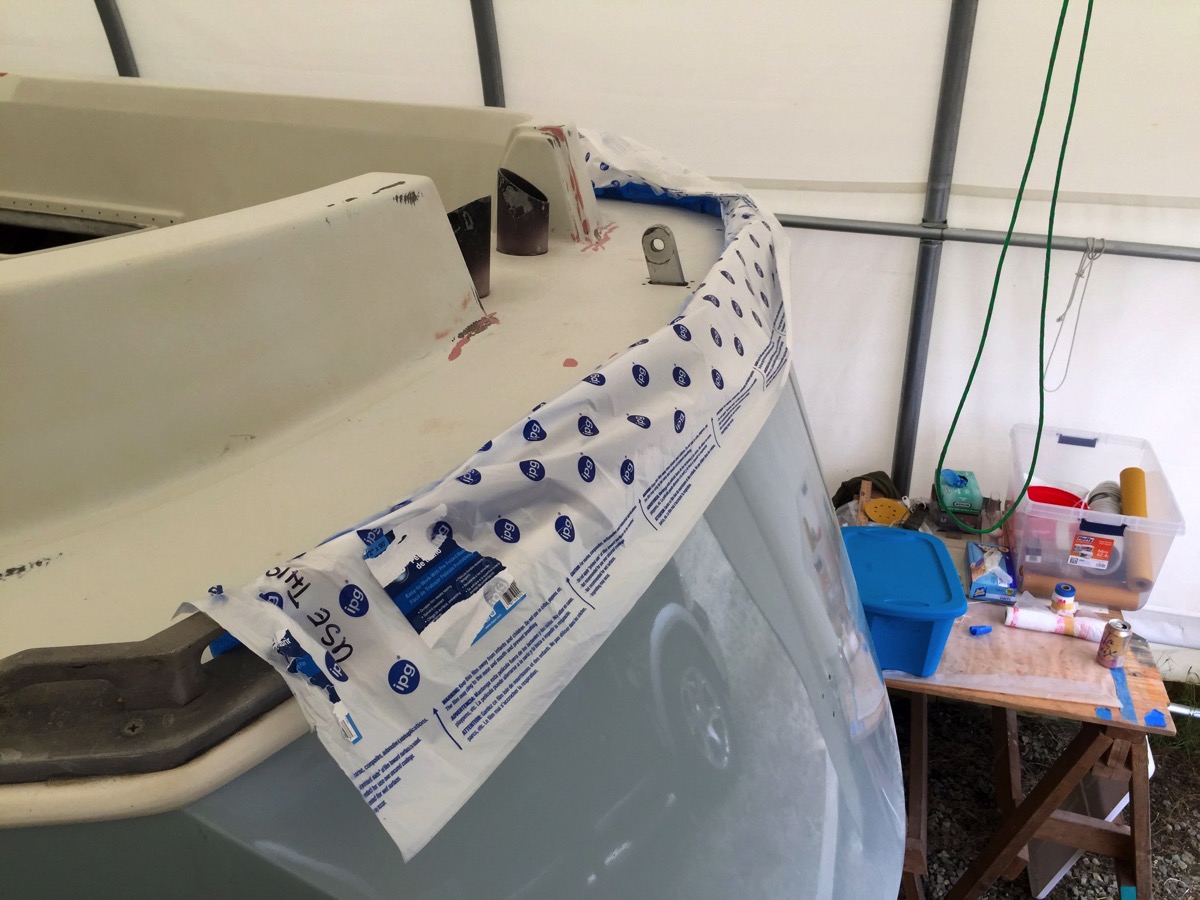
With the final sanding complete I did a quick vacuum and then pulled out the masking supplies box and got to work. I started with the cockpit sole because I was tired of grinding sanding dust and yard dirt into the clean sanded primer and wanted it protected with some sturdy paper.

Protected.

This took an afternoon

What to me seemed a quick and simple job took an entire afternoon. I knew right then that I was not going be spraying the gloss coat after three days of taping as I had planned. 

Okay, I decided to take a deep breath and go into Zen mode. The prep work will get done when it gets done. The ace up my sleeve is that I called my brother and asked if I could borrow his 125,000 BTU diesel fired radiant heater.  Confirmed. Just in case the temperatures dropped out before I could pull out the spray gun...

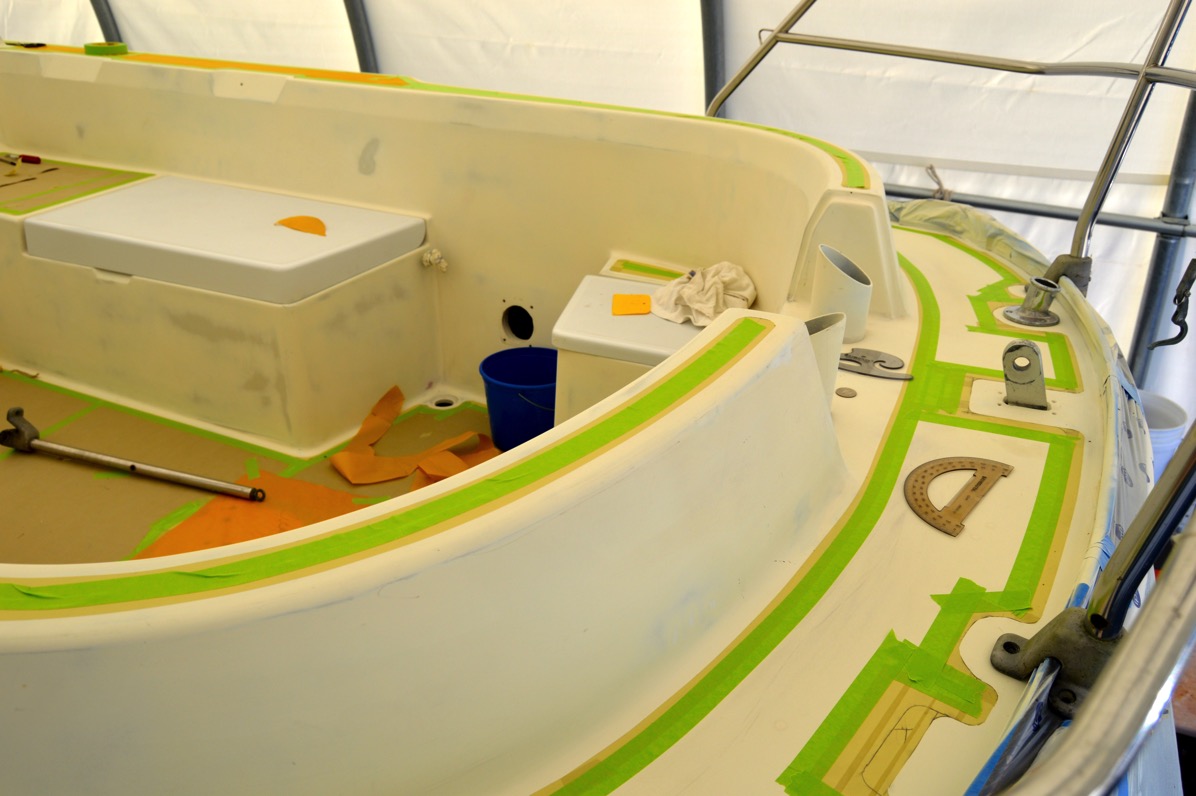
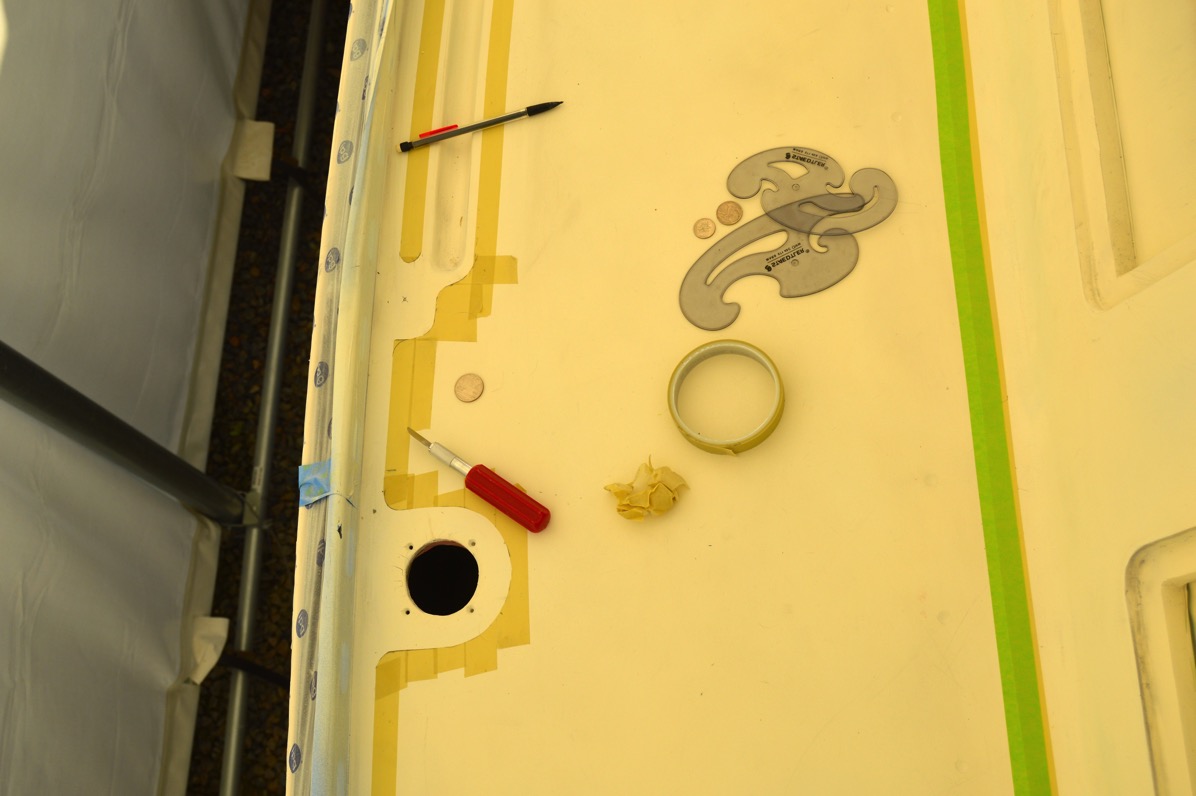
So, every day I get up, get breakfast, drive to the yard and start the very, very slow process of taping out the gloss areas with 3M 218 Fine Line tape. Lay it down, draw out the outline, cut out outlines for each stanchion base, cleat and mounted hardware. Incredibly time-consuming. It will take many days of this process. And my knees are wrecked.

I hauled the pushpit over to the yard and set it on the stern. With that in place I could outline the stanchion feet, flagpole base and an area for some miscellaneous wiring for the stern light and GPS antennas exiting the deck.

Why does the stern looks so small?

Tiny butt

Old habits are hard to break. Every damn time I would climb up the steps to start into the cockpit I would grab the top rail of the pushpit for support. And every damn time it would start to rock back off the stern. You’d think I would learn...

More taping.
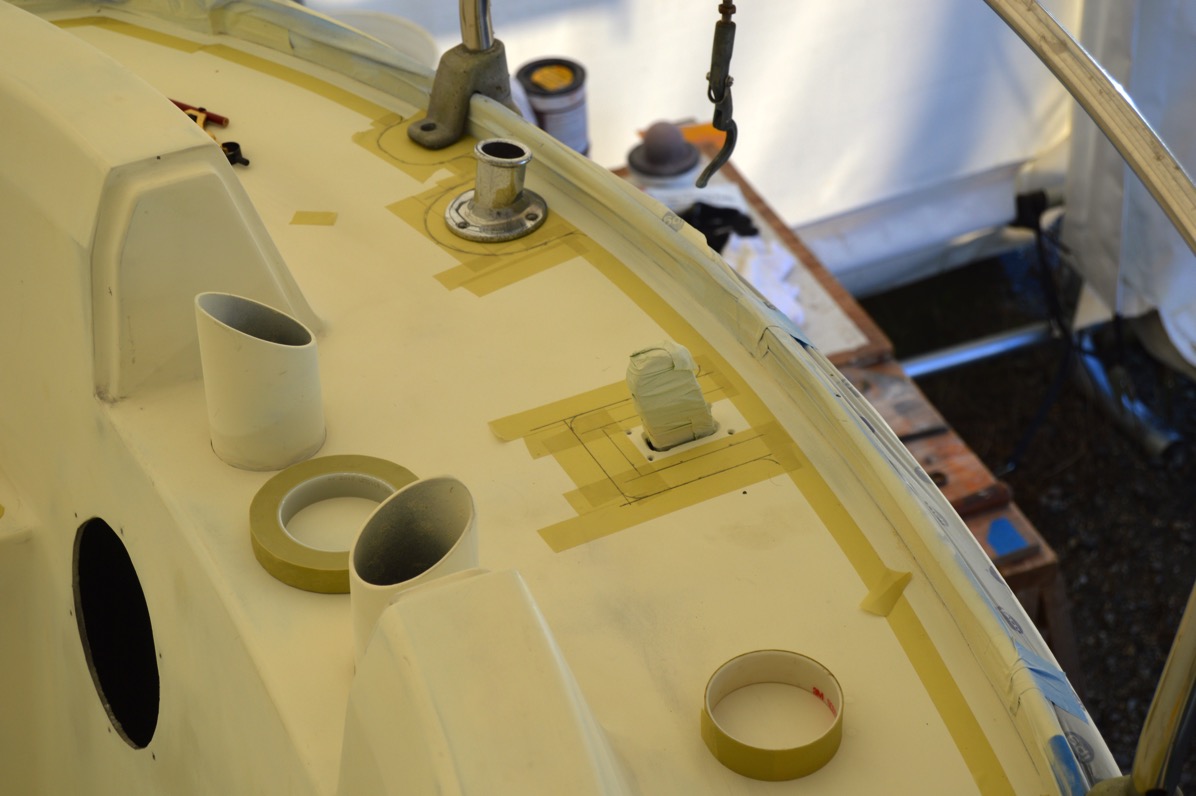
Starting to mask

Tape is expensive

Expose the gloss areas

After about 3 days of work I am just finishing up running the tape up the starboard side. Lots of stops along the way to figure out the outlines for the gloss areas for the rest of the stanchion bases, diesel and water deck fills and the head pump-out deck fitting, a plate for the chainplate and the channel sides for the deck scupper drains.

Now, full disclosure; I have no one but myself to blame for this. None of those cutouts and fancy curves existed in the original deck layout. C&C simply sprayed non-skid over 90% of the flat deck areas. It was me that decided to sex it up a bit and add the gloss cutouts and line along the toe-rail. Some of the impetus for that was to make sure that any fittings were sitting on smooth surfaces so that there would be a good seal when I stared to put the deck fittings back on. And mostly because I just thought given all the time I’m putting into this effort I might as well make it look like a Hinckley.

Yeah, good luck with that...

One day’s worth:

Running the starboard side

Sophisticaled tools

As part of the project I’ve gotten in touch with a local rigger. He’ll be out in the next week or so to go over my list of tasks for re-doing the rigging. Looks like new rod and most certainly new running rigging, wiring and coax.

Sad old mast.
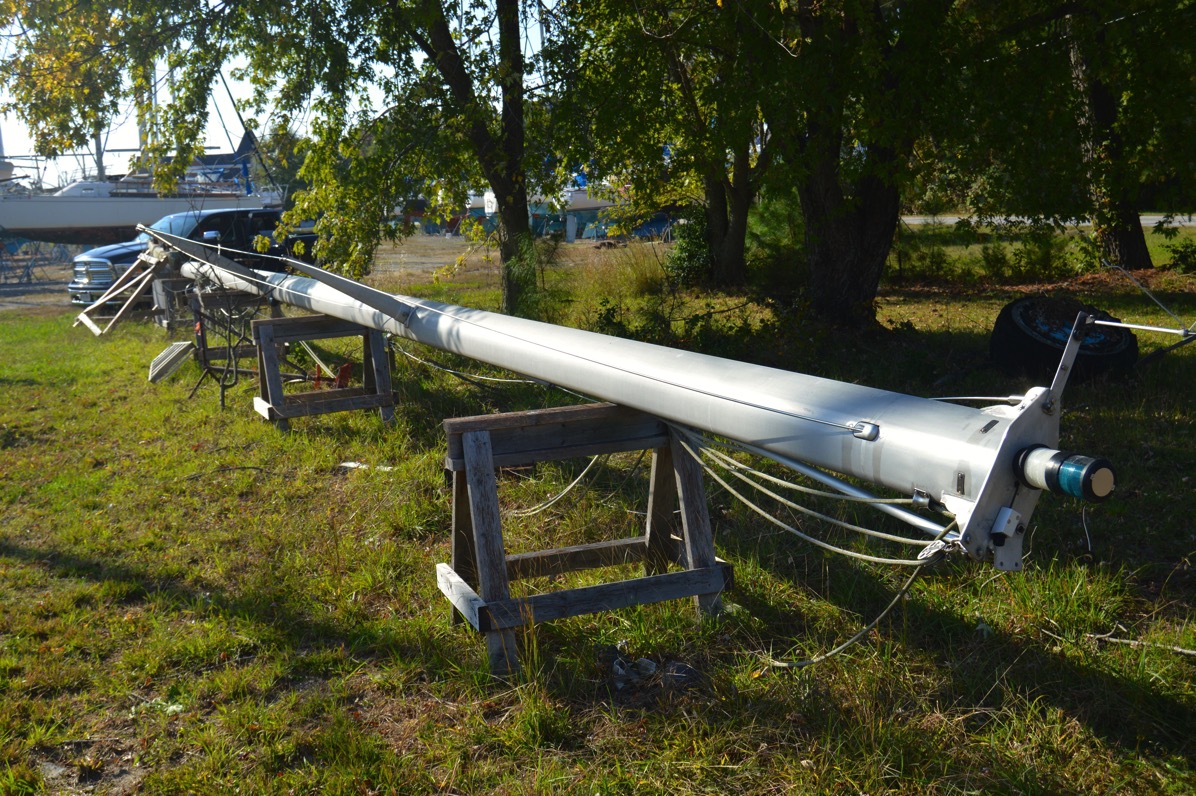
Tired old rig

And I wished that we would just stay on Daylight Savings Time...

Tuesday, October 25, 2016

If I never see another pinhole it will be too soon.

I’m trying to spend more time on the refit project especially with the favorable weather that we’re having. After getting back from the Dominican Republic I have redouble the final effort to put on the Awlquick primer and sand it in preparation for applying the topcoat.

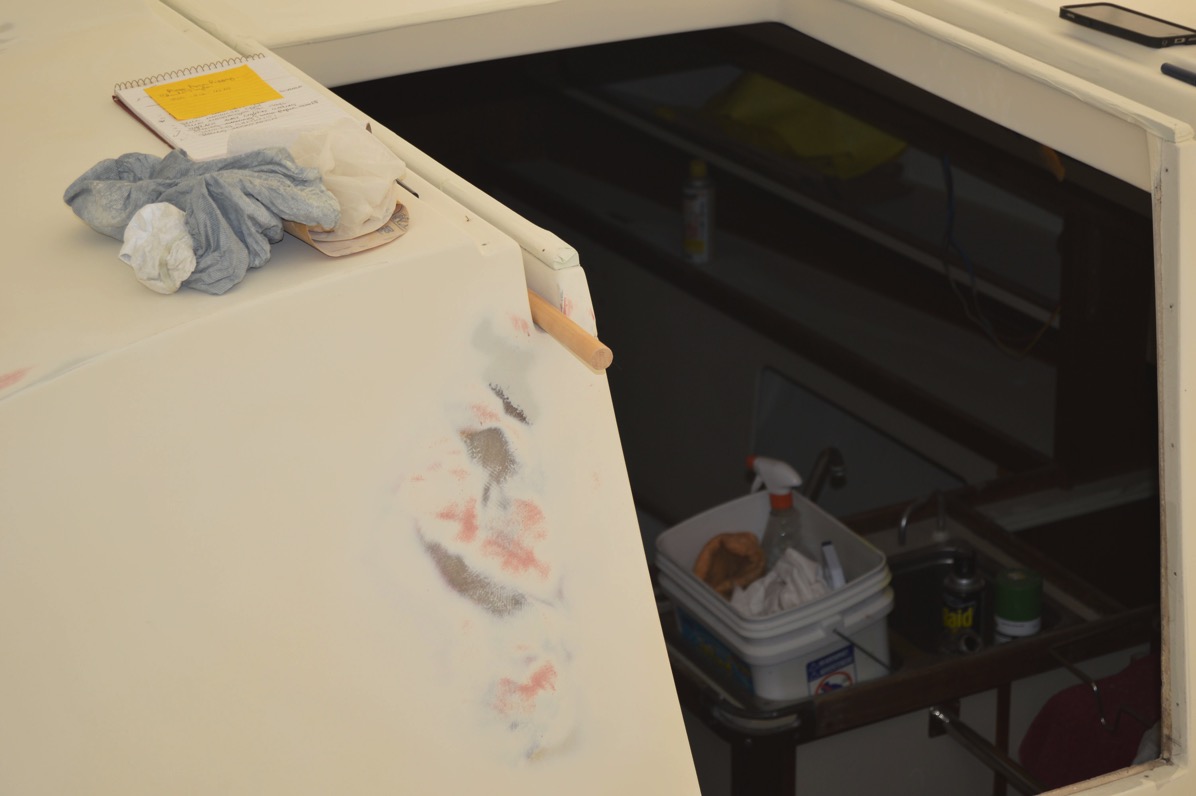
I knew before leaving that there were some serious mistakes that I had made fairing nicks, gouges, cracks and glasswork in preparation for the gloss topcoat. The number of those mistakes were a bit depressing. Especially after I came back and and filled them with Awlfair. I sanded all the builtup fairing compound and applied more Awlfair, let that set up for a day and then sanded again. After doing this I mixed up another batch of Awlfair and spot sprayed.

Fix those cracks and scratches.

Awlfair touchup work

And lo and behold, more pinholes appeared. Some in areas that I thought I had fixed and some new ones. Frustrating.

Too tiny to see in the photo but they’re there.

Awlfair failure

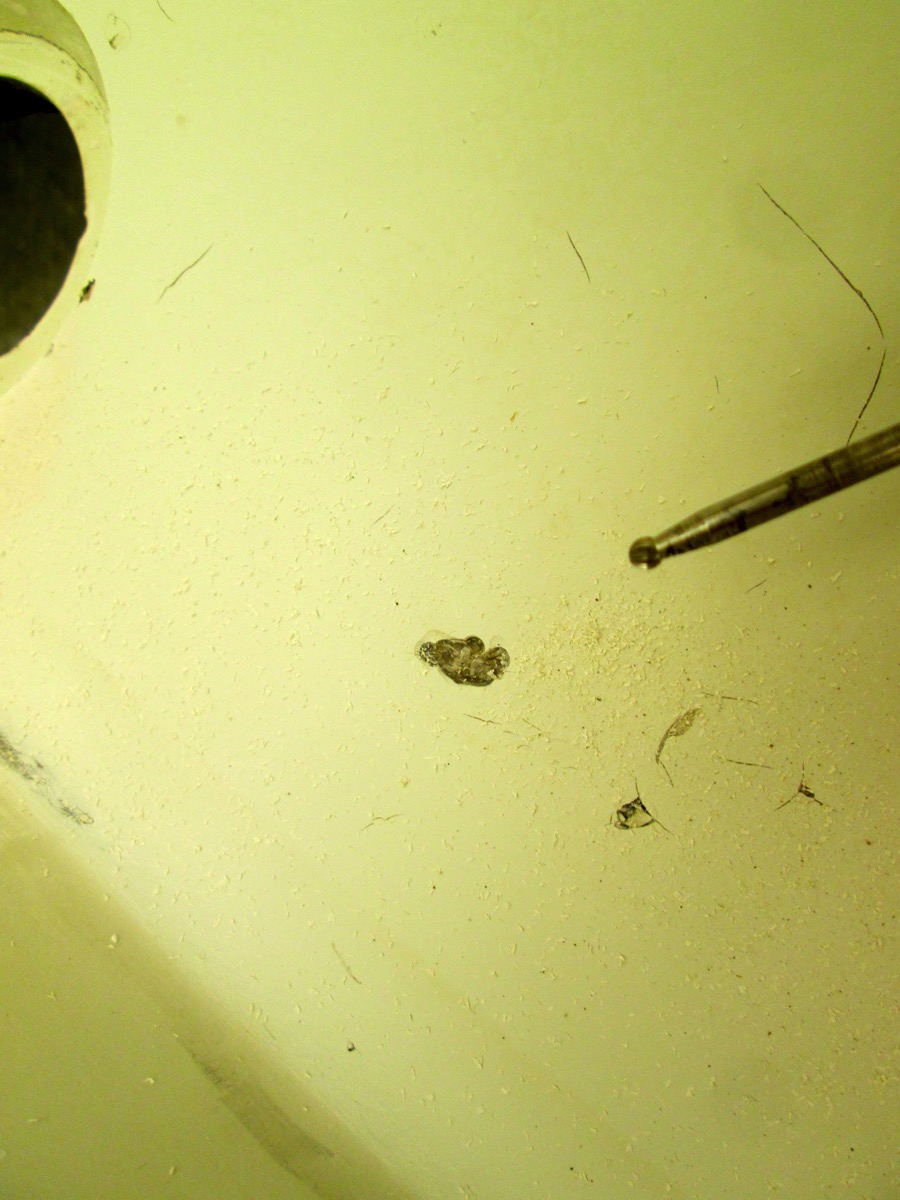
One section of the port scupper drain showed another set of holes that had blown open next to an area that I filled. Closer investigation with a sharp knife revealed yet more glass layup failures. I should have really tested the entire length of the affected area to ensure that I repaired everything prior to spraying the primer.

Bad layup blown open.

Another set of layup failures

The voids in the scupper drain required something more industrial. Out came the West System mixed with colloidal silica shoved into the opened cavities. This area would not be ready for sanding and painting within the day but I’ll just do that in the next day or so and “paint” that area with primer.

So, with just enough of the original gallon of primer left I tried a different tack with the pinholes. 3M Arcyl-White Glazing Putty. I should have used that earlier. It is easier to apply in small amounts and has the benefit of being ready for sanding after 30 minutes. I did a closer inspection of areas that I knew were suspect, smoothing on the glazing compound as I went. Sanding with 220 grit sandpaper was enough before painting.

Glazing compound. Should have used it sooner.

Glazing putty to the rescue

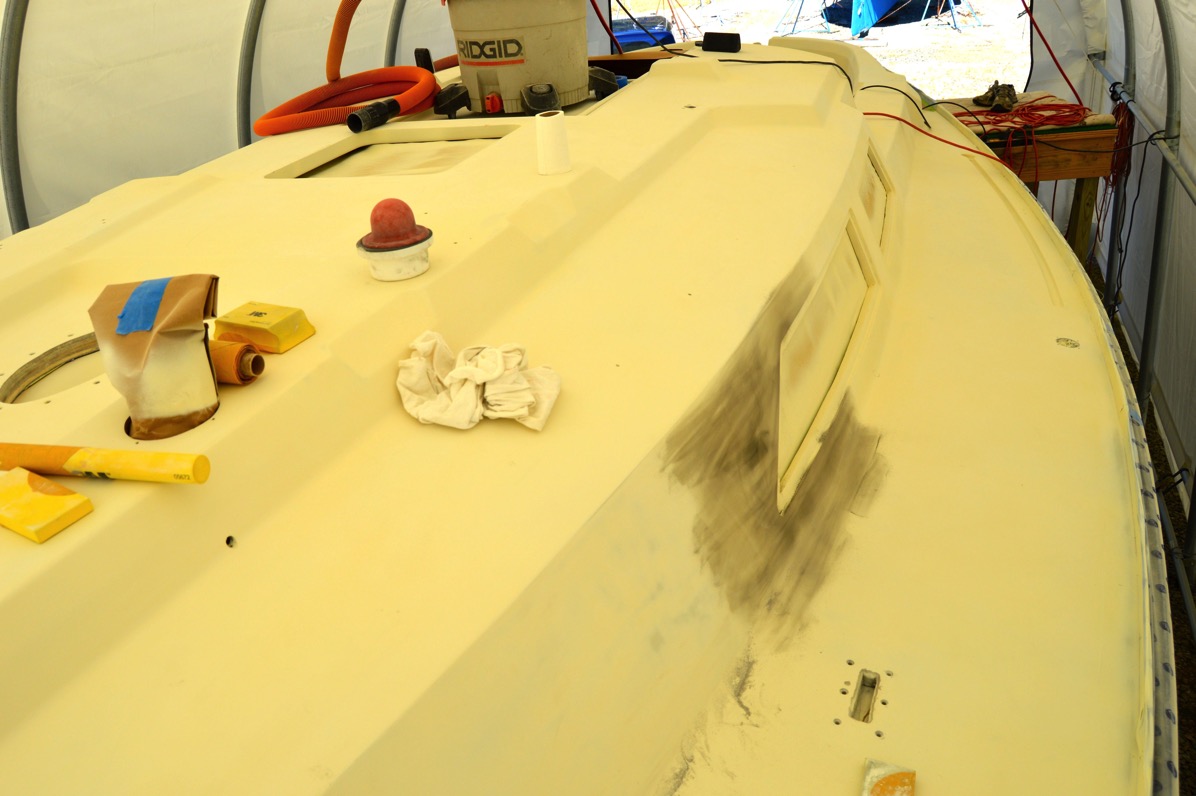
While waiting for those areas to set up I started in on final sanding the surfaces that will be painted with the gloss topcoat. I had already machine sanded the entire first primer coat on the decks with 320 grit sandpaper. The key to getting a nice finish with the Awlcraft 2000 is to final sand those areas using 3M Dry-Guide and more 320 grit sandpaper. Block sanding by hand.

Hand sanding the primer isn’t very hard and the results using the Dry-Guide are sublime but it does take time. I anticipate several days of that coming up.

Smoothing the surfaces.

Dry guide sanding section

Once the glazing compound set up and sanded I fired up the compressor, mixed the last of the Awlquick and applied covering coats.

More primer needed.

Final spot repairs

So, at the end of the day I am 99.99% done with applying Awlquick epoxy primer. Next installment, after I get back from four days of helping my brother and sister-in-law run a 3-day Endurance ride in Fort Valley I will finish the block sanding and start in on masking the non-skid and gloss patterns.

Covered.

Awlquick touchup pass


Thursday, October 6, 2016

An actual accomplishment. With an assistant...

September proved to be yet another pretty warm month. I just used that as an excuse to screw off and do other stuff. Spent a week in Top Sail Island for a destination wedding. More motorcycle riding. I spent some time helping a friend with an offer on a used Post 42’ but unfortunately the offer was not accepted.

When the temperatures broke the rain moved in. On the reasonably good days I continued to work on small fairing jobs, mostly stuff that I had missed initially. I do that quite a bit. Think I’ve covered everything when I haven’t.

In late September I started to ready the boat for the Awlquick Epoxy Primer shoot. While it was raining outside I busied myself with washing the entire deck surface with a 3M Scotchbrite pad and cleanser. The next day I came back and vacuumed the entire surface.

Got a fair amount of water down below

Washing the decks

I ran 3M Masking Film along the inside edge of the toe-rail and left it wrapped up to be pulled down over the hull right before I started to paint.. After that I started masking the ports and hatch openings. With those items done and ready to go I waited for a clear day with low humidity.

3M products everywhere...
Masking start


Nifty tool

Stern paint protection

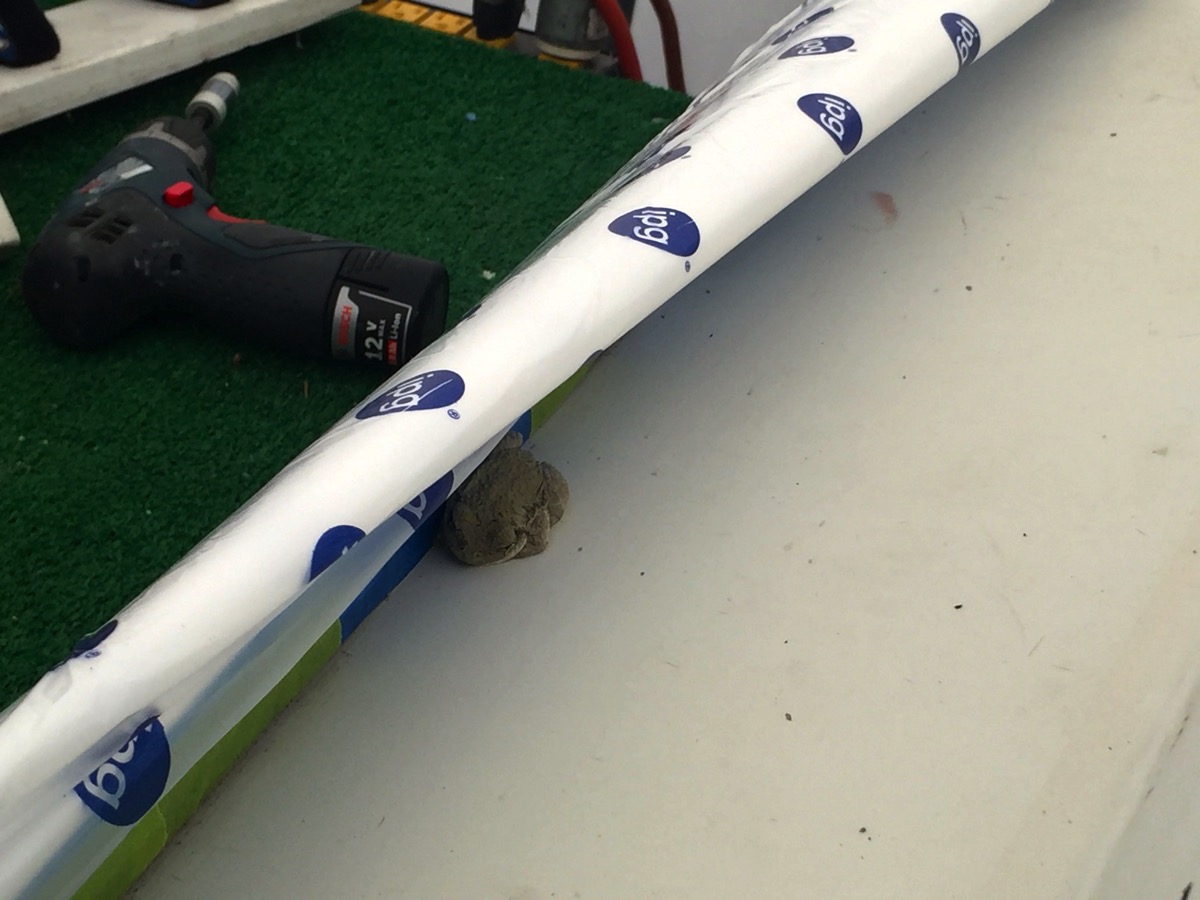
The next day I came back to finish up a few more Awlfair spots that needed sanding and discovered that a helper had climbed up on the boat and was waiting to give me a hand.

I’m not sure how he got up there.

Found the next morning

I was glad to have the company. I let him make sure that I completed all the items on my work list.

I think he had a hard time read my handwriting

Helping with the lists

Tuesday, October 4th provided the right conditions here in the Mid-Atlantic. I had all my tools and supplies in crates and boxes ready to go. Threw all that into the truck, hitched up the trailer with the generator and compressor and headed for the boatyard early.

Although it was a beautiful early Fall morning I quickly discovered that it was “raining” inside the shed. There were large amounts of condensation on the ceiling of the shed that were dripping onto the deck.

I put on an old foul-weather jacket and went along the deck smacking the fabric trying to get most of the moisture to fall off. Which it pretty much did but I still had to wait for a a couple of hours for it to become completely dry.

Off to a late start for the day

Morning condensation

Next on the prep list was to wipe the surfaces with Awlprep Plus Wax & Grease solvent using the infamous two-rag method. That accomplished I went back, starting at the bow and working aft, and vacuumed the surface. That was followed by a complete wipe-down with tack-rags. Burning through the day though.

With everything ready to go I suited up, put fresh NIOSH filters on my respirator, mixed painted and prepped the spray gun and ran the air-hose in carabiners suspended overhead on the centerline of the shed so that they would drag along the deck.

Painting commenced and pretty much went well. Shooting primer doesn’t take much technique so I was safe there. It did however take longer that I thought it would. I waited 1 hour between coats to go back and apply another coat and that was too long. Thirty minutes would have been fine for walking on the previous coat.

Anyway, I didn’t finish the second of three coats until 6:30 PM. With the amount of time that it would take to wait and then shoot the final coat I would have been working in the dark. Time to go home.

I cleaned up the tools and materials, closed up the shed and pulled the trailer home with the plans to start in early the next morning.

Waiting for the shed ceiling to dry

Paint mixing setup

Wednesday was another nice day. Without the condensation issue from the previous day. I quickly got things set up and finished the third coat.

The results were fair. I knew that I would find areas that showed slight imperfections but there were more than I anticipated. Mostly pinholes that blew open when I ran the spray-gun over them.  I mentioned that to my friend who painted the hull and he smiled wryly and said that was why he shot two primer coats...

I’m off to fly over Hurricane Matthew to the Dominican Republic for our regular medical mission work for the next week so round two of the sanding, fairing and primer work will have to wait for week and a half.

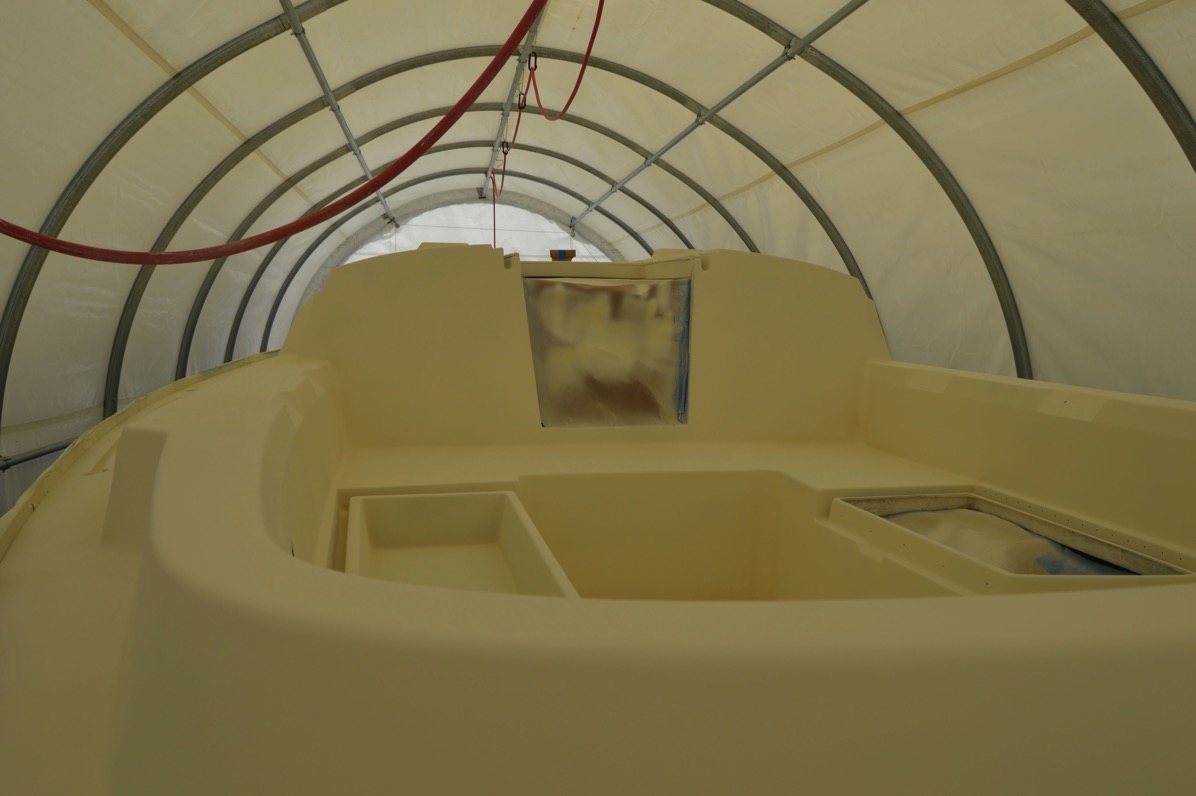
Although I approach this project as a hobby, it feels good to get the big things done.

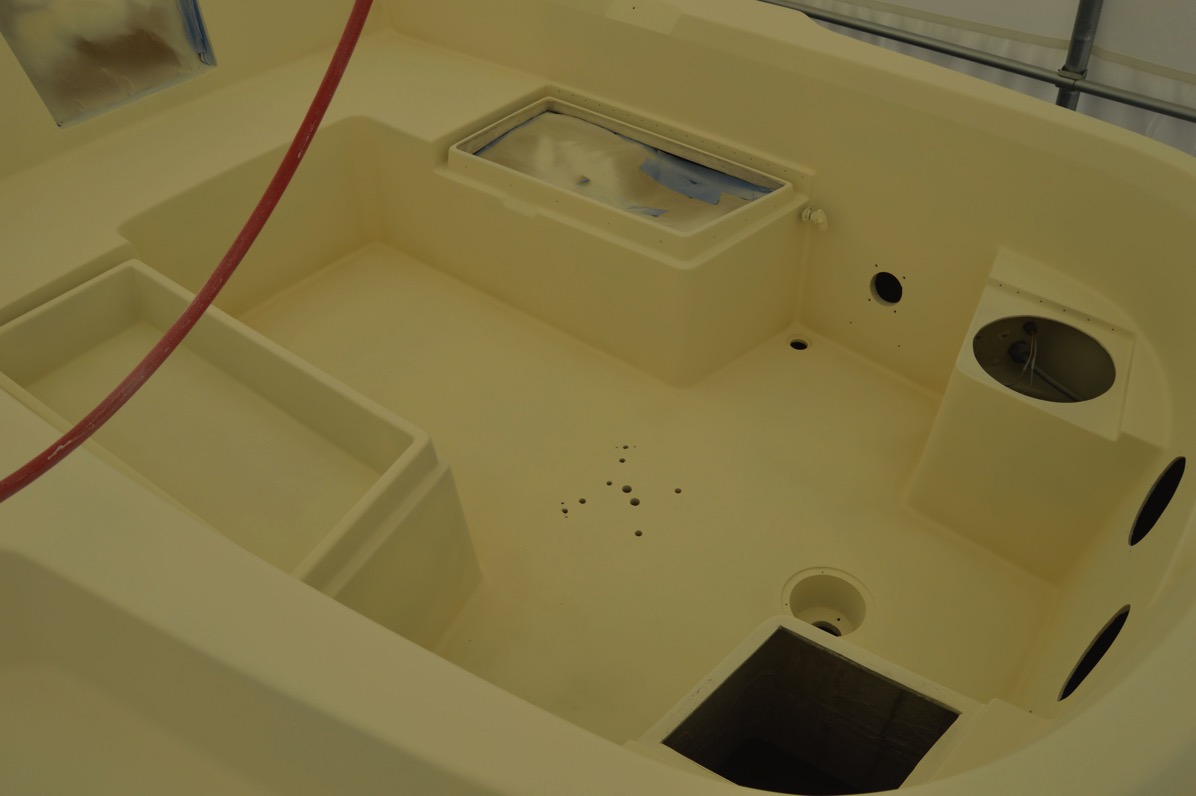
Primer

Drastic change

Job done

Looks good from a distance


Thursday, June 16, 2016

Gotta sweat the small stuff.

Been a few weeks of small work. Filling and fairing. Finding spots that I missed even though I marked them for fairing. I’m fairly confident that this part of the deck painting project is pretty much done. Even so, without my lists I’d be lost.

Remember to do what?

Gotta have a list

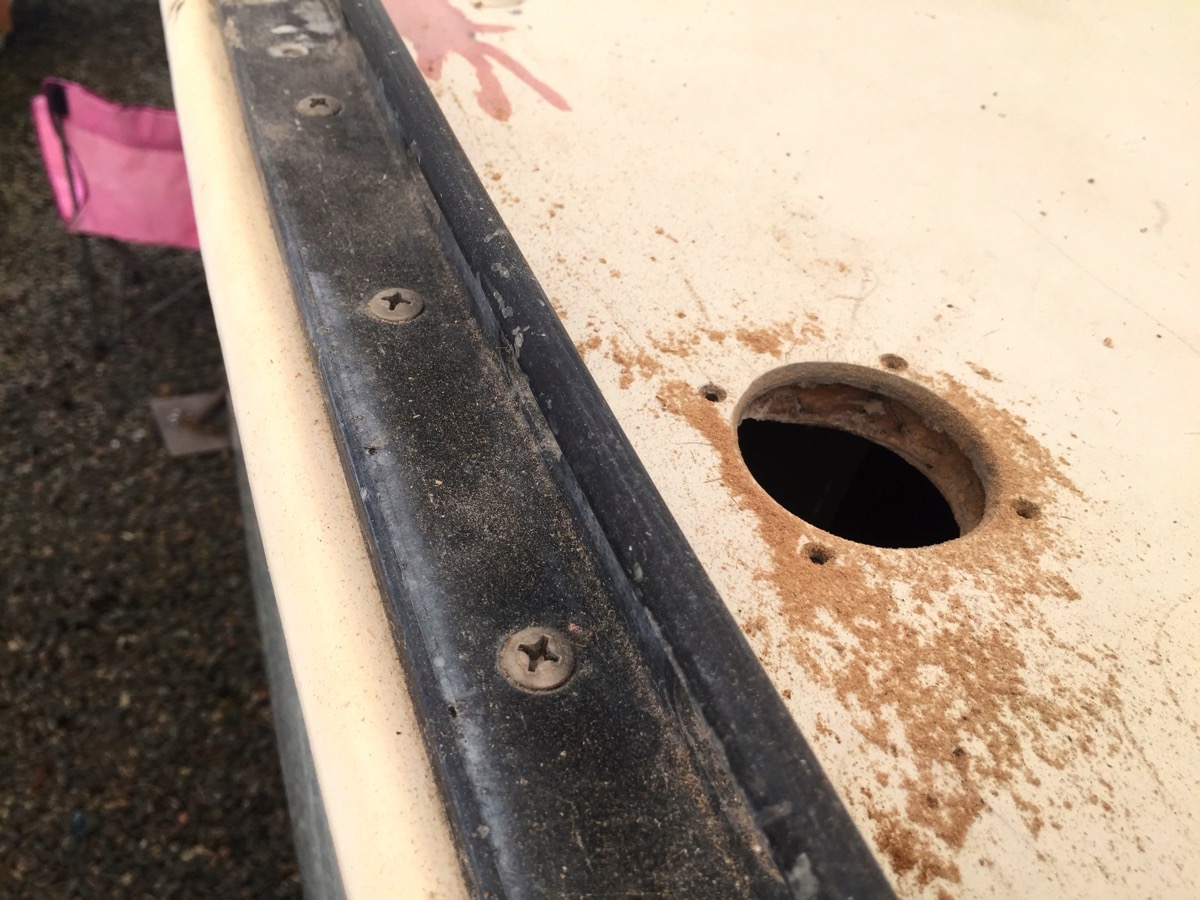
The decks have been left alone since removing all the non-skid last fall so I spent a day or two vacuuming and cleaning. One item that never occurred to me is that all the empty screw holes, bolt holes and cutouts needed to have the sealant and butyl removed. That took an entire day.

Cleanup.

Chainplate cuts

Other items that I hadn’t considered would need attending to also. All the deck fill openings exhibited dried out core from previous water intrusion so I cleaned them up with the Dremel tool and filed them with Awlfair to seal them.

Cleaned, filled and curing.

Deck fill destruction

Keep the core dry

At the same time I became concerned about how the main hatch was going to be remounted. It’s only held in by large screws and has been out at least once before. I decided to fill the screw holes with West System and colloidal silica so that when I remount the hatch there will be a better purchase.

Sand and fair...

Redo the old screwholes

Another forgotten item was replacing the foamed-in filler for the starboard opening port. C&C used some sort of filler to fill the space between the cabin laminate and the interior liner. This had given up the ghost and fallen out. I worked up a small piece of wood and expoxied it into place.
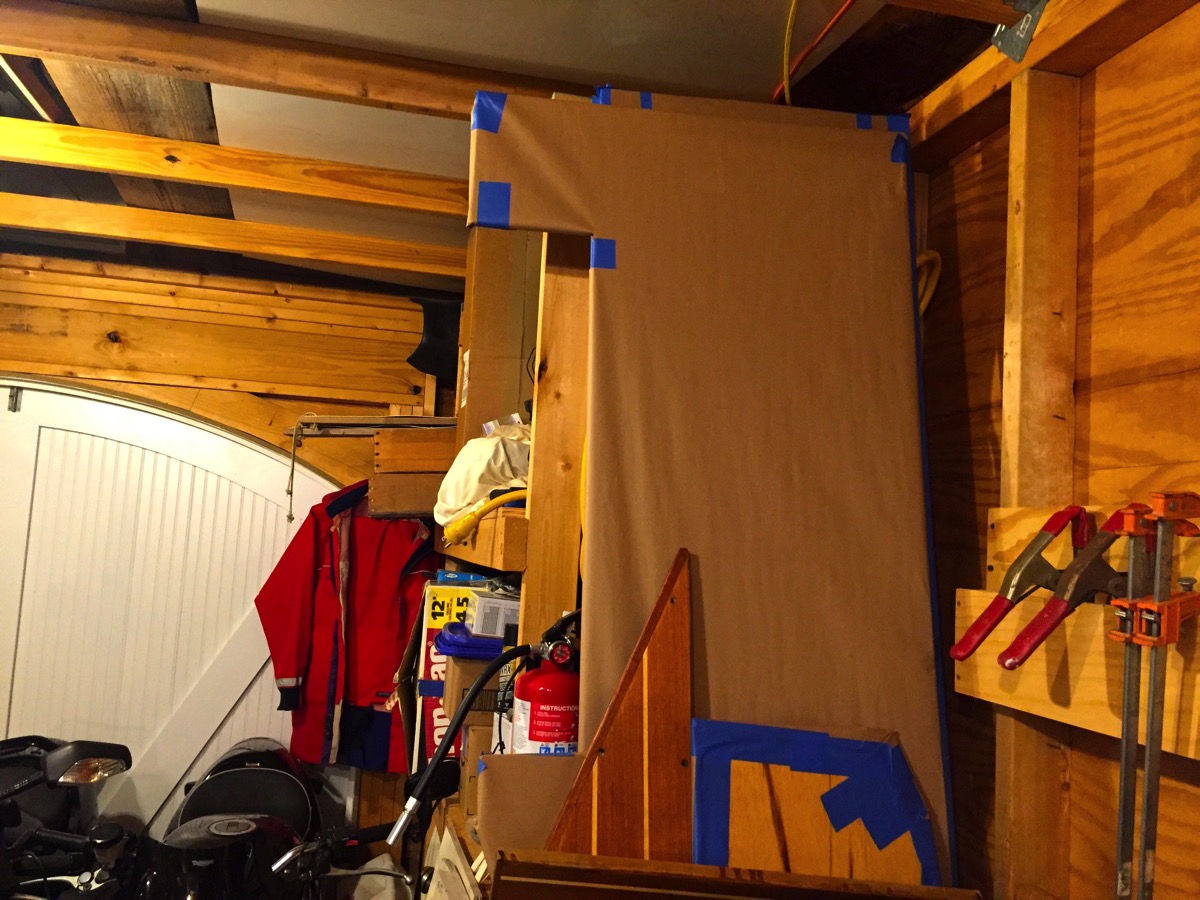
Clamps are your friends.

Goop replacement piece

Attaching skins

With most of that taken care of I started getting things ready back at the shed. I pulled all the hatches and took them home. I serviced and prepped the compressor, added connectors to the new 3/8” air hose that I bought and started in on sanding, filling and fairing. There are those words again...

This should be the last of it.

First hatch prep curing

New work area.

Shed workstation

Some time back I had contacted a fellow C&C list member about buying a new Lewmar Ocean 60 hatch to replace the original Atkins & Hoyle hatch that I had stupidly destroyed removing it. The new hatch arrived early this week and I dry-fitted it to make sure that it would work and that I had prepped the area effectively prior to painting.

Looks like it will work well.

Prep for new hatch

New hatch positioning

With all the prep work close to being finished, I worked up my materials list, gave it to my buddy Charlie at Jennings and two days later I have, I hope, everything that I need to start in on painting the decks.

Awlgrip and 3M fanboy.

Christmas presents

Next step, attempt to be half-way decent spray painter. Oy!

Tuesday, May 31, 2016

The project limps along...

Literally.

Work on the boat pretty much stopped back in mid-April. I developed a pretty nifty infection in a toe on my right foot and couldn’t navigate very well. In addition, I went on my annual week-long trip to Utah to do some off-road riding and pretty much spent the entire time sick as a dog. Got back from that the and the infection in my foot went nuclear. Stuffing my foot into a rigid dual-sport boot was probably not a great move. Multiple doctors visits and antibiotic regimes later, I’m finally able to hobble around a bit.

So, in the past few days I’ve started to get back on track. I still can’t climb around under the cockpit to finish off the work on putting in hoses and thru-hulls for the new bilge pumps but that can wait for a little longer.

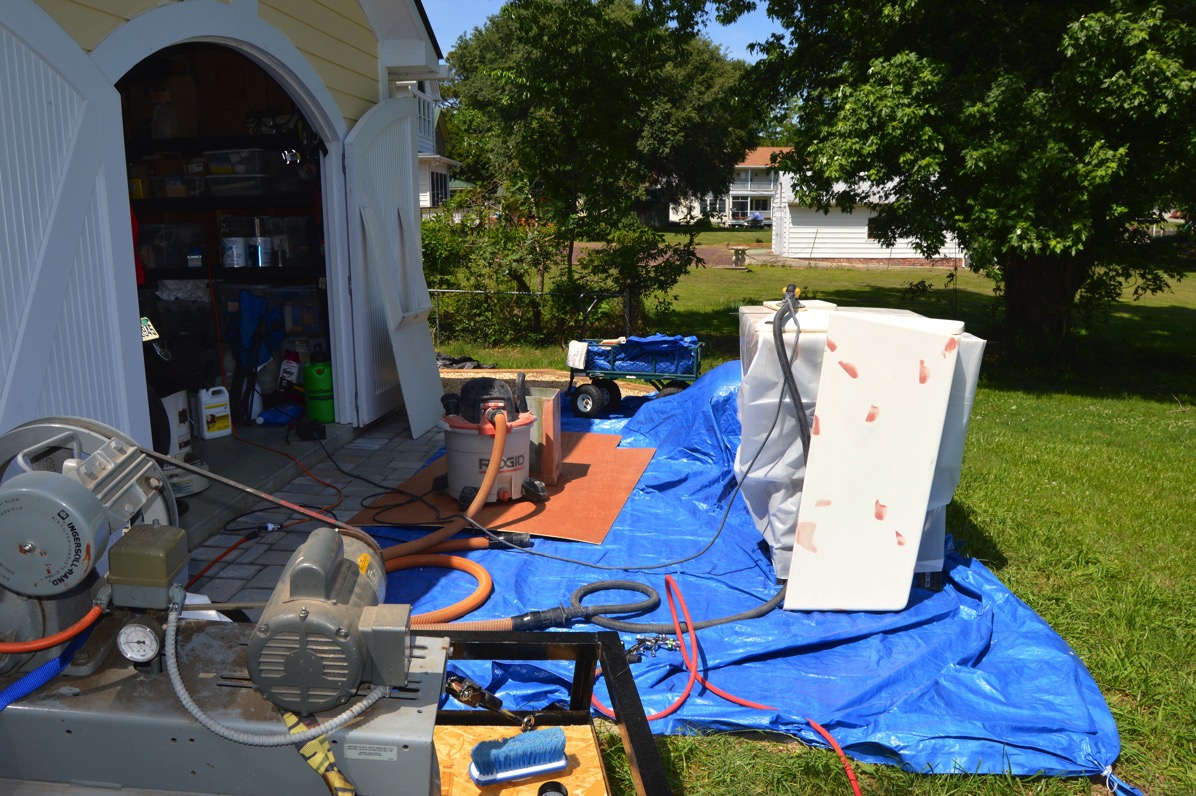
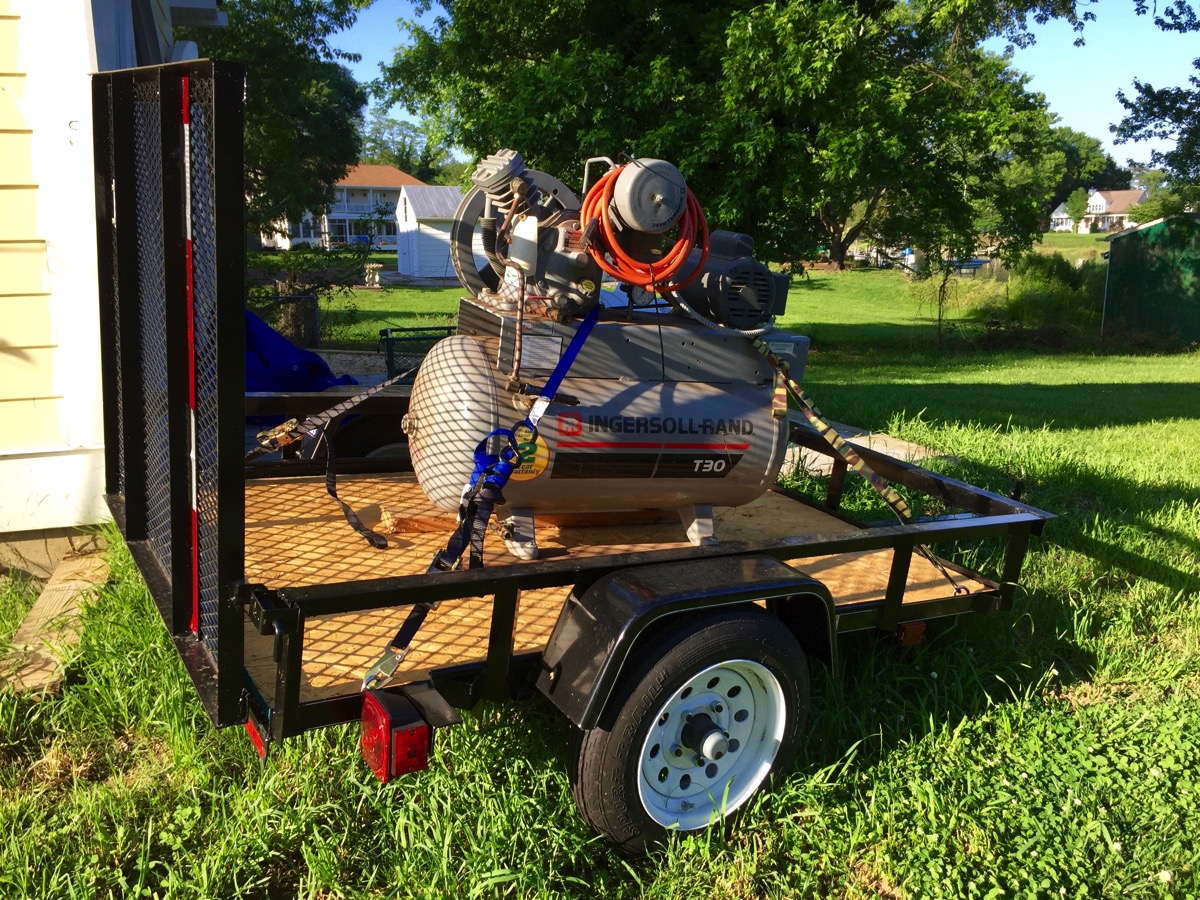
I’ve promised myself that I will have the decks painted by the end of June, come Hell or high water. Finding a suitable compressor for the jobs was a bit of a problem. I needed something that will push a good amount of air and most units require either a gas-powered rig or a big high-volume electric unit. Turns out my brother had a nice Ingersoll-Rand electric compressor in his garage that was collecting dust.

I bought a small utility trailer and on one of my many doctors visits I dropped by my brother’s and got him to load it onto the trailer with his tractor’s bucket. It’s heavy enough that I will not be moving it by hand. With that on the trailer and a powerful gas generator (not enough electric service in the yard…), I should be in good shape. It also allows me to drag it to and from the boatyard and avoid having it go “walk-about” if it were left there.

Should do the trick:

Air pump

I’ve ordered two 50’ sections of Goodyear 3/8” air hose, a 3M PPS paint system and other painting sundries to allow me to start in on the decks. I already have a couple of serviceable spray guns.

With that taken care of I am going back to the yard and starting in the final sanding task, the cockpit. I purposely left that because I knew that I would be stomping all over that area and wanted to wait until last to get it prepped.

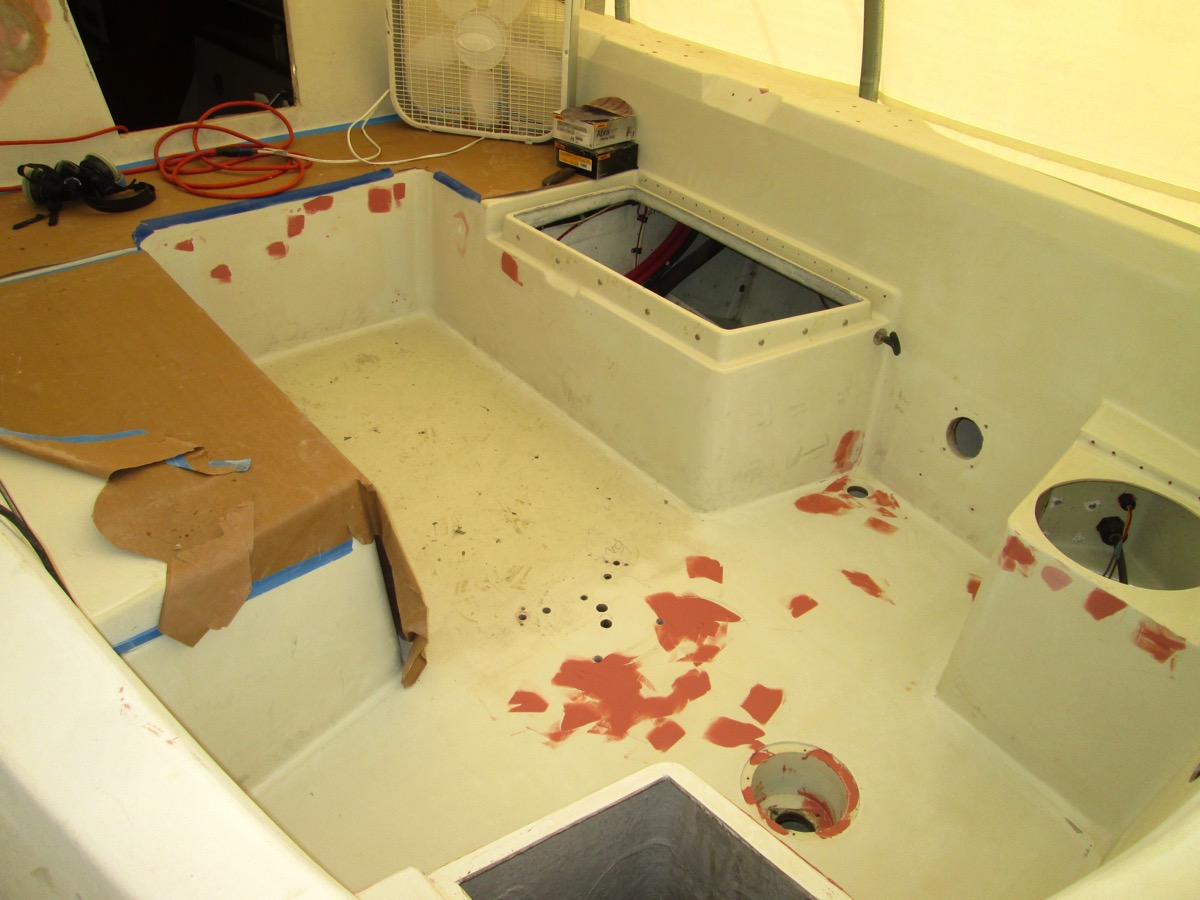
I’ve sanded the vertical gloss areas of the cockpit and am gradually working on removing all the non-skid. As I do this, I’ve been repairing nicks, voids, scratches and cracks. I figure on another 2-3 days of that sort of effort.

I’ve pulled most of the hatches off and will use them to practice painting and applying the non-skid. That taskt will happen behind my shed. That way when I really screw up no-one will see it and I can try it again...

Cockpit sanding:

Back to work

Sand and fair

Removing cockpit sole nonskid

There were a few areas that had some bad glasswork which created voids. Some quick work with the Dremel tool, some Awlfair, sanding and it should be good.

Grind it out.

Grinding bad layup

Voids in the layup

Well, despite the delay, it’s good to get back to work. Next up, ordering the paint...

Thursday, March 10, 2016

So, where did I leave off?

Oh yeah, back to boat work.

I thought that with the fancy boat shed I would be able to get a fair amount done in the dead of winter. Not so much. A week in the Dominican Republic doing our regular medical mission volunteer work only to come back to the Great Mid-Atlantic Blizzard  and then quickly getting on a plane for another week and a half of sitting on a beach in Florida pretty much ruled that out.

February was just too stinking cold, windy and wet. All I did was check on the boat shed to make sure that it was still there and keeping Ronin dry. Which it was and did admirably.

I would occasionally fire up the heaters in my backyard shed and do some small woodwork and varnishing on the final odd pieces of the cabin sole. Tomorrow I will put a final satin finish coat on top of the last piece that goes on the v-berth step, wrap it in construction paper like the rest of the cabins sole, set aside and be done with that project task.

Last bit of cabin sole work:

New V Berth Step

Cabin soles ready to install in some future date...

Wrapped and warm

The past two days have seen near record breaking warm temperatures here on the Chesapeake Bay so I, like many others in the boatyard, got back to work. The first day I did some administrative work, mostly thinking about what tasks to get started on this spring.  I did a quick survey of the mast and took notes for when I get together with a local rigger.

Another item that needs to get started is installing a small capacity bilge pump. I’ve pretty much decided to go with one of the new Whale Supersub Smart low-profile bilge pump. It is not intended to move large amounts of water, rather, to just keep the bilge dry during normal conditions. I worked up a quick wooden mockup to ensure that it would fit in my small, narrow bilge. The good news is that it should fit nicely. I was concerned that it might not fit with the keel bolts.

Replace with the real deal.

Small Bilgepump Mockup

I have not done any sanding or prep work in the cockpit for the upcoming deck painting because I knew that it would be a high traffic area. A lot of dirt and grit gets carried onto the boat so I wanted to wait until the last moment to start in on the task. I have spent quite a bit of time worrying about having a soft balsa core in the cockpit and that I would need to completely rebuild that area.

I spent some time sounding the entire cockpit sole in minute detail today. My ears a still ringing from that effort. But, the really good news is that there is no wet or rotten balsa. Both the sounding and a visual inspection from underneath verified that it is strong. That was a great relief and means that I can “save” at least a month’s worth of work that would have been required to replace the core and fiberglass.

Solid.

Balsa core sounding

I will need to seal the aft-most two openings that carried the throttle and shift cables when I install the new Edson Classic pedestal that is in the shed. Amazingly the core that was exposed around the holes drilled in the cockpit sole was dry and solid.

Quick verification.

Dry fit new pedestal

While I was at it I applied more AwlFair to the old cockpit/quarter-berth opening on both sides. Standard apply and sand off process. A previous owner had slapped a gob of filler of some sort on the aft bulkhead and it kept bugging me so I sanding it down and faired it too.  I should be done with this job in the next few days.

Pastels:

Old Port Repair V 2 0

And since I was on a roll, I started to think about doing something with the area underneath the port side of the cockpit driver’s seat. It may have been an option from the factory to put a hinged lid over some sort of storage like  the propane locker on the starboard side but on my boat is was simply glued downed.

So, using tools that usually get me in trouble, I decided to investigate. Fifteen minutes later I had my answer.

Not subtle.

Don t Break It

C&C “stuff:"

Off in one piece

I’m going to work up some sort of storage underneath this. Most likely a removable soft pocket of some sort. TBD.

Looks like an one-hole outhouse...

Starboard pit toilet

Oh, and I did some Frostbite racing in Annapolis last weekend and yesterday put on some shorts and went sailing with my good friend and home builder Vincent on his Corsair 24. Fun.

First Sail 2016Early start.