Showing posts with label Woodwork. Show all posts

Thursday, March 10, 2016

So, where did I leave off?

Oh yeah, back to boat work.

I thought that with the fancy boat shed I would be able to get a fair amount done in the dead of winter. Not so much. A week in the Dominican Republic doing our regular medical mission volunteer work only to come back to the Great Mid-Atlantic Blizzard  and then quickly getting on a plane for another week and a half of sitting on a beach in Florida pretty much ruled that out.

February was just too stinking cold, windy and wet. All I did was check on the boat shed to make sure that it was still there and keeping Ronin dry. Which it was and did admirably.

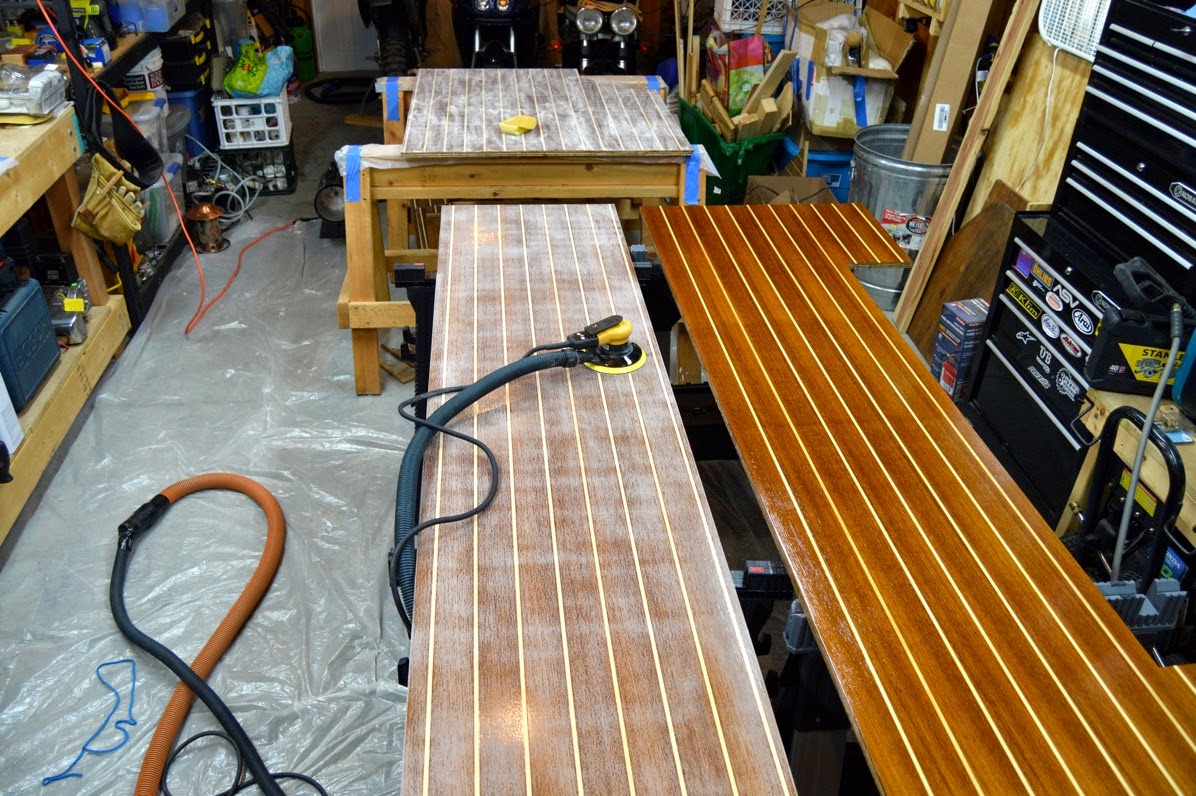
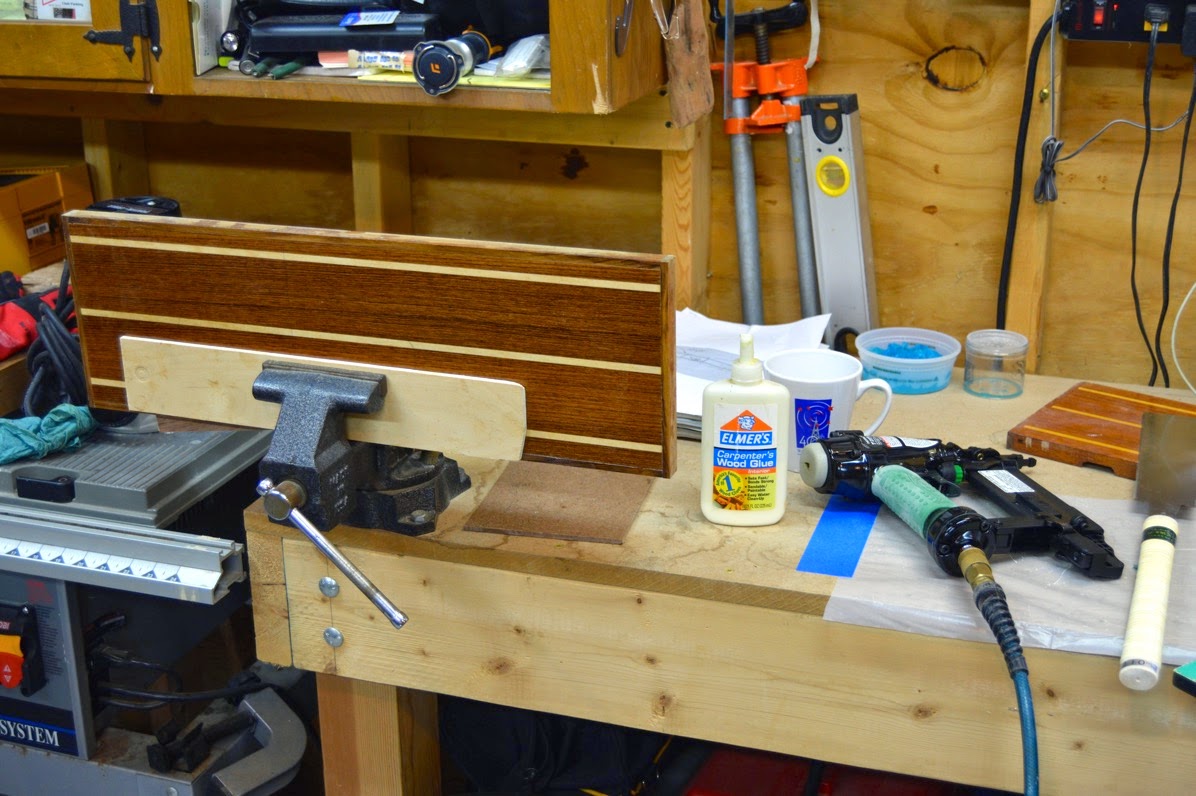
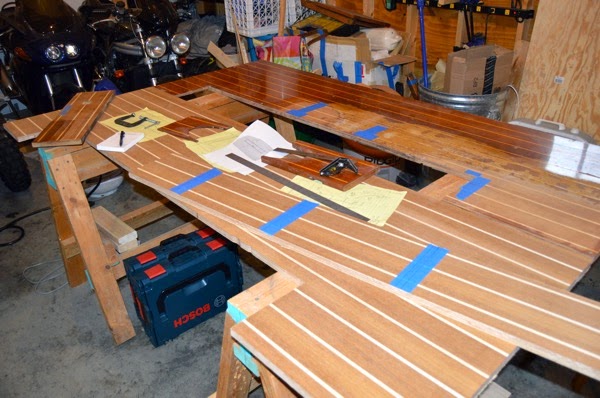
I would occasionally fire up the heaters in my backyard shed and do some small woodwork and varnishing on the final odd pieces of the cabin sole. Tomorrow I will put a final satin finish coat on top of the last piece that goes on the v-berth step, wrap it in construction paper like the rest of the cabins sole, set aside and be done with that project task.

Last bit of cabin sole work:

New V Berth Step

Cabin soles ready to install in some future date...
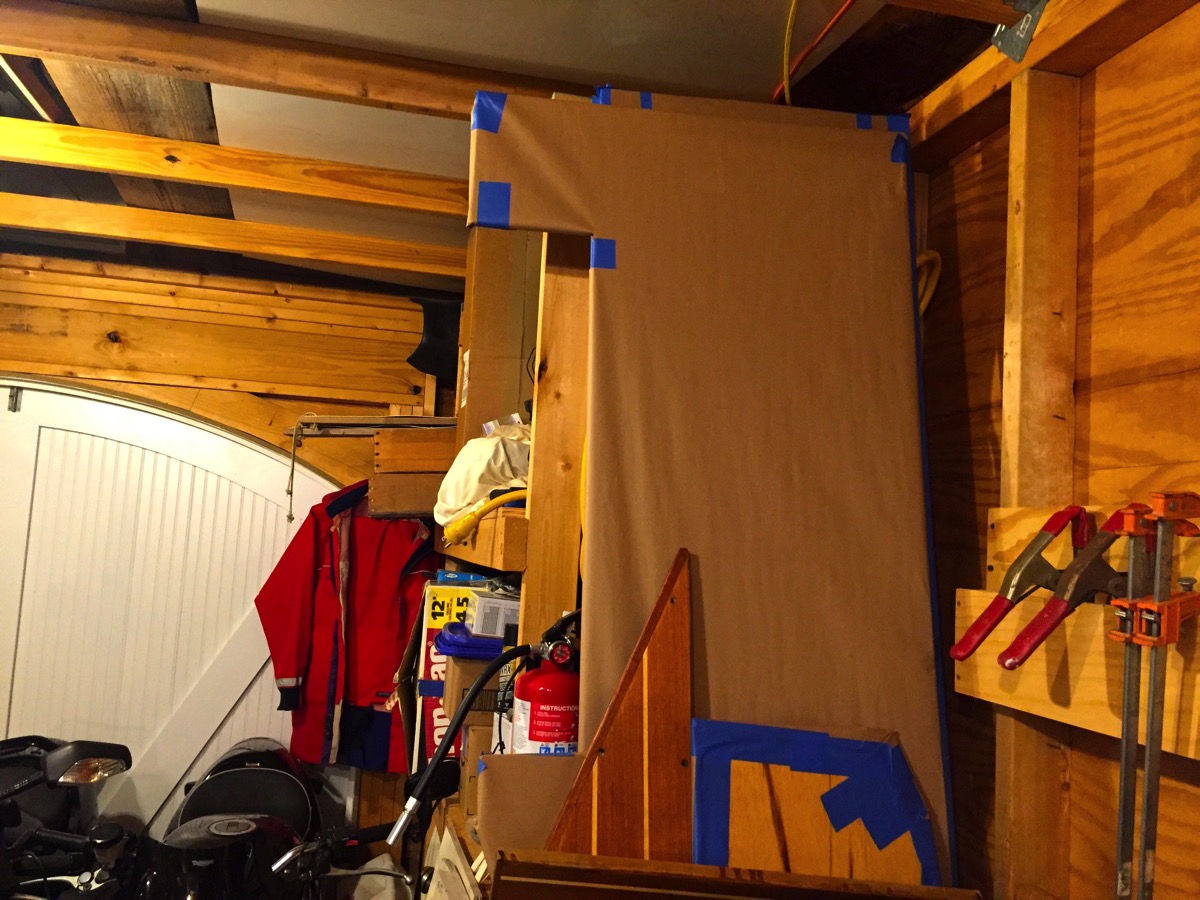
Wrapped and warm

The past two days have seen near record breaking warm temperatures here on the Chesapeake Bay so I, like many others in the boatyard, got back to work. The first day I did some administrative work, mostly thinking about what tasks to get started on this spring.  I did a quick survey of the mast and took notes for when I get together with a local rigger.

Another item that needs to get started is installing a small capacity bilge pump. I’ve pretty much decided to go with one of the new Whale Supersub Smart low-profile bilge pump. It is not intended to move large amounts of water, rather, to just keep the bilge dry during normal conditions. I worked up a quick wooden mockup to ensure that it would fit in my small, narrow bilge. The good news is that it should fit nicely. I was concerned that it might not fit with the keel bolts.

Replace with the real deal.

Small Bilgepump Mockup

I have not done any sanding or prep work in the cockpit for the upcoming deck painting because I knew that it would be a high traffic area. A lot of dirt and grit gets carried onto the boat so I wanted to wait until the last moment to start in on the task. I have spent quite a bit of time worrying about having a soft balsa core in the cockpit and that I would need to completely rebuild that area.

I spent some time sounding the entire cockpit sole in minute detail today. My ears a still ringing from that effort. But, the really good news is that there is no wet or rotten balsa. Both the sounding and a visual inspection from underneath verified that it is strong. That was a great relief and means that I can “save” at least a month’s worth of work that would have been required to replace the core and fiberglass.

Solid.
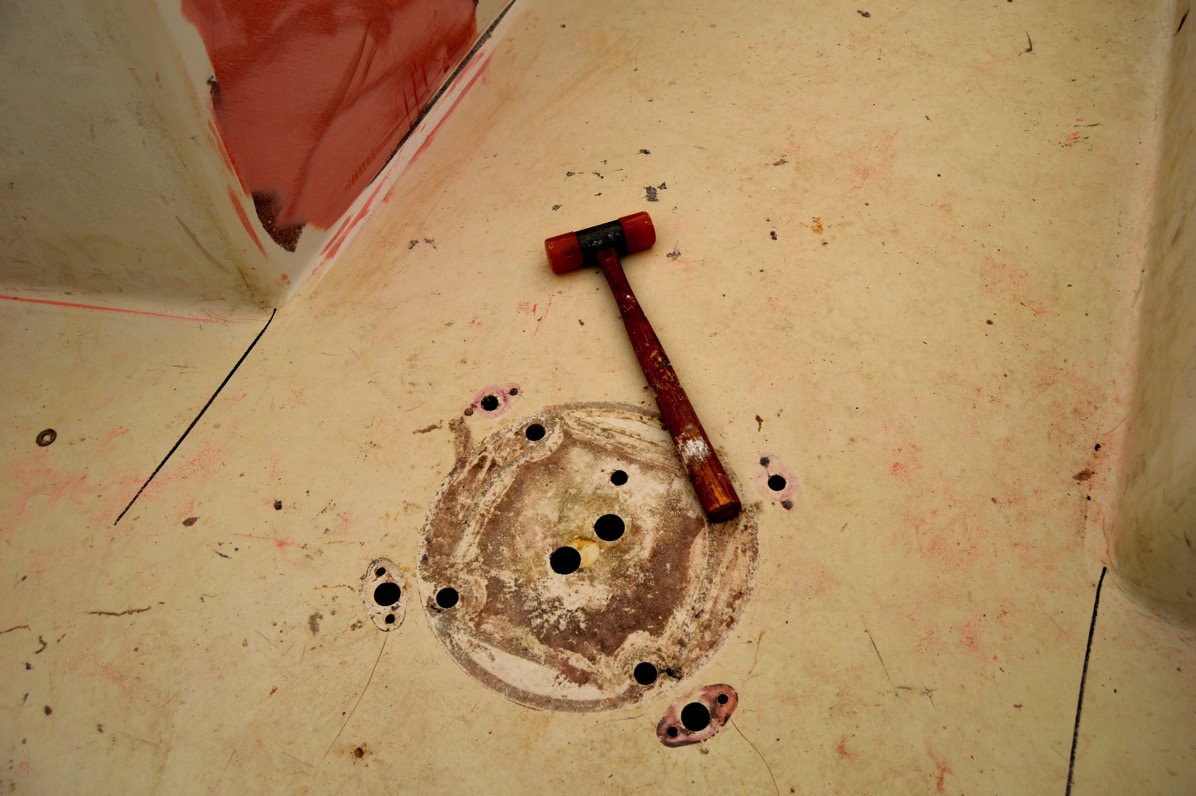
Balsa core sounding

I will need to seal the aft-most two openings that carried the throttle and shift cables when I install the new Edson Classic pedestal that is in the shed. Amazingly the core that was exposed around the holes drilled in the cockpit sole was dry and solid.

Quick verification.

Dry fit new pedestal

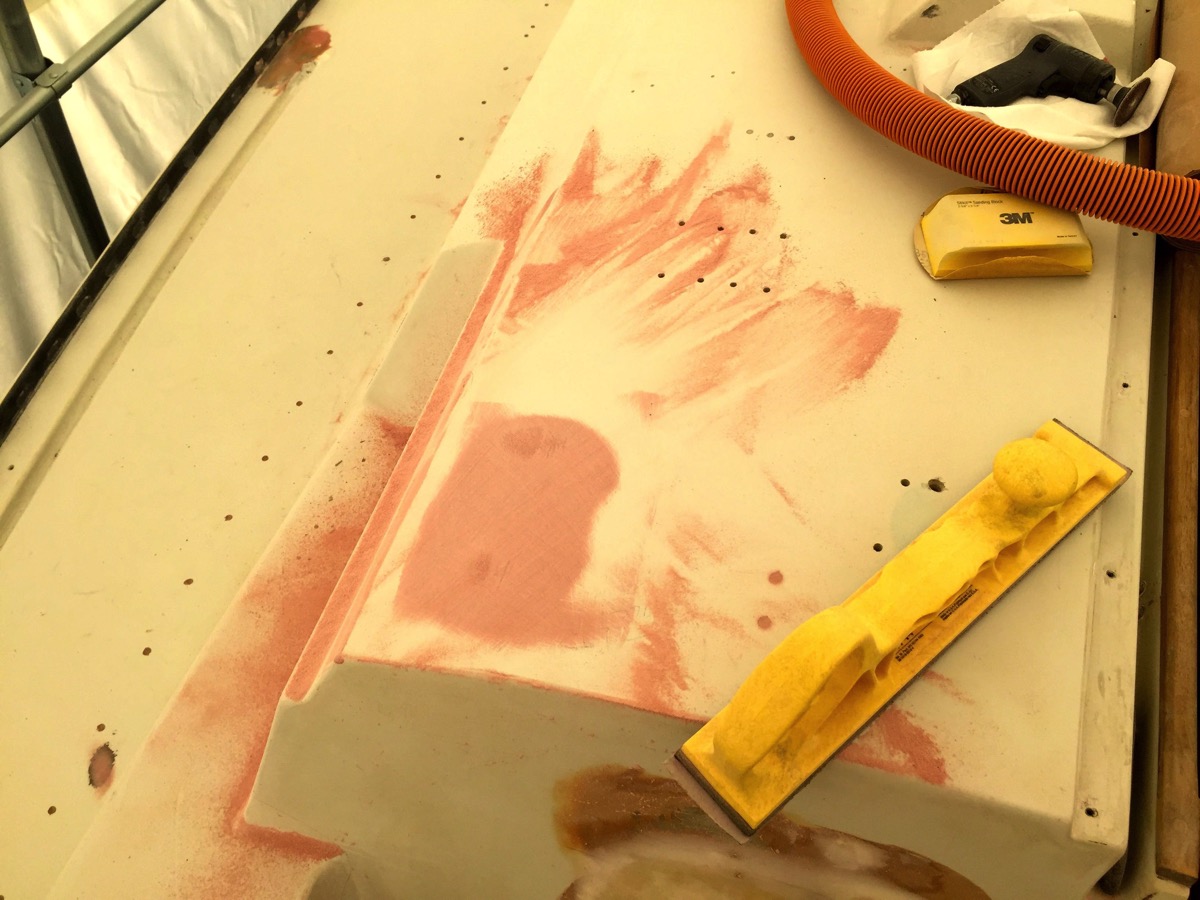
While I was at it I applied more AwlFair to the old cockpit/quarter-berth opening on both sides. Standard apply and sand off process. A previous owner had slapped a gob of filler of some sort on the aft bulkhead and it kept bugging me so I sanding it down and faired it too.  I should be done with this job in the next few days.

Pastels:

Old Port Repair V 2 0

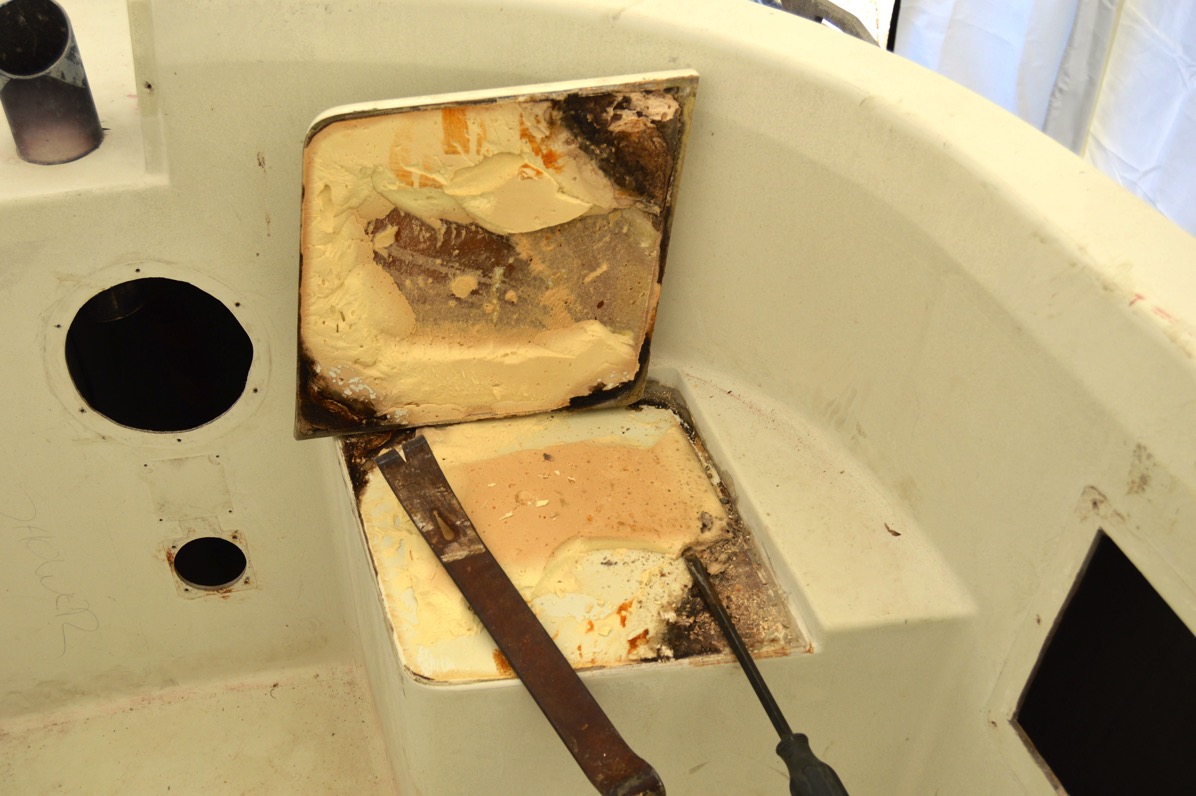
And since I was on a roll, I started to think about doing something with the area underneath the port side of the cockpit driver’s seat. It may have been an option from the factory to put a hinged lid over some sort of storage like  the propane locker on the starboard side but on my boat is was simply glued downed.

So, using tools that usually get me in trouble, I decided to investigate. Fifteen minutes later I had my answer.

Not subtle.

Don t Break It

C&C “stuff:"

Off in one piece

I’m going to work up some sort of storage underneath this. Most likely a removable soft pocket of some sort. TBD.

Looks like an one-hole outhouse...

Starboard pit toilet

Oh, and I did some Frostbite racing in Annapolis last weekend and yesterday put on some shorts and went sailing with my good friend and home builder Vincent on his Corsair 24. Fun.

First Sail 2016Early start.

Thursday, November 19, 2015

Race, sand and paint.

The weather in the Mid-Atlantic and middle Chesapeake Bay has been surprisingly mild this Fall. I wish I could say that I have maximized all of that great weather on boat repair but I have snuck away for a little riding time on the Ducati Multistrada before it gets too cold.

I also had to attend to some yacht club business in Annapolis so I drove up last Sunday to fulfill my membership duties but not surprisingly I confused the event by one day. The club business was on Saturday and I showed up on Sunday. Doh!

I changed gears and hooked up with my good friend, former Cal 25 crew mate and competitor Charlie Husar to join him for a wonderful day of Annapolis Yacht Club Frostbite Series crewing on his boat "Chicken Little". Two quick races in Annapolis were a great way to remember my racing chops. And realize how much I missed it...

The Butler skiff has been over at Reedville Marine Railway getting some repair work done and is now complete. It is up to me to finish the job. That requires sanding and painting which is right up my alley.

There was a good bit of new raw wood that needed to be dealt with. A hour of sanding with 80-grit paper on my Mirka 6” sander smoothed out the finish enough for paint. Another hour of sanding the paint off the hull prior to putting on new paint completed the effort.

After scrapping off the barnacles below the waterline I slapped on a sheet of 80-grit Stikit on the Porter-Cable DA and readied the sides for some bottom paint.

I quickly painted the new woodwork and sanded hull with a coat of white primer. Simple job with simple tools; a bristle brush and a gallon can of cheap white paint. I like the simplicity of working on “working” boats in a working fishing town. The watermen don’t get to tied up in the perfect finish using the top-of-the-line paint.

Work-boats. No fiberglass in sight.

IMG 5633

Primer coat on and ready for finish paint.

IMG 5640

Tuesday’s work was completed but scheduled meetings in Richmond required missing Wednesday’s great weather to apply the final paint. With rainy weather forecast for Thursday I figured on working on “Ronin” in the shed and finishing up the skiff this coming Friday.


Monday, November 9, 2015

Repetitive Stress Injury (RSI) and (bonus!) wooden boats.

I have been doing quite a bit of sanding, primarily using my Mirka Ceros 6” DA sander on successive applications of AwlFair filler. I’ve been doing so much of it that my left forearm is beginning to exhibit some of the symptoms of RSI. Makes sense I suppose.

Nothing terribly interesting to report as far as the work goes. I continue to fill and sand and fill and sand. One of the things is the disturbingly large number of spots that I miss. I’ll work my around the deck, inspecting and marking potential spots for grinding and filling. After finishing that process and then coming back the next day to sand I am continually finding cracks in need of grinding that have been missed. Worse are those spots that I have ground out and completely missed when it came time to apply the AwlFair.

Nonetheless, although it is fairly uninteresting work I am making progress. I think that after a few more passes on the deck I will be ready to cover them with the construction paper I bought earlier this week. Since it is pretty certain that I will be shooting the primer and topcoat sometime next Spring I want to try and keep the decks dirt, grime and grit free as possible.

Second pass with AwlFair.

DSC 0005

Filling large depressions and bolt-holes.

DSC 0009

Interestingly, in the picture shown above, the large area filled in with AwlFair is a slight depression in the deck that contained one of the original winches, in this case for the mainsheet. I’m assuming (and hoping…) that it was designed in from the factory. The same thing occurs on the port side as well.

The original control setup that I inherited was comprised of four non-self-tailing winches arrayed across the cabin top to work all the halyards and lines that were led aft. Early on I ditched two of the old Barients and replaced them with Harken 40 aluminum self-tailers. When the boat is put back together I am completely re-designing the layout of the lines led aft. A reduction in the number of lines is high on my list but that’s a chore left for later. Bottom line is that all the used and un-used holes in the deck will be filled, faired and painted over.

The port side after board sanding.

IMG 5563

After that session more filler went on. Before leaving for the day, after cleaning up my tools and equipment I decided to just sit and ruminate. Catch up on progress and to-do notes for the project.

Does this qualify as a “man cave”? Not with that pink chair...

IMG 5569

The next day I came back and, surprise, did more sanding, concentrating on the four fixed port openings. I’ve been paying particular attention to these because of the large radiating cracks in the gel-coat and the damaged backing lip for the ports themselves. I’m carefully prepping these for installation of new ports when the decks are painted next year.

Went on heavy and got sanded away.

IMG 5574

IMG 5575

What would I do without my trusty construction pencil?

IMG 5578

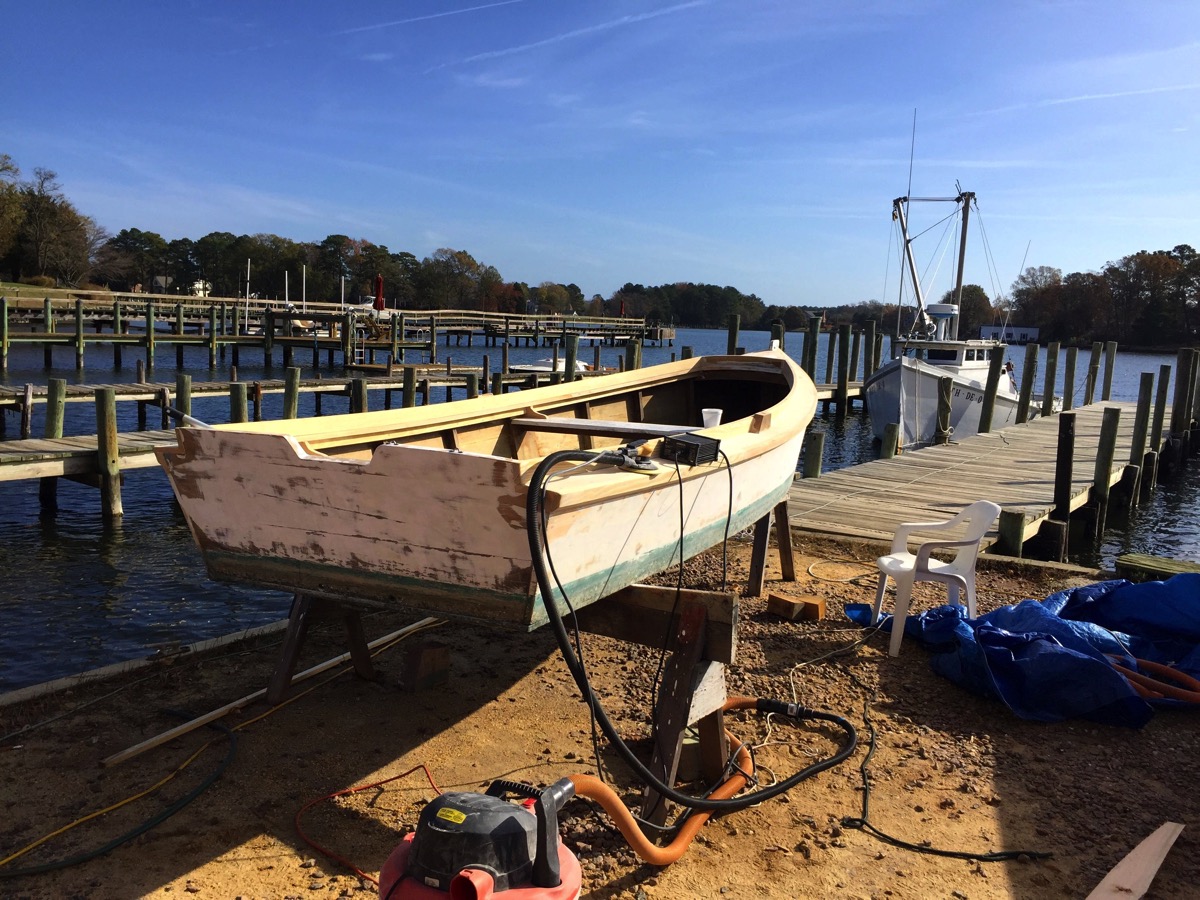
While my work effort was proceeding over the past week or so, I managed to move the Butler skiff over to the the place where it was built, Reedville Marine Railway, so that some leaking and rot damage could be attended to. Since I have neither the time nor the skill to do the woodwork on it, I hired a local woodworker and wooden boat repair professional to deal with it. Smart move on my part.

Been sittin' for a year and the barnacles were happy...

IMG 5498

Rotten wood coming out.

IMG 5503

IMG 5507

I think we found the leak….

IMG 5513

New wood!

IMG 5524

IMG 5525

Of note: the original mast from the Chesapeake Bay buyboat, "Elva C” shown in the background of the picture below is now a feature in the main room of our house. A bit of local history that fits with the fact that our house used to have a wooden boat building concern in the backyard.

IMG 5561

Anyway, the woodwork is completed and now I need to do more sanding on this boat too.

My arm is not wild about the prospect of that... 

Thursday, June 4, 2015

Stairway to Heaven...

Earlier I had posted that I was helping my friend, a fellow sailor and a builder, whose company, Ingram Bay Contracting rebuilt/built our house, to fix his 24' Corsair trimaran that was damaged in a Spring wind storm. Looks like my glass work on his boat was worth it.

I knew that if I tried to build a set of stairs it would take too long and probably fall down at an inopportune time.

I asked him if he would draw up some plans and list of limber for a set of stairs that I wanted to build. I knew that over the coming year, going up and down a ladder was not even close to ideal.

After I got the the list and purchased the lumber, Vincent came by to show how it is done. An hour and a half later, I had this:

DSC 0013

So much better.

The Pro (another one…) at work:

DSC 0003

DSC 0006

Monday, March 16, 2015

Week Seven - Almost ready to paint the hull.

 Well, we’re just about set to paint the hull. It has been sanded, primed, board-sanded, primed again and sanded yet again with the final sanding using 400 grit paper. Run your eye down the lines of the hull and it is smooth and fair. Ready to be washed, solvent washed and painted.

 Final, final sanding and prep:

IMG 5074


DSC 0029

400 Grit Fair

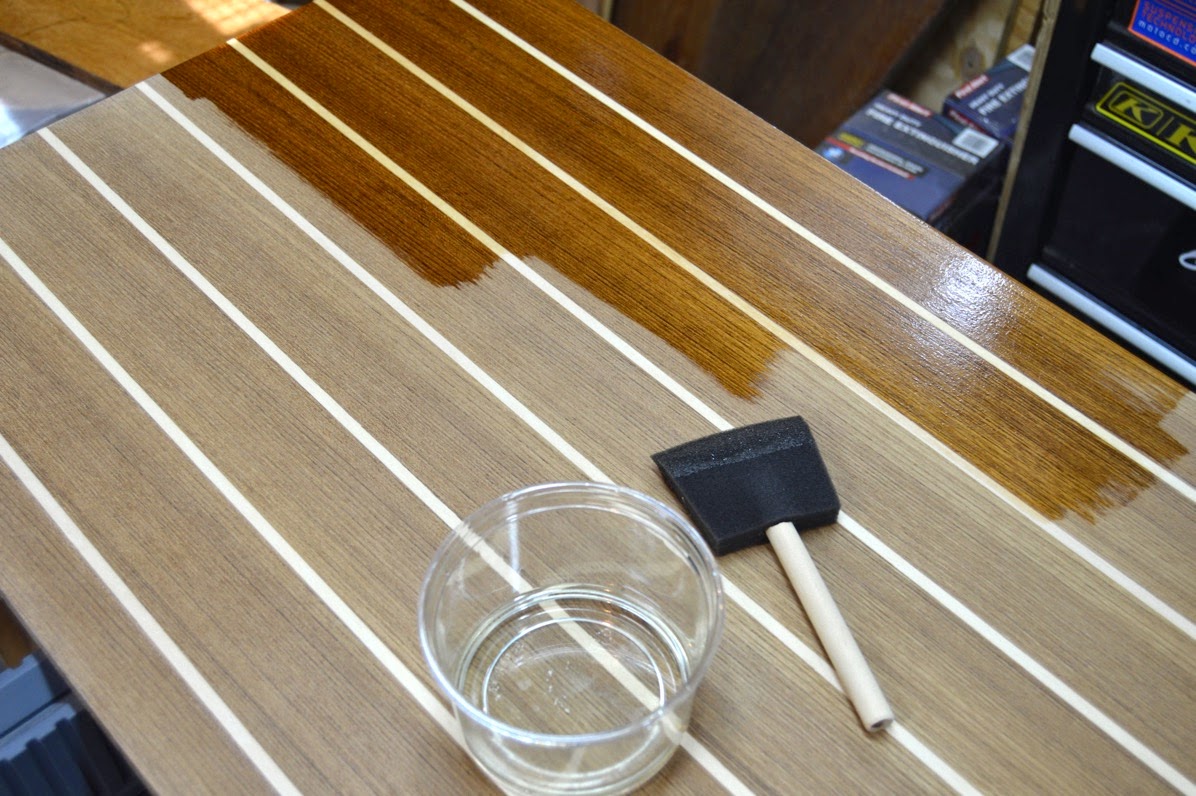
I’m still working on the cabin sole project. I did some repair work in the bad routing edge in the main cabin pieces and set them aside. I ordered some 1/4” by 3/4” teak edge strips for the matchboard cutouts. While waiting for those to arrive, I started laying on the first two base coats of gloss Awlwood over a single coat of primer.

Having used regular varnish in the past I have to say I am already impressed with the AwlGrip product. It goes on well, flows extremely nicely and frankly, two coats look like 4 of standard varnish. It should because AwlWood is not cheap.

The directions call for the first two coats to be sanded between applications but the rest of the coats can be “hot-brushed” which will shorten the completion time tremendously. We’ll see.

Repair work:

DSC 0006

Primer application:

DSC 0007

Primer on the left, first coat gloss on right:

Primer Left 1st Gloss Right

Sanding the gloss coats:

Better Sand on 2nd Gloss

Adding the teak edging:

Adding Teak Edge Strips to Floorboards

Teak Edge on Sole

Saturday, March 7, 2015

Week Six - No break in the weather.

It has continued to be unremittingly cold in the Mid-Atlantic. Snow and ice with sub-freezing temperatures in March. I’m well tired of it...

DSC 0124

Charlie and I keep working on our respective tasks necessary for painting and the refit. Early in the week he worked on finishing sanding the second application of high-build primer and AwlFair fairing compound. The hull is, well, quite fair. On Friday I showed up to get some pictures and he had just completed washing the hull and shed in preparation for spraying the first coat of white base AwlGrip 545 Epoxy Primer.

Before leaving work to enjoy his weekend, he sprayed the hull. Things are progressing nicely on his end.

Washed, re-taped and ready for the AwlGrip 545 primer:

DSC 0137

DSC 0138

As Charlie was working I spent as much time as I could working on the cabin sole project. Because of extremely low temperatures keeping my shed at recommended temperatures for applying epoxy was a hit-or-miss affair. I was able to tape the edges of the cabin sole inserts and apply West System epoxy to the edges. My wife and I had to run up to Annapolis for a day to attend a memorial service for the mother of a dear friend of ours on Friday.

Saturday the temperatures actually rose above freezing so I fired up the propane heaters and got the temperatures in my shed above 60F. After some more grinding and routing on the underside of some of the pieces, I mixed up some West System and applied it to the undersides of the flooring. Unfortunately, I didn’t have enough to complete the work so only the main cabin floor boards were coated. I’ll get more on Monday. I have two gallons of System Three epoxy that hasn’t been opened yet but I’m saving that for another larger project.

Floorboards with epoxied edges:

DSC 0116

DSC 0118

Ronin’s hull after the AwlGrip 545 Epoxy Primer application:

DSC 0139

DSC 0142

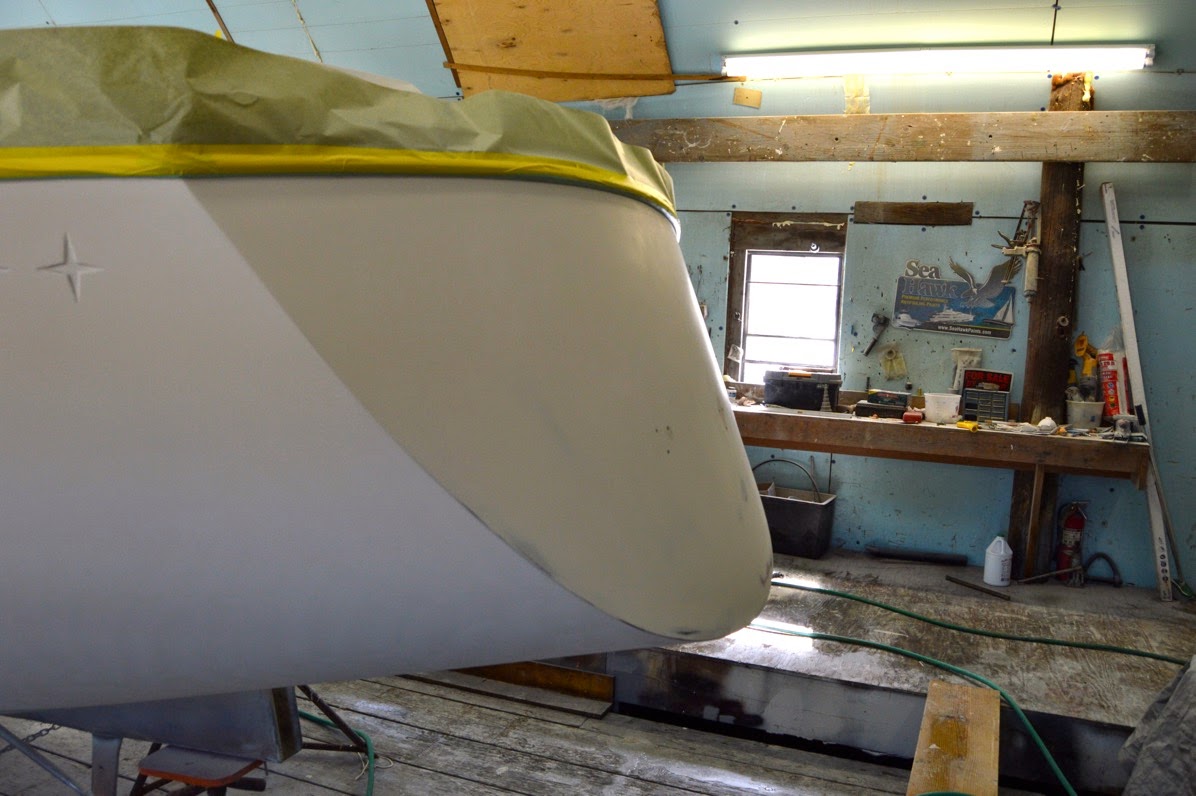
The famous C&C star...

DSC 0149

Applying West System to the underside of the floorboards:

DSC 0154 

DSC 0158 

‘Warmer” weather on tap for next week...

Sunday, March 1, 2015

Week Five - Amateur Woodworker

Work progresses on the hull. Despite still being extremely cold the sanding and priming of the hull continues. Still more snow has shut down operations in this area on several occasions. During the last week I have been away much of the time, back in Arlington visiting friends and seeing my family.

I checked in on Ronin last Friday and not much the way of “action photos” to show but Charlie and I did spend some time discussing the merits of painting methods and the appropriate spray guns. After listening to Charlie describe shooting techniques and the quality of guns he uses, I really felt out of my depth. I know that when I go to shoot my decks that the results will be “interesting."

A spray gun for every job (pro tip, the Sata, 2nd from right):

DSC 0176

Primed and ready for yet more sanding:

DSC 0112

DSC 0117

I’ve turned my focus back to working in my shed on the cabin sole yet again. Confession time: a few weeks back I set up everything to make a rip of the first 4X8 sheet that would become the two pieces in the main cabin. I measured, measured again, set up a guide and took my time to make sure that I had everything set up correctly. It all looked okie-doke.

One thing though. I wasn’t sure about what was the best blade to use in my trusty old Bosch jigsaw. Now, I have used that tool for many things over many years yet for some reason I overthought the problem. So, since we know that everything on the Internet is true, I did a search for the correct blade to use.

Put the recommended blade into the jigsaw, flipped the switch and started in on the cut. About half-way down cut, the blade torqued, veered off on an angle and that was that. One completely ruined expensive sheet of teak and holly plywood. After calming down, I inserted the blade that I had originally planned on using, set up the guide and made a “test” cut on the now useless piece of plywood. Perfect...

After ordering another sheet, I went the simple route after getting some advice from my friend Vincent who built our house and just used my Skillsaw. Another perfect cut.

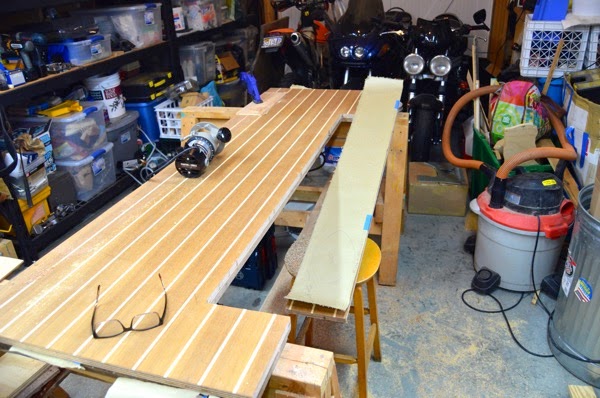
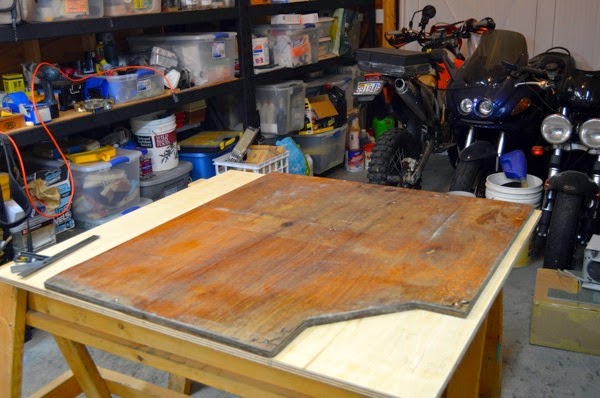
Sooo, after after getting over my understandable doubts about my abilities I pulled out the router to carve out the section that will be used for the hatch boards. After practicing many times with some cheap stock, I put in a 1/2” by 1” router bit and fired it up.

I got it about 97% correct this time. I wasn’t paying attention but the old cable sole being used as the template had delaminated in some spots and as I was running the router down the line, the guide dropped into some voids in the ply. Not pretty but I will do some work with West System and pieces of salvaged laminate and it should be okay. The 1/4” teak edging on each side will hide some of the problem I hope.

Prep and router cut:

DSC 0152

DSC 0154

The problem with rotten templates:

DSC 0157

Prepping the cut-out for three hatchboards:

DSC 0161

Later during the week I pulled the second sheet of plywood out and started laying out the templates for the two sections at the navigation station and galley. The one in front of the head is still on the boat so I was only able to cut out the one in the v-berth.

By and large these cuts went okay although there is a very slight gap between the two sections in the galley/nav area. That’s due to the problem of making a third cut-out based on a (rotten) template of the original cabin sole boards.

Laying out the old cabin sole templates and screwing them down:

DSC 0202

DSC 0205

Finished with routing the edges:

DSC 0209

Panels arranged on the shed floor:

DSC 0210

When the weather warms up and I can get stable temperatures in my shed I’ll start sealing the plywood with epoxy and then applying the finish coats to the surface.