Showing posts with label Hardware. Show all posts

Tuesday, June 2, 2015

Bonehead

There are times when it becomes pretty clear to me that although I may think that I have a pretty good hand working on boats it really isn’t true. Today I made a costly mistake. Something that was so stupid and silly that I realized that I was hacking away at this refit. A truly boneheaded mistake.

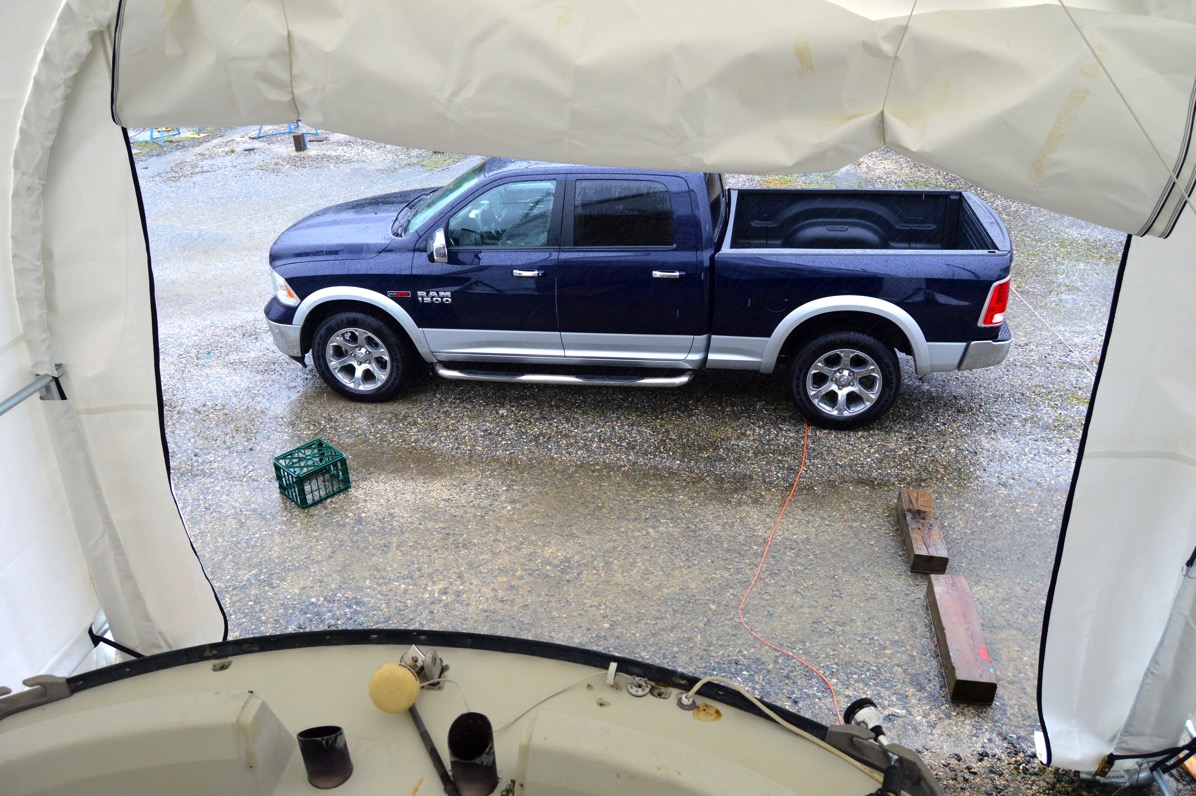
The weather for the past two days has been rain. Lot’s of it. At least three inches and it’s raining still as I write this. But I’ve been pretty psyched because I’ve been able to get back to the refit due to the protection provided by the new shed. I can tell that it is going to help speed the work schedule.

So, there I am, finishing off the removal of the last of the deck hardware items that had to stay put until the boat was under cover. Some water and holding tank deck fills, the dorades and the two hatches. The front hatch came off easily. Disturbingly so. Although it it’s been some time since the boat was subjected to heavy seas I’m pretty sure that it would have developed a leak. I had the hatches rebuilt sixteen years ago and re-bedded them myself. I made a mental note to do a better job next time using butyl as a sealant.

The main cabin hatch did not want to come free so easily. I slowly but steadily worked a gasket scraper between the frame and the deck, cutting the sealant. After some time working my way around the frame I could see that it was starting to free up. So, I started to pry the frame up. It was tougher than I thought. And not paying attention, I was also bending the frame...

As soon as I removed it from the deck I realized what I had done. I clamped the hatch shut and sure enough, a gap large enough to allow gallons of water to rain down on the interior. One heavy duty Atkins & Hoyle hatch ruined. 

Anyway, despite the expensive setback given that I will almost certainly need to purchase a new hatch, probably a Lewmar of some sort and do some glass-work to get it to fit, I kept working on prepping the hull for work. One step forward, two steps back.

Hardware removal wreckage:

DSC 0004

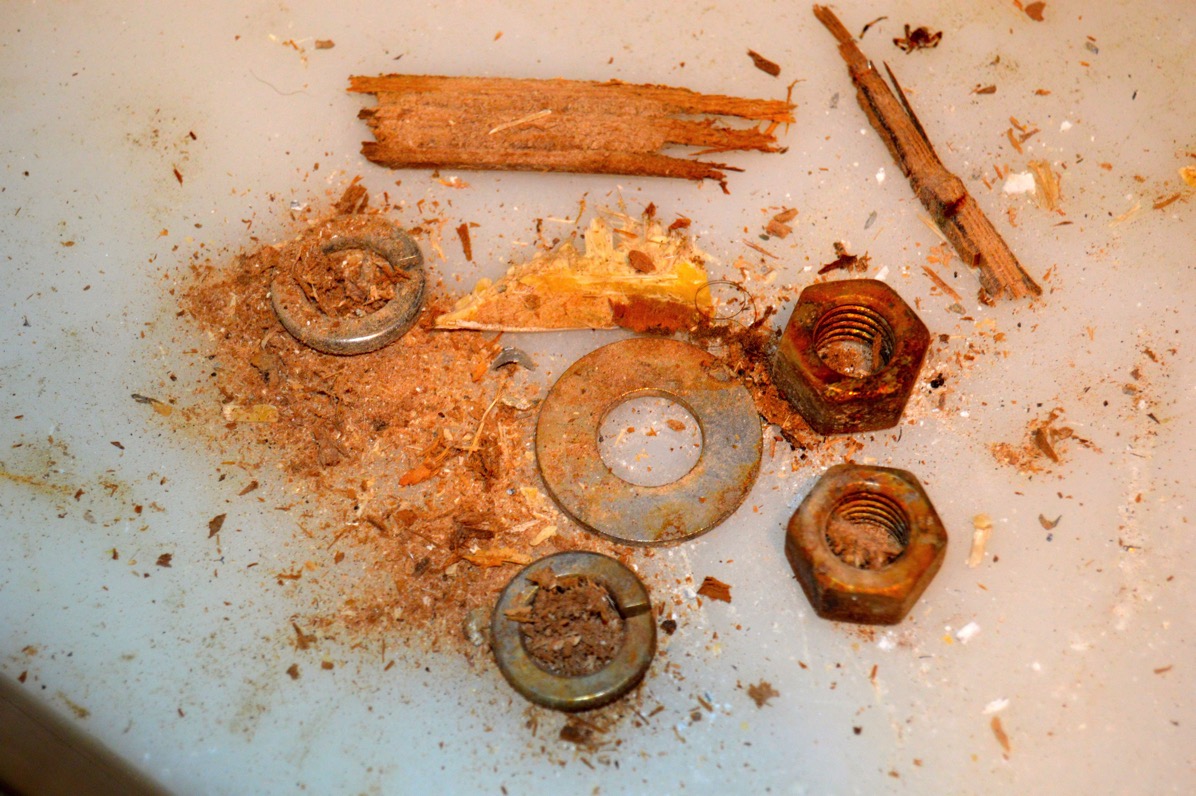
As part of the cleaning process prior to upgrading the interior I had to clean out the space behind the chainplates. The factory had apparently drilled the bolt holes and bolted the chainplates up pretty quickly. In the tight spaces behind there was a great deal of sawdust and fiberglass shards. Along with that were some nuts and washers that must have fallen off during the install which they just left behind.

Extra hardware:
DSC 0016

I disconnected the fresh water tank plumbing and pulled the tanks out for storage. One of the interesting things about the tanks and lines on this boat has been the fact that there has been no mold or gunk. Frankly, the potable water on Ronin has always been pretty good. I hope to keep it that way.

Tanks gone:

Water Tanks Removal

Starboard FW Space

Next to go were the fresh-water fill hoses, manual and automatic bilge pump lines and the mast baseplate.

Still a mess:

DSC 0009

DSC 0044

Discarded Bilge Plumbing

Well, I can tell myself that I’m maximizing my time by being able to work on the boat when ordinarily conditions would prohibit it. Not a great deal of consolation given the cost of replacing the main hatch...

Forty Days and Forty Nights….
DSC 0039

Saturday, November 1, 2014

A Major Step Forward - Hardware Removal

In early August I started in on removing the deck hardware from Ronin in anticipation of prepping the decks for painting. While the boat was in the slip I started removing winches, cleats, turning blocks, track and pretty much anything that was secured to the deck. A old work buddy of mine, John, was in town from Kansas for few days and made the mistake of volunteering to help me. I needed it as some of the removal required two people.

By and large the hardware came off fairly easily. C&C did a good job of mounting and bedding the hardware. With the exception of the secondary winches and some rope clutches that a previous owner and I installed, all the holes were chamfered and butyl was used for the bedding compound. I’ve been very surprised by the lack of water infiltration into the core. So far almost of all the items that I have pulled have not had any rotten balsa core. I was expecting quite a bit worse but this says good things for the quality that C&C put into the deck hardware build. I know I won’t get away free but this means a lot less effort getting the decks ready for painting.

Jib tracks coming off:

Jib Track Coming Off

When I pulled the hardware there were a multitude of holes in the deck which is to be expected. I didn’t want to plug the holes with a dollop of clear silicone sealant like I had with the coach handrails that were pulled off over a year ago. I've read about the problems that silicone causes when trying to clean and prep the surface for painting.

So, in the vein of “better ideas”, I decided that just taping over the holes with duct tape would be fine. Pure lazy think. It did not work, So, after the first rainfall (outside and in…) filled my bilge I belatedly decided to pull the tape. I had cleverly applied the black Gorilla tape in the late summer heat. Think gooey, sticky mess when removing the tape.

One of several bad ideas that I’ve had:

IMG 0245

So, much scraping and wiping down with mineral spirits later, I had another brilliant idea: West System! Yup, I figured that since I was going to be sanding, repairing, glassing and epoxying the decks for painting anyway, why not just fill the holes with West System epoxy thickened with 407 Low Density thickener. Many swiped with a plastic squeegee later I had a very dry boat. Ugly but dry.

Chicken Pox:

IMG 0504

After a couple of days of intermittent work I had the big items off and ready for storage. Most of the items will go in my shed but some will stay outside with the boom and other large aluminum and steel parts.

Bucket ‘o Winches:

IMG 0169

I set one of the primary winches aside and a few days later put it on my workbench to check it out. Yeesh, what an un-serviced mess. Shame on me. So after doing a check to make sure everything was there and working, I stored them for a future maintenance project inside the warm and toasty shed when it’s cold outside and boat work slows.

Badly treated winches:

IMG 0248

IMG 0251