Showing posts with label The Pro at Work. Show all posts

Saturday, March 28, 2015

Well, It's time for me to get back to work on the decks.

Ronin’s hull is finished and painted. It was completed yesterday afternoon with the shear stripe being the last item painted. Earlier this week, after days of painstaking effort required to level the boat and scribe the boot stripes Charlie shot them with Awlcraft Carinthia Blue, which like the hull paint color, I shamelessly copied from a member of the C&C list who painted his boat.

Nonetheless, the amount of time that Charlie took to get the lines perfect was impressive. Like everything else, perfect.

We talked a good bit about the placement. With the boat fully rigged, water tanks filled and all the cushions and gear onboard, the waterline was right at the factory “copper line.” Because of this the white gelcoat just above the waterline was constantly getting stained and at times had growth on it. I was tired of constantly wiping it down as part of cleaning the bottom.

In the future we will do a fair amount of cruising and the loading will increase, putting the water line above the factory line. I thought that raising it three inches would be the ticket but Charlie was concerned that it would be too high and look bad. After thinking about it and trying to visualize what it would look like I realized he was correct. 

Final outcome is that we moved it up two inches.

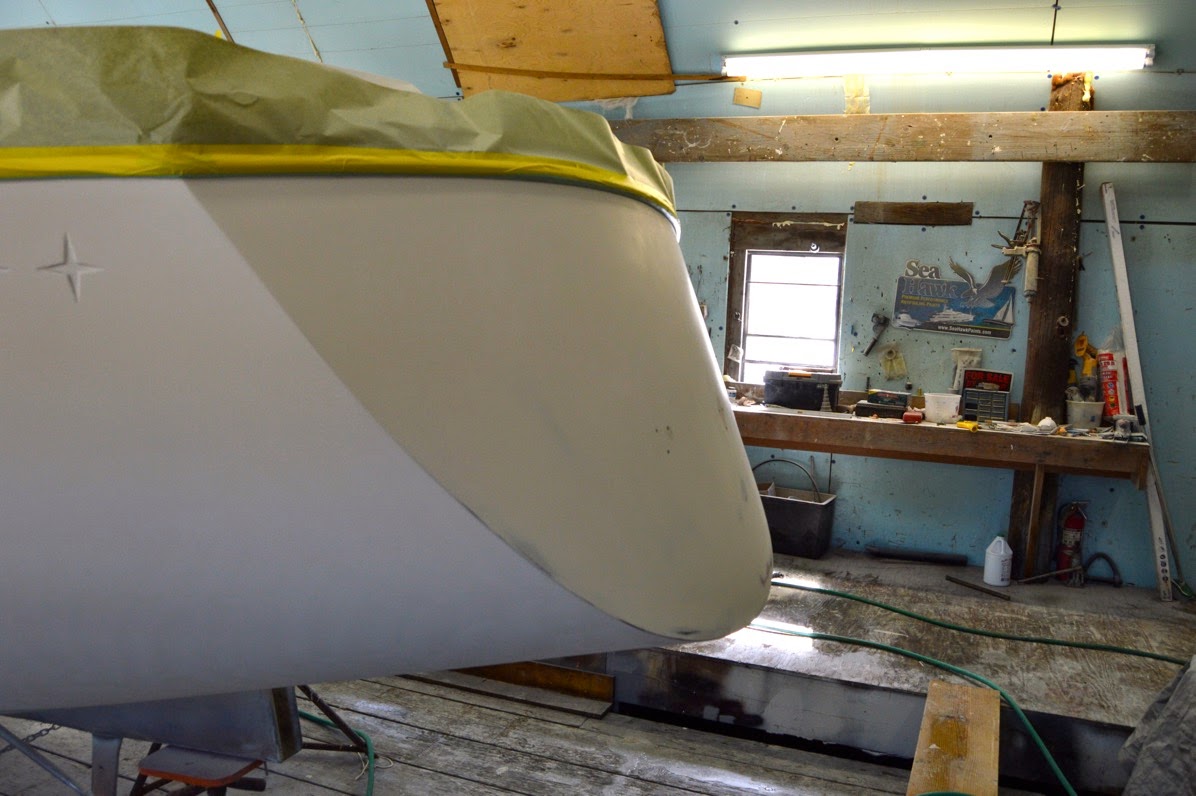
Boot stripe taping:

DSC 0094

IMG 1021

The paint went on using only two coats as compared to the three coats required for the hull paint, Another beautiful piece of work.

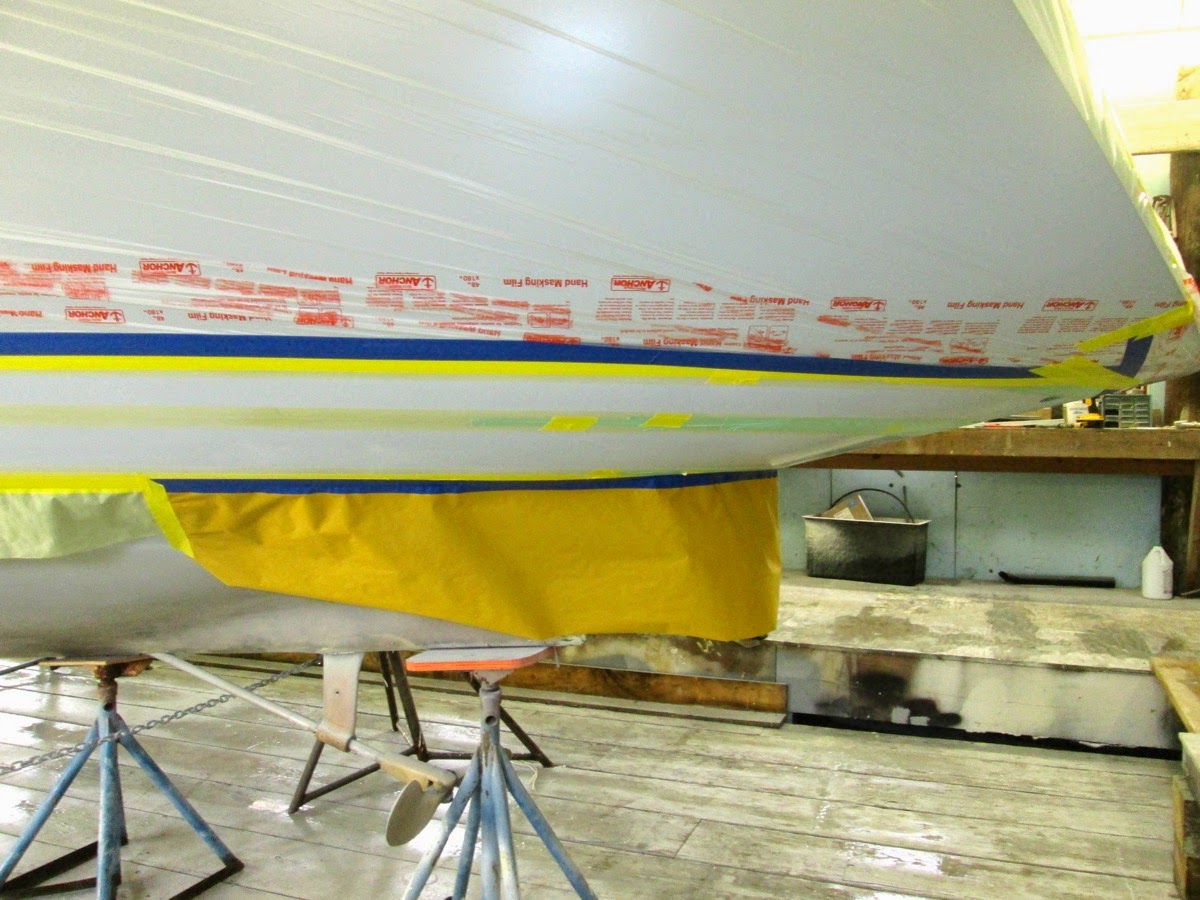
Boot stripes under the stern:

DSC 0122

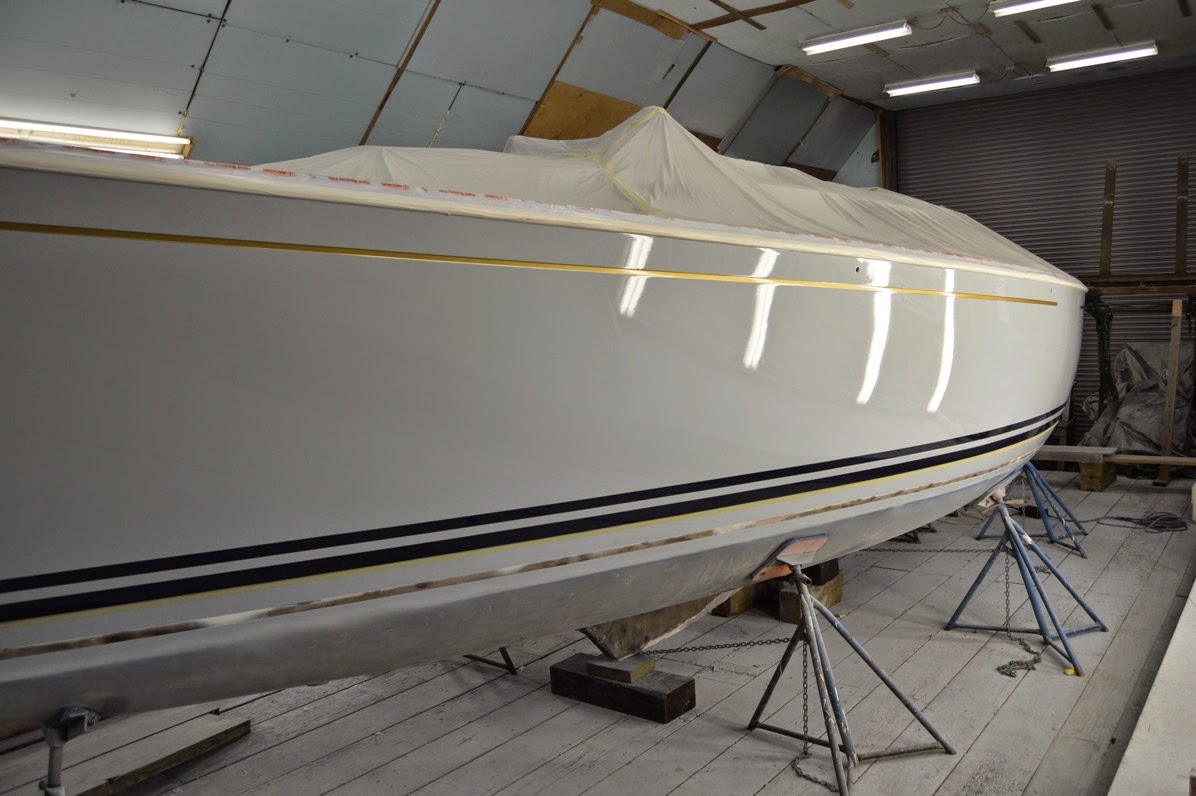
I had originally envisioned using the same Carinthia Blue for the shear stripe but the more I rolled that around in my head the less I liked the idea. I felt that it would be too “strong” and take away from the light color of the hull. At the last minute I had the yard order a quart of Awlcraft Pale Gold and that was shot onto the taped shear stripe.

I think that the final product is pretty nice looking. Can’t wait until next week when we roll the hull out of the shed so I can see it in natural light.

Lot’sa gold...

IMG 1027

DSC 0106

DSC 0109DSC 0114

Classic C&C:

DSC 0120

Friday, March 27, 2015

A brief interlude from boat work.

It’s been a week and a half since the last post. Although a lot has been completed, there wasn’t a whole lot to actually see. We hosted our annual Sock Burning party to great success last weekend. Good turnout.

Chili, clam chowder, a chicken molle and a bushel of roasted oysters washed down with some good ales and wines. The day worked out well. No rain!

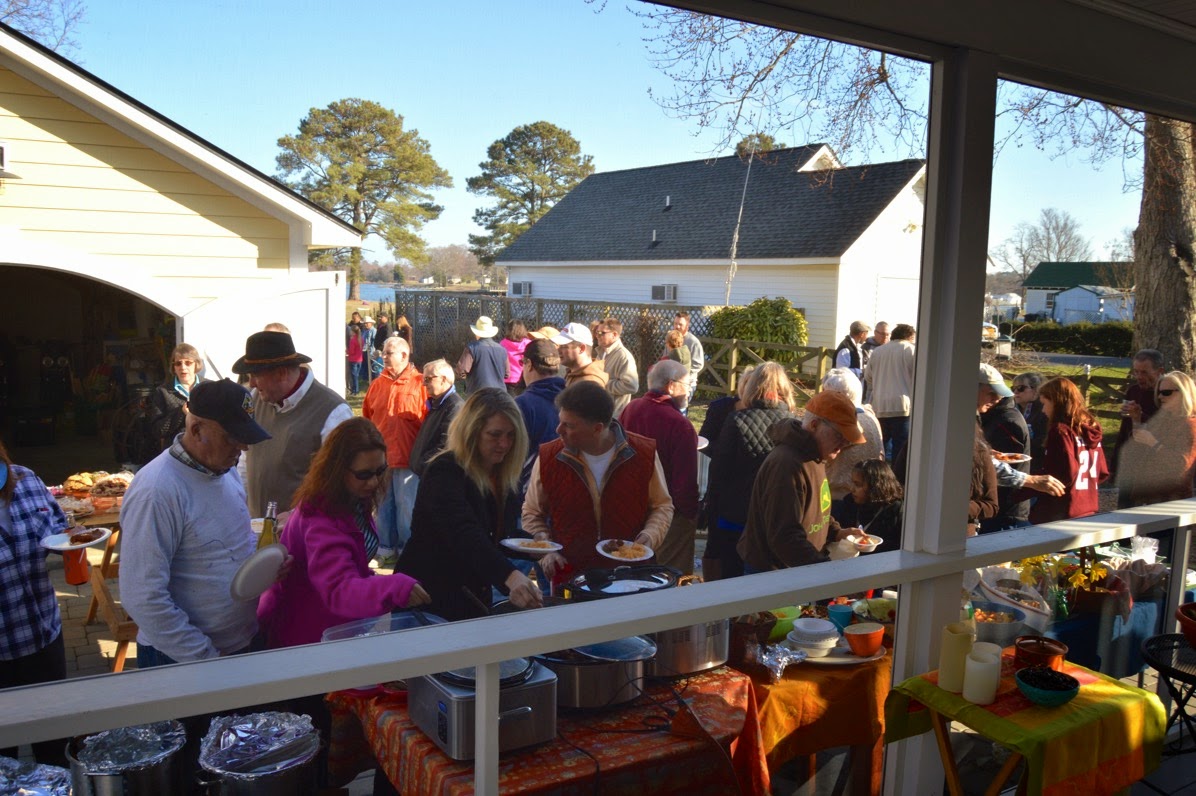
Food ready and socks to be burnt:

DSC 0030

DSC 0042

DSC 0056

DSC 0035 

DSC 0064

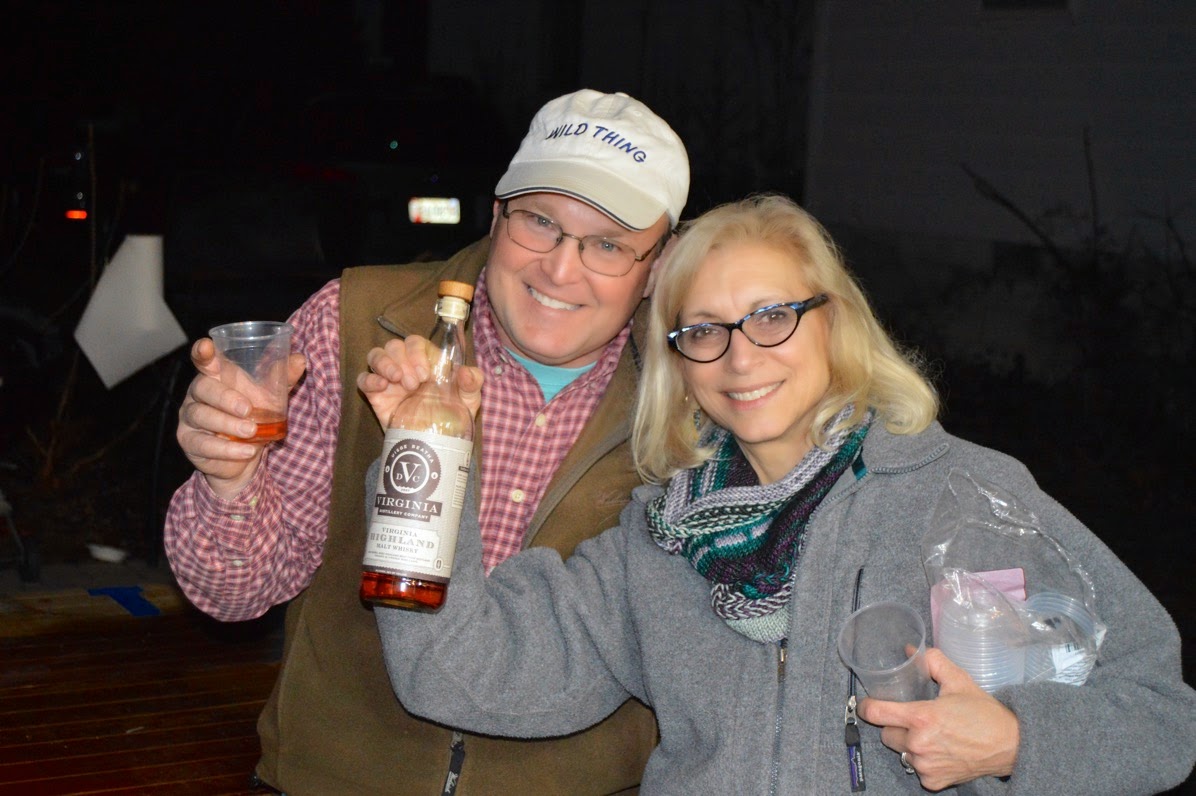
Charter members of the original Sock Burning:

DSC 0077

Anyway, next year, same place, same time.

Monday, March 16, 2015

The paint goes on...

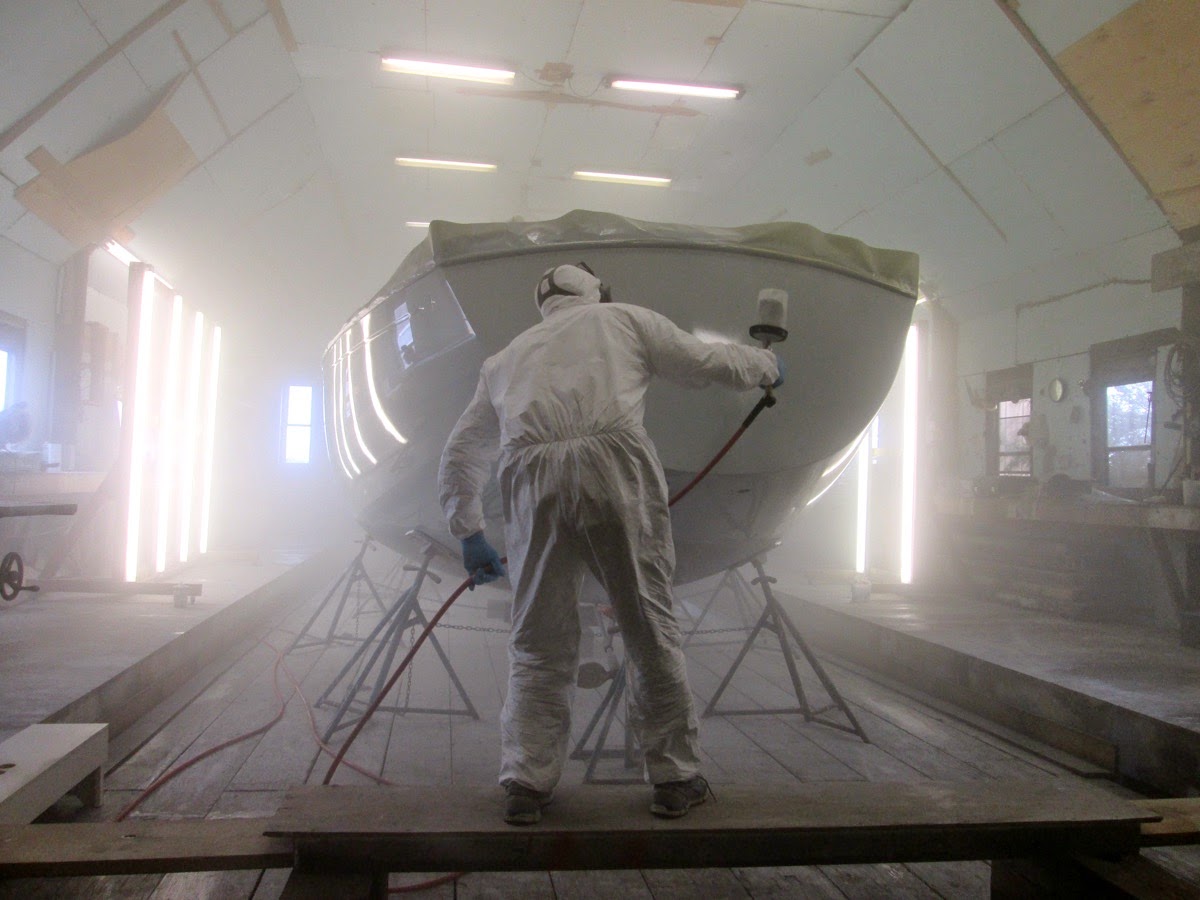
The weather provided us with a break and stayed reasonably warm with low humidity. With that weather window, the paint went on today, Monday, March 16th.

I showed up to pretty much to observe how an expert sets his tools, what good techniques are employed and to see the art of shooting AwlCraft. It was really interesting and extremely informative. Charlie explained everything he was doing and why. I stayed out of his way as much as possible.

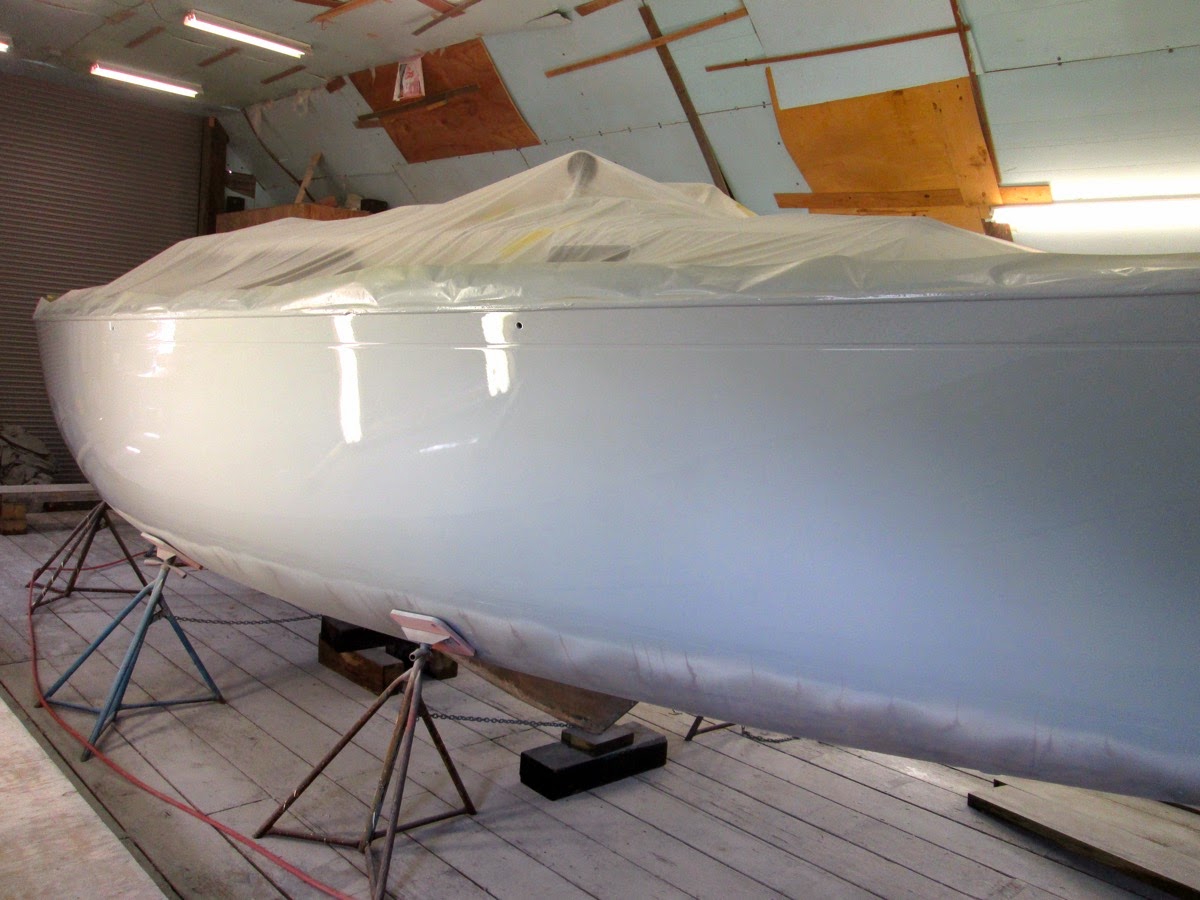
So after three coats of AwlCraft 2000 in a custom grey color, I am really pleased. There were no problems or mishaps. The paint went on perfectly. Charlie was done by 1:00 PM.

So, to the pictures.

Washing the shed and walls for dust control:

IMG 0900

Solvent washing the hull:

IMG 0906

Mixing the paint and prepping the 3M PPS paint system:

IMG 0928

Last tack wipe-down for overspray and dust:

IMG 0932

Painting:

IMG 0945

IMG 0951

IMG 0957

IMG 0966

IMG 0996

And the final product, still curing….

IMG 1006

IMG 1008

IMG 1010

IMG 1016

So, we closed shop and made sure no-one went in and ran their grimy hands across the paint.

Police line:

IMG 1018

So, another big project item that is on its way to being completed. Taping and painting the sheer and boot stripes will be next.

Saturday, March 7, 2015

Week Six - No break in the weather.

It has continued to be unremittingly cold in the Mid-Atlantic. Snow and ice with sub-freezing temperatures in March. I’m well tired of it...

DSC 0124

Charlie and I keep working on our respective tasks necessary for painting and the refit. Early in the week he worked on finishing sanding the second application of high-build primer and AwlFair fairing compound. The hull is, well, quite fair. On Friday I showed up to get some pictures and he had just completed washing the hull and shed in preparation for spraying the first coat of white base AwlGrip 545 Epoxy Primer.

Before leaving work to enjoy his weekend, he sprayed the hull. Things are progressing nicely on his end.

Washed, re-taped and ready for the AwlGrip 545 primer:

DSC 0137

DSC 0138

As Charlie was working I spent as much time as I could working on the cabin sole project. Because of extremely low temperatures keeping my shed at recommended temperatures for applying epoxy was a hit-or-miss affair. I was able to tape the edges of the cabin sole inserts and apply West System epoxy to the edges. My wife and I had to run up to Annapolis for a day to attend a memorial service for the mother of a dear friend of ours on Friday.

Saturday the temperatures actually rose above freezing so I fired up the propane heaters and got the temperatures in my shed above 60F. After some more grinding and routing on the underside of some of the pieces, I mixed up some West System and applied it to the undersides of the flooring. Unfortunately, I didn’t have enough to complete the work so only the main cabin floor boards were coated. I’ll get more on Monday. I have two gallons of System Three epoxy that hasn’t been opened yet but I’m saving that for another larger project.

Floorboards with epoxied edges:

DSC 0116

DSC 0118

Ronin’s hull after the AwlGrip 545 Epoxy Primer application:

DSC 0139

DSC 0142

The famous C&C star...

DSC 0149

Applying West System to the underside of the floorboards:

DSC 0154 

DSC 0158 

‘Warmer” weather on tap for next week...

Saturday, February 21, 2015

Week Four - Cold Sanding

For this week not much to really show in terms of photos. Progress is being made, much of it with the board file and large sander.

There are several hard (high) spots, particularly on the port side. Charlie is steadily working them down and making the hull fair. Work continues.

This past week we in the Mid-Atlantic have been in the grip of record low temperatures along with snow. Despite a “snow day” when work stopped at the yard, we’re still roughly on schedule. If the temperatures increase sufficiently next week then another layer of primer will be applied. Afterwards, well, more sanding of course.

Hard spots (grey areas) along the port hull:

DSC 0009

Sanded all the way to the fiberglass:

DSC 0010

Close-up of board file results:

DSC 0008

More filling and fairing of cracks at the waterline:

DSC 0011

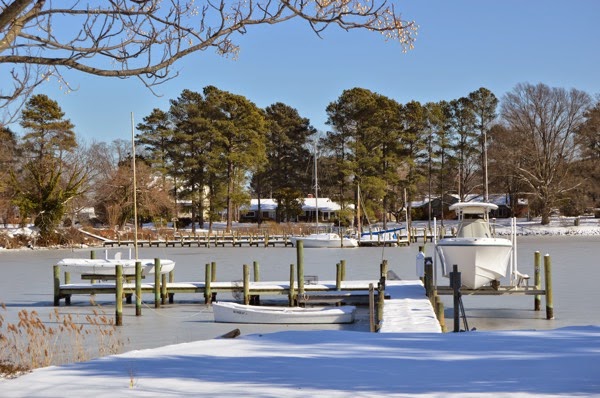
Shot of the dock with frozen creek:

DSC 0061

Let’s hope for a change in the weather...

Monday, February 16, 2015

Week three, still scratching...

I think that at this moment it would be important for me to put down some thoughts about this effort that are not necessarily focused on what techniques, tools and processes that are being used to repaint Ronin. I know that I spend an inordinate amount of time scanning the internet for sources of techniques and tools required to complete the tasks and projects of this refit.

After observing how Charlie is approaching this project, I think some observations are in order.

First, he is doing this project from front to back. From arranging the haul dates with me, the length of time expected to complete the hull, the scope of work, the pros and cons of tackling certain aspects of the project to blocking the hull, prepping and painting the boat. There are no other people involved. Just Charlie. 

I feel as though I have relinquished control my boat and, to some degree, the vision for how it will turn out to him. But here’s the thing, after seeing several of his other jobs and working with him, I can’t imagine any other way to see it through. Although I think that I have a basic level of understanding about how to accomplish this job and a level of understanding about a good job versus a perfect job, it is clear to me that that the final outcome is going to be a level of detail that's a good cut above.

I’ve seen other Awlgrip paint jobs that are good. The hull is sanded, gross imperfections or defects repaired, prior paint jobs sanded off and then the hull repainted. That is not what is going to happen. As I watch Charlie work on the boat I can see that he is repairing gelcoat and laminate problems which is all well and good. But when I watch him sand, prime, sand and prime again to a level of fairness that 95% of owners would not even be aware of and then exceed that level, I am am impressed. It isn’t a matter of discussion with us as to whether this is needed or not. For Charlie it will be perfect and nothing less is acceptable.

When I was planning on painting the boat myself, my expectations of the final results were much, much lower. I would have been fine with that. I don’t have the chops to do more. My results would have passed the 15 yard distance away level of beauty, no sweat.

It has become clear to me that when this job is done, the hull will be more fair than when it left the factory. The finish of the paint will be of Hinckley quality.

Now, does it make sense to do that to a 33-year old production sailboat? No. Will others even notice or care? Probably not. Will we get the expense back on resale? Not a chance.

But will I appreciate the level of effort? Yes. I’m certain that every time I row away from the boat and look back at her I will be reminded of the dedication to the highest level perfection.

Sanding, priming, sanding, priming...

DSC 0033

DSC 0042

I was concerned that already faint HIN numbers would get lost in the final outcome. Charlie’s fix was to take a Dremel tool and open them up:
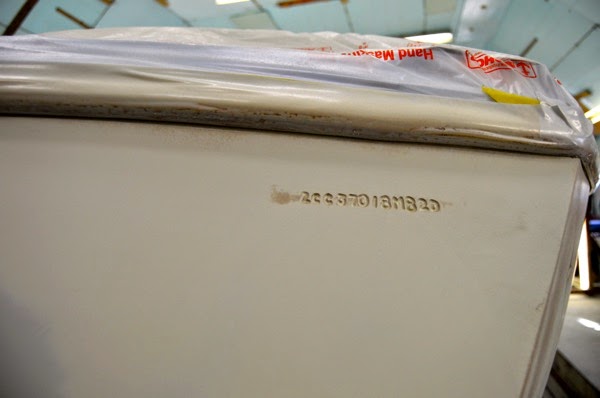
DSC 0043

While the boat work has been proceeding in the boat shed, I have (very…) casually been working on the new cabin sole flooring. 

First cut:

DSC 0003

When I replaced the floor years back I converted the design from three access hatches to just two that were a bit longer. That proved to be a minor irritation because I couldn’t really get to the back part of the bilge for cleaning and finding lost tools.

For this iteration, I will go back to three access hatches.

Laying out the hatch boards:

DSC 0018

Expanding the opening with a 10 inch cut:

DSC 0020

This last weekend we lost power for almost 24 hours due to high winds from a brutal front passing through. Since the house was cold and we couldn’t get our daily internet fix, we jumped in the truck and drove to our favorite oyster and beer spot, Merrior in Topping, VA. One of the sights that is always sobering to me when we arrive is below.

Sad old derelict at very low tide:

DSC 0047

As the story is told, apparently a gentleman brought her in to escape the ravages of Hurricane Isabel (2003) but she went down anyway. And the owner passed away a few days later...