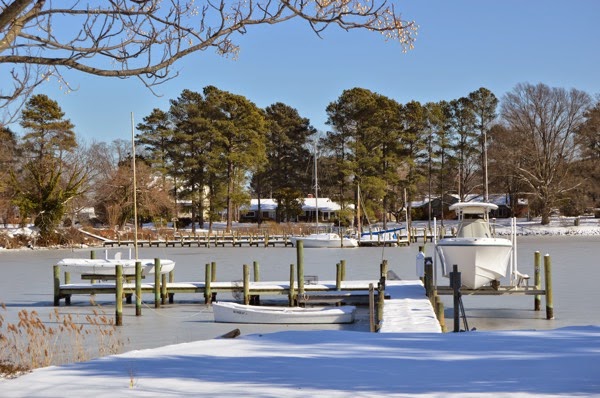
Friday, March 27, 2015

A brief interlude from boat work.

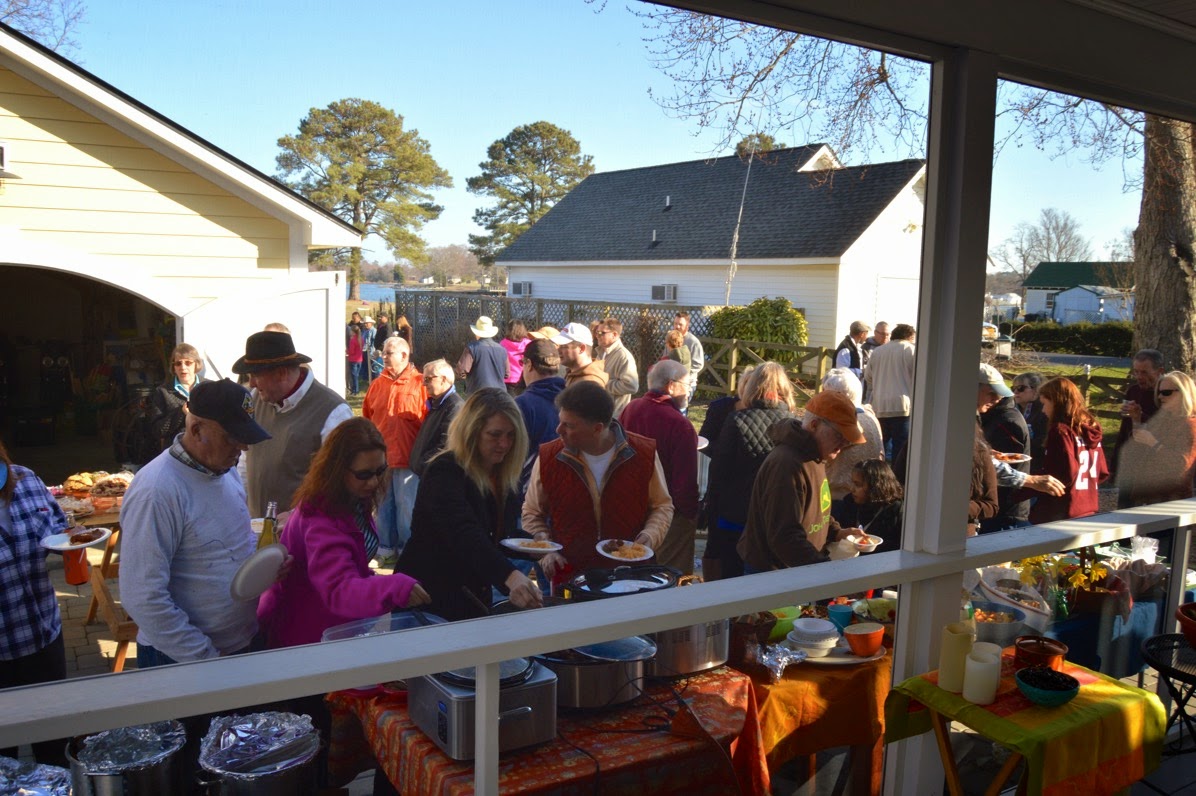
It’s been a week and a half since the last post. Although a lot has been completed, there wasn’t a whole lot to actually see. We hosted our annual Sock Burning party to great success last weekend. Good turnout.

Chili, clam chowder, a chicken molle and a bushel of roasted oysters washed down with some good ales and wines. The day worked out well. No rain!

Food ready and socks to be burnt:

DSC 0030

DSC 0042

DSC 0056

DSC 0035 

DSC 0064

Charter members of the original Sock Burning:

DSC 0077

Anyway, next year, same place, same time.

Monday, March 16, 2015

The paint goes on...

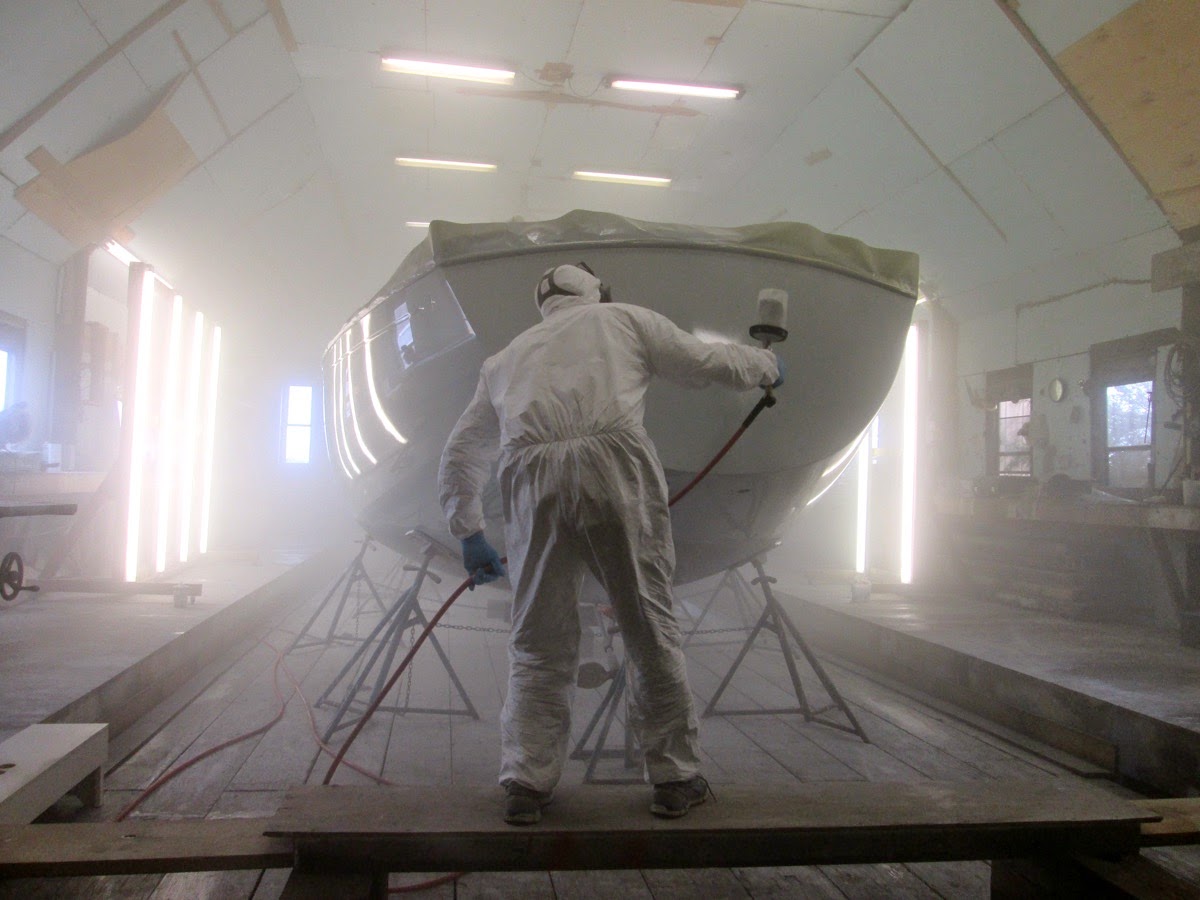
The weather provided us with a break and stayed reasonably warm with low humidity. With that weather window, the paint went on today, Monday, March 16th.

I showed up to pretty much to observe how an expert sets his tools, what good techniques are employed and to see the art of shooting AwlCraft. It was really interesting and extremely informative. Charlie explained everything he was doing and why. I stayed out of his way as much as possible.

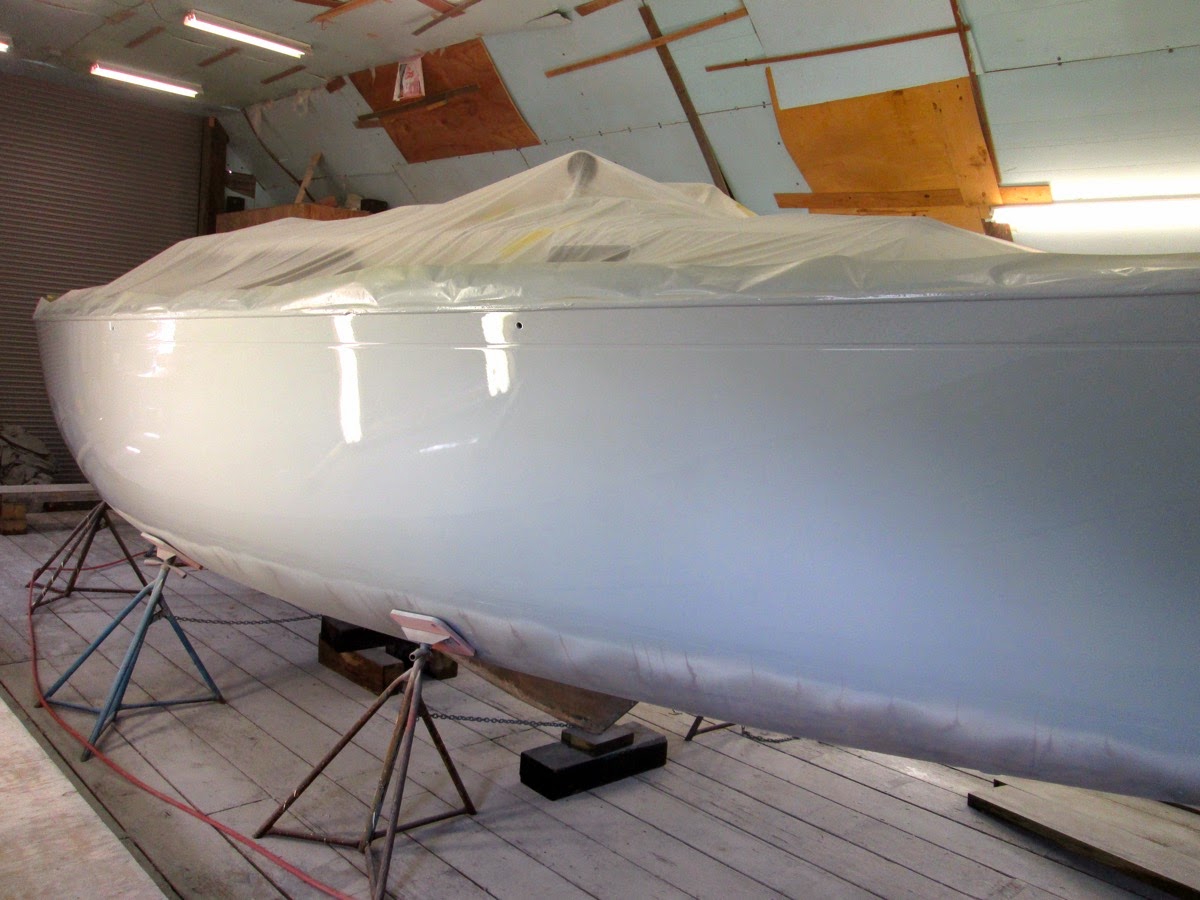
So after three coats of AwlCraft 2000 in a custom grey color, I am really pleased. There were no problems or mishaps. The paint went on perfectly. Charlie was done by 1:00 PM.

So, to the pictures.

Washing the shed and walls for dust control:

IMG 0900

Solvent washing the hull:

IMG 0906

Mixing the paint and prepping the 3M PPS paint system:

IMG 0928

Last tack wipe-down for overspray and dust:

IMG 0932

Painting:

IMG 0945

IMG 0951

IMG 0957

IMG 0966

IMG 0996

And the final product, still curing….

IMG 1006

IMG 1008

IMG 1010

IMG 1016

So, we closed shop and made sure no-one went in and ran their grimy hands across the paint.

Police line:

IMG 1018

So, another big project item that is on its way to being completed. Taping and painting the sheer and boot stripes will be next.

Week Seven - Almost ready to paint the hull.

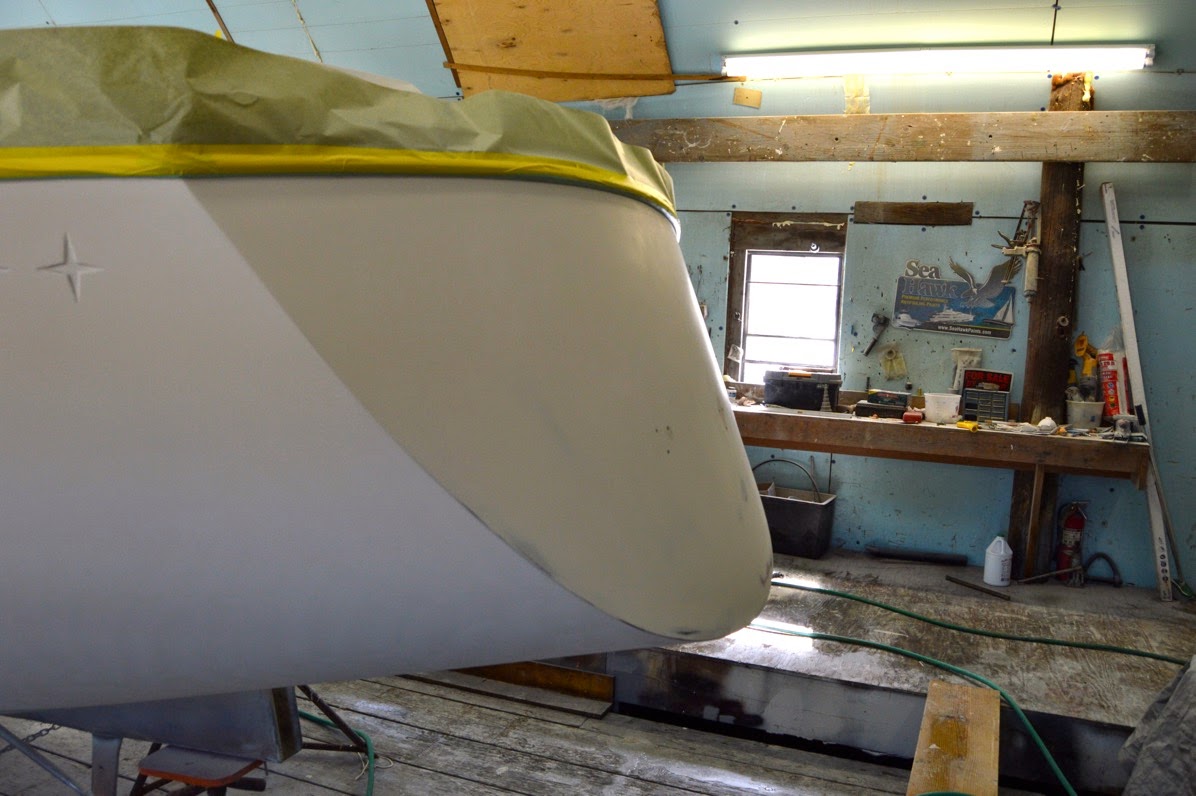
 Well, we’re just about set to paint the hull. It has been sanded, primed, board-sanded, primed again and sanded yet again with the final sanding using 400 grit paper. Run your eye down the lines of the hull and it is smooth and fair. Ready to be washed, solvent washed and painted.

 Final, final sanding and prep:

IMG 5074


DSC 0029

400 Grit Fair

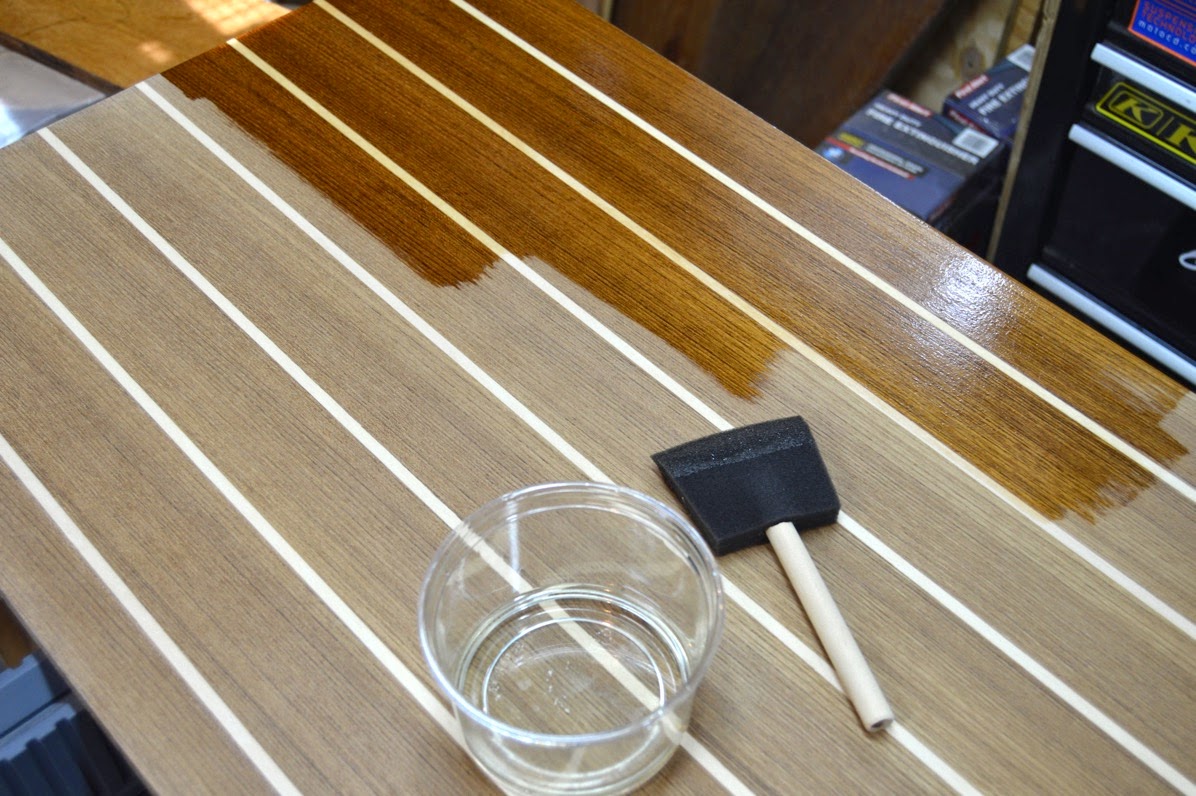
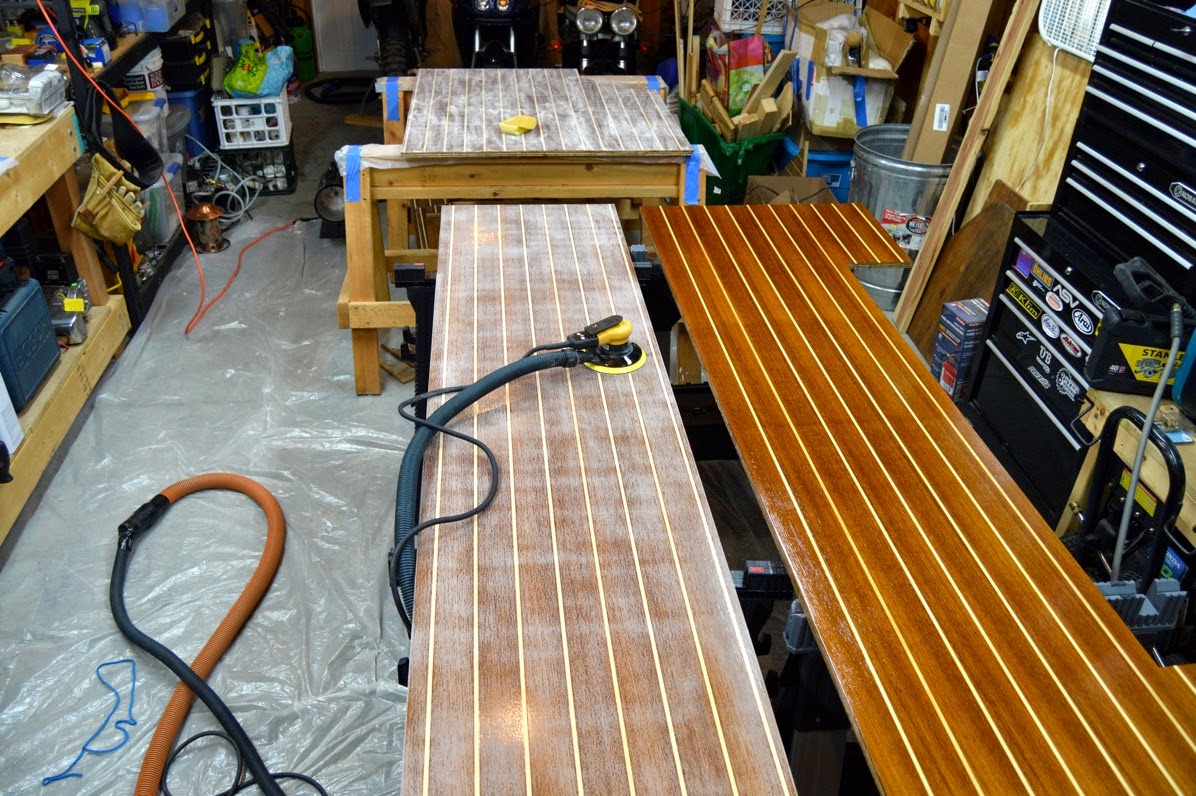
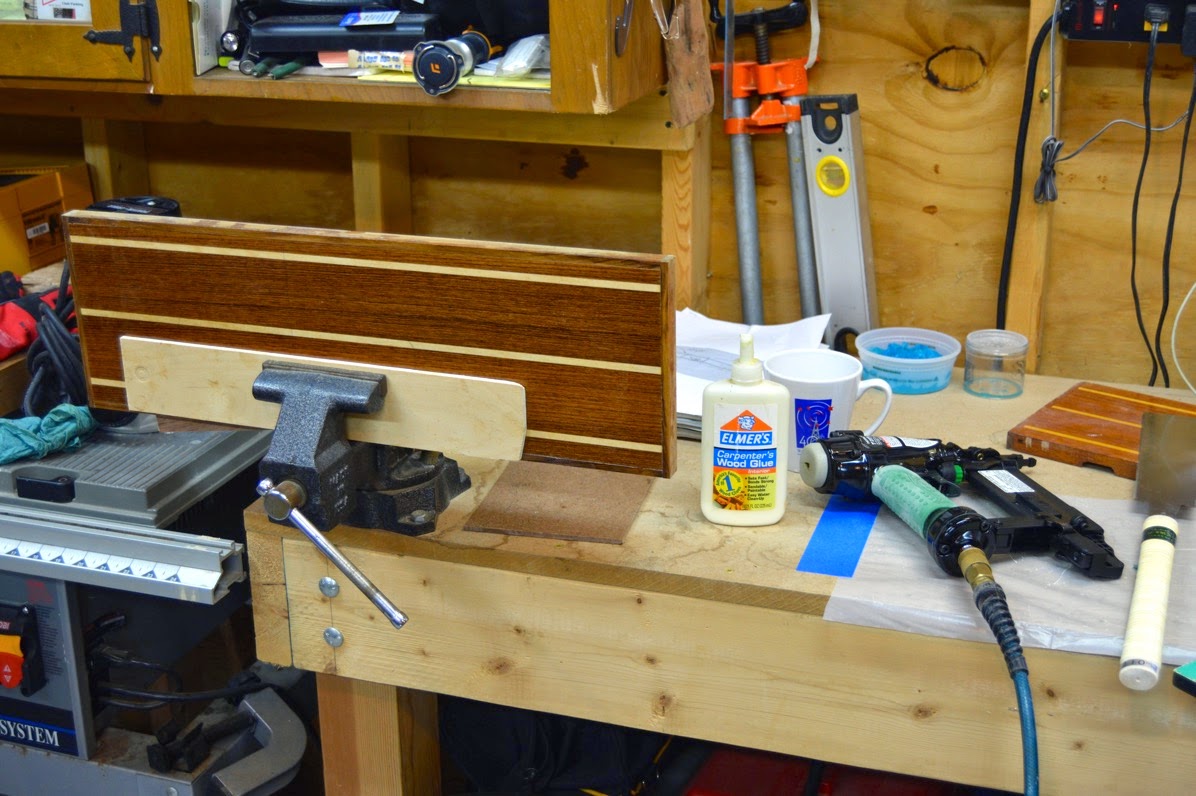
I’m still working on the cabin sole project. I did some repair work in the bad routing edge in the main cabin pieces and set them aside. I ordered some 1/4” by 3/4” teak edge strips for the matchboard cutouts. While waiting for those to arrive, I started laying on the first two base coats of gloss Awlwood over a single coat of primer.

Having used regular varnish in the past I have to say I am already impressed with the AwlGrip product. It goes on well, flows extremely nicely and frankly, two coats look like 4 of standard varnish. It should because AwlWood is not cheap.

The directions call for the first two coats to be sanded between applications but the rest of the coats can be “hot-brushed” which will shorten the completion time tremendously. We’ll see.

Repair work:

DSC 0006

Primer application:

DSC 0007

Primer on the left, first coat gloss on right:

Primer Left 1st Gloss Right

Sanding the gloss coats:

Better Sand on 2nd Gloss

Adding the teak edging:

Adding Teak Edge Strips to Floorboards

Teak Edge on Sole

Saturday, March 7, 2015

Week Six - No break in the weather.

It has continued to be unremittingly cold in the Mid-Atlantic. Snow and ice with sub-freezing temperatures in March. I’m well tired of it...

DSC 0124

Charlie and I keep working on our respective tasks necessary for painting and the refit. Early in the week he worked on finishing sanding the second application of high-build primer and AwlFair fairing compound. The hull is, well, quite fair. On Friday I showed up to get some pictures and he had just completed washing the hull and shed in preparation for spraying the first coat of white base AwlGrip 545 Epoxy Primer.

Before leaving work to enjoy his weekend, he sprayed the hull. Things are progressing nicely on his end.

Washed, re-taped and ready for the AwlGrip 545 primer:

DSC 0137

DSC 0138

As Charlie was working I spent as much time as I could working on the cabin sole project. Because of extremely low temperatures keeping my shed at recommended temperatures for applying epoxy was a hit-or-miss affair. I was able to tape the edges of the cabin sole inserts and apply West System epoxy to the edges. My wife and I had to run up to Annapolis for a day to attend a memorial service for the mother of a dear friend of ours on Friday.

Saturday the temperatures actually rose above freezing so I fired up the propane heaters and got the temperatures in my shed above 60F. After some more grinding and routing on the underside of some of the pieces, I mixed up some West System and applied it to the undersides of the flooring. Unfortunately, I didn’t have enough to complete the work so only the main cabin floor boards were coated. I’ll get more on Monday. I have two gallons of System Three epoxy that hasn’t been opened yet but I’m saving that for another larger project.

Floorboards with epoxied edges:

DSC 0116

DSC 0118

Ronin’s hull after the AwlGrip 545 Epoxy Primer application:

DSC 0139

DSC 0142

The famous C&C star...

DSC 0149

Applying West System to the underside of the floorboards:

DSC 0154 

DSC 0158 

‘Warmer” weather on tap for next week...

Sunday, March 1, 2015

Week Five - Amateur Woodworker

Work progresses on the hull. Despite still being extremely cold the sanding and priming of the hull continues. Still more snow has shut down operations in this area on several occasions. During the last week I have been away much of the time, back in Arlington visiting friends and seeing my family.

I checked in on Ronin last Friday and not much the way of “action photos” to show but Charlie and I did spend some time discussing the merits of painting methods and the appropriate spray guns. After listening to Charlie describe shooting techniques and the quality of guns he uses, I really felt out of my depth. I know that when I go to shoot my decks that the results will be “interesting."

A spray gun for every job (pro tip, the Sata, 2nd from right):

DSC 0176

Primed and ready for yet more sanding:

DSC 0112

DSC 0117

I’ve turned my focus back to working in my shed on the cabin sole yet again. Confession time: a few weeks back I set up everything to make a rip of the first 4X8 sheet that would become the two pieces in the main cabin. I measured, measured again, set up a guide and took my time to make sure that I had everything set up correctly. It all looked okie-doke.

One thing though. I wasn’t sure about what was the best blade to use in my trusty old Bosch jigsaw. Now, I have used that tool for many things over many years yet for some reason I overthought the problem. So, since we know that everything on the Internet is true, I did a search for the correct blade to use.

Put the recommended blade into the jigsaw, flipped the switch and started in on the cut. About half-way down cut, the blade torqued, veered off on an angle and that was that. One completely ruined expensive sheet of teak and holly plywood. After calming down, I inserted the blade that I had originally planned on using, set up the guide and made a “test” cut on the now useless piece of plywood. Perfect...

After ordering another sheet, I went the simple route after getting some advice from my friend Vincent who built our house and just used my Skillsaw. Another perfect cut.

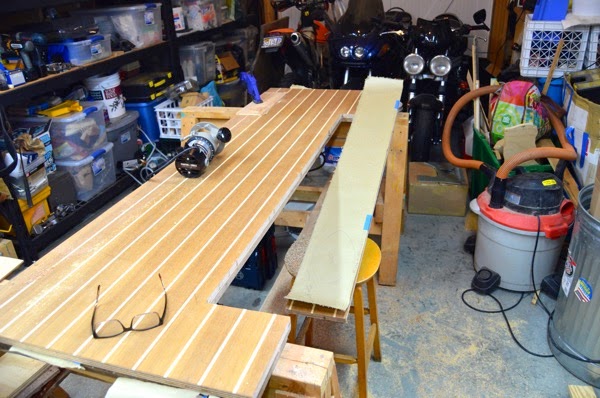
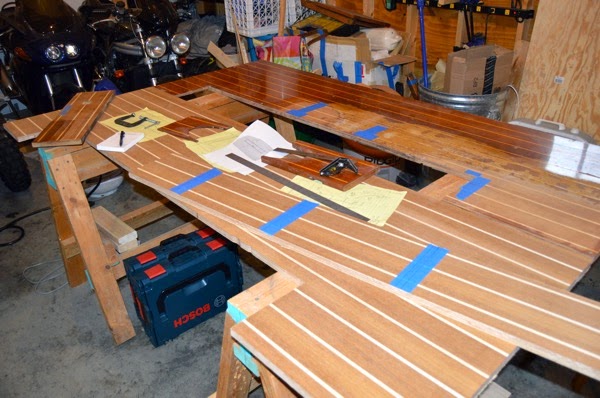
Sooo, after after getting over my understandable doubts about my abilities I pulled out the router to carve out the section that will be used for the hatch boards. After practicing many times with some cheap stock, I put in a 1/2” by 1” router bit and fired it up.

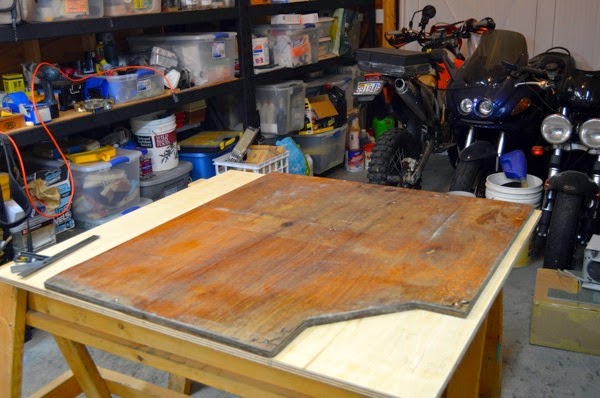
I got it about 97% correct this time. I wasn’t paying attention but the old cable sole being used as the template had delaminated in some spots and as I was running the router down the line, the guide dropped into some voids in the ply. Not pretty but I will do some work with West System and pieces of salvaged laminate and it should be okay. The 1/4” teak edging on each side will hide some of the problem I hope.

Prep and router cut:

DSC 0152

DSC 0154

The problem with rotten templates:

DSC 0157

Prepping the cut-out for three hatchboards:
DSC 0161

Later during the week I pulled the second sheet of plywood out and started laying out the templates for the two sections at the navigation station and galley. The one in front of the head is still on the boat so I was only able to cut out the one in the v-berth.

By and large these cuts went okay although there is a very slight gap between the two sections in the galley/nav area. That’s due to the problem of making a third cut-out based on a (rotten) template of the original cabin sole boards.

Laying out the old cabin sole templates and screwing them down:

DSC 0202

DSC 0205

Finished with routing the edges:

DSC 0209

Panels arranged on the shed floor:

DSC 0210

When the weather warms up and I can get stable temperatures in my shed I’ll start sealing the plywood with epoxy and then applying the finish coats to the surface.
Saturday, February 21, 2015

Week Four - Cold Sanding

For this week not much to really show in terms of photos. Progress is being made, much of it with the board file and large sander.

There are several hard (high) spots, particularly on the port side. Charlie is steadily working them down and making the hull fair. Work continues.

This past week we in the Mid-Atlantic have been in the grip of record low temperatures along with snow. Despite a “snow day” when work stopped at the yard, we’re still roughly on schedule. If the temperatures increase sufficiently next week then another layer of primer will be applied. Afterwards, well, more sanding of course.

Hard spots (grey areas) along the port hull:

DSC 0009

Sanded all the way to the fiberglass:

DSC 0010

Close-up of board file results:

DSC 0008

More filling and fairing of cracks at the waterline:

DSC 0011

Shot of the dock with frozen creek:

DSC 0061

Let’s hope for a change in the weather...