Thursday, March 10, 2016

So, where did I leave off?

Oh yeah, back to boat work.

I thought that with the fancy boat shed I would be able to get a fair amount done in the dead of winter. Not so much. A week in the Dominican Republic doing our regular medical mission volunteer work only to come back to the Great Mid-Atlantic Blizzard  and then quickly getting on a plane for another week and a half of sitting on a beach in Florida pretty much ruled that out.

February was just too stinking cold, windy and wet. All I did was check on the boat shed to make sure that it was still there and keeping Ronin dry. Which it was and did admirably.

I would occasionally fire up the heaters in my backyard shed and do some small woodwork and varnishing on the final odd pieces of the cabin sole. Tomorrow I will put a final satin finish coat on top of the last piece that goes on the v-berth step, wrap it in construction paper like the rest of the cabins sole, set aside and be done with that project task.

Last bit of cabin sole work:

New V Berth Step

Cabin soles ready to install in some future date...
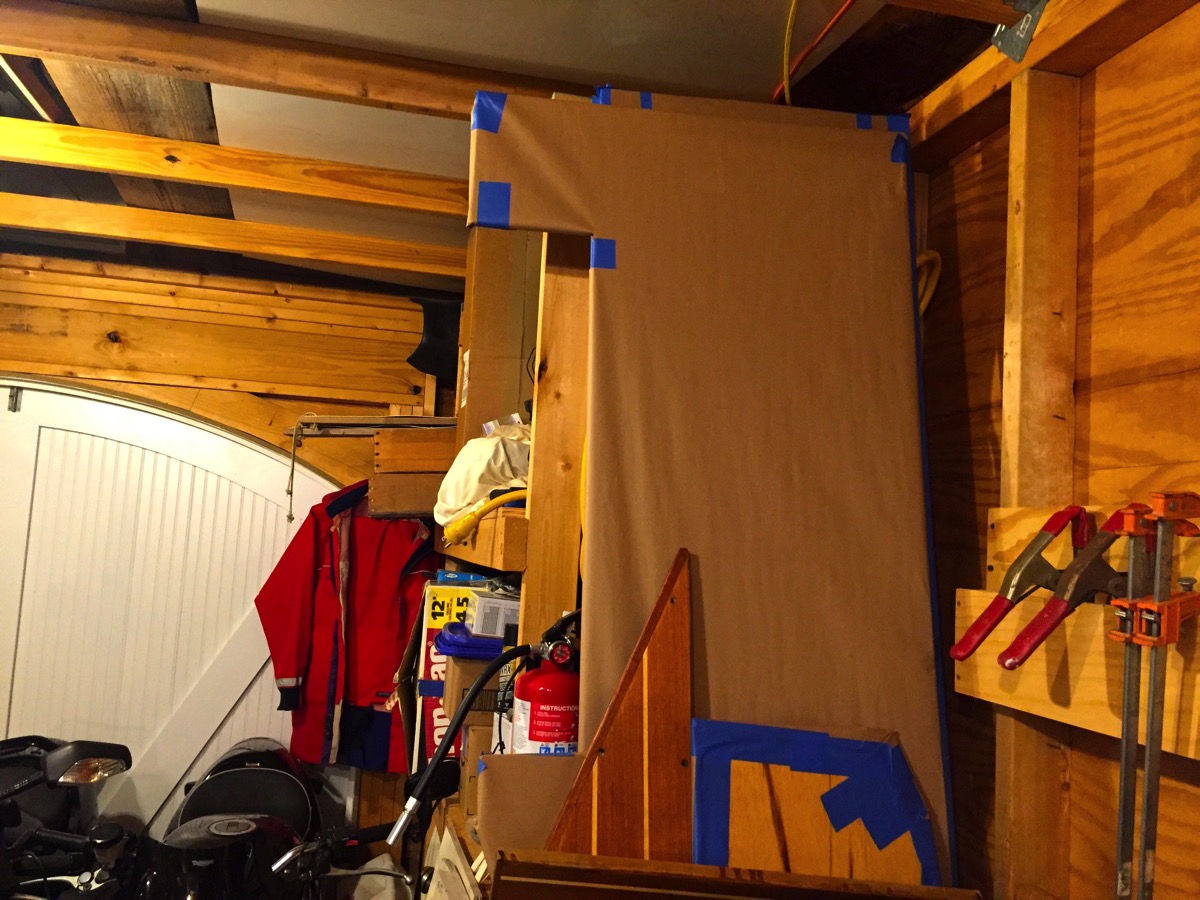
Wrapped and warm

The past two days have seen near record breaking warm temperatures here on the Chesapeake Bay so I, like many others in the boatyard, got back to work. The first day I did some administrative work, mostly thinking about what tasks to get started on this spring.  I did a quick survey of the mast and took notes for when I get together with a local rigger.

Another item that needs to get started is installing a small capacity bilge pump. I’ve pretty much decided to go with one of the new Whale Supersub Smart low-profile bilge pump. It is not intended to move large amounts of water, rather, to just keep the bilge dry during normal conditions. I worked up a quick wooden mockup to ensure that it would fit in my small, narrow bilge. The good news is that it should fit nicely. I was concerned that it might not fit with the keel bolts.

Replace with the real deal.

Small Bilgepump Mockup

I have not done any sanding or prep work in the cockpit for the upcoming deck painting because I knew that it would be a high traffic area. A lot of dirt and grit gets carried onto the boat so I wanted to wait until the last moment to start in on the task. I have spent quite a bit of time worrying about having a soft balsa core in the cockpit and that I would need to completely rebuild that area.

I spent some time sounding the entire cockpit sole in minute detail today. My ears a still ringing from that effort. But, the really good news is that there is no wet or rotten balsa. Both the sounding and a visual inspection from underneath verified that it is strong. That was a great relief and means that I can “save” at least a month’s worth of work that would have been required to replace the core and fiberglass.

Solid.
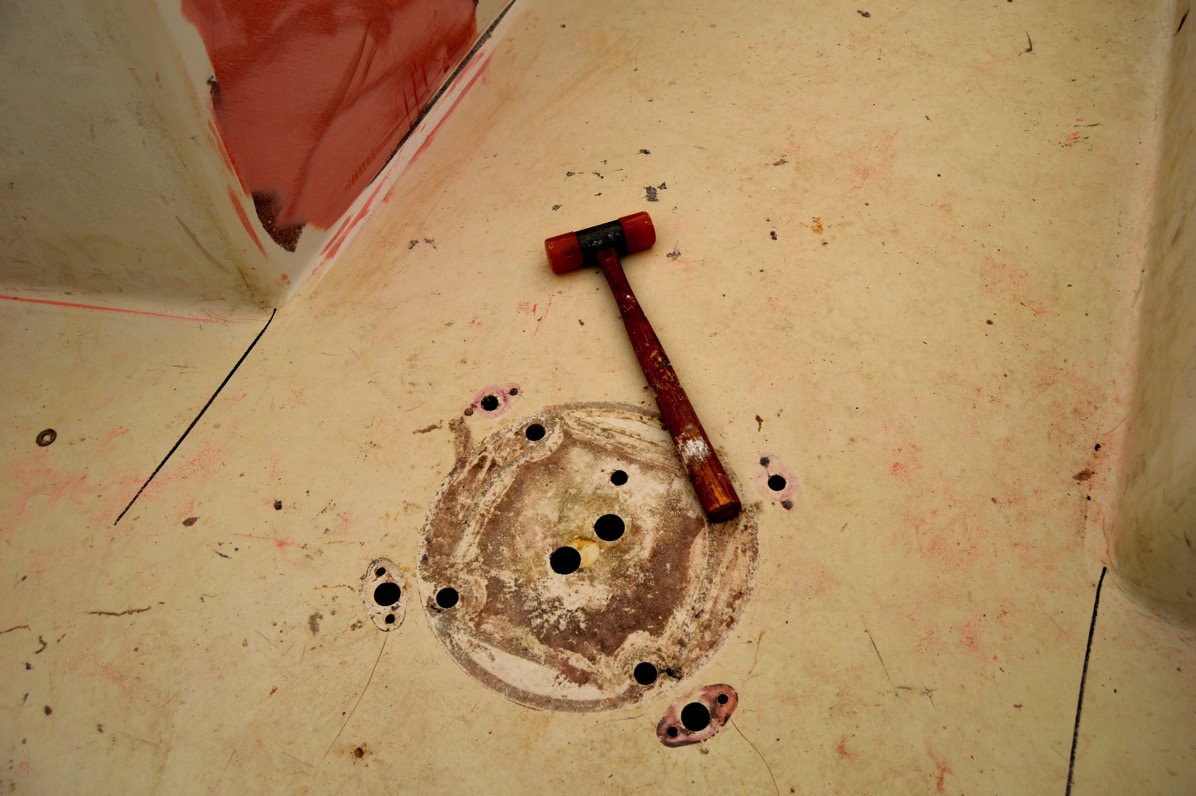
Balsa core sounding

I will need to seal the aft-most two openings that carried the throttle and shift cables when I install the new Edson Classic pedestal that is in the shed. Amazingly the core that was exposed around the holes drilled in the cockpit sole was dry and solid.

Quick verification.

Dry fit new pedestal

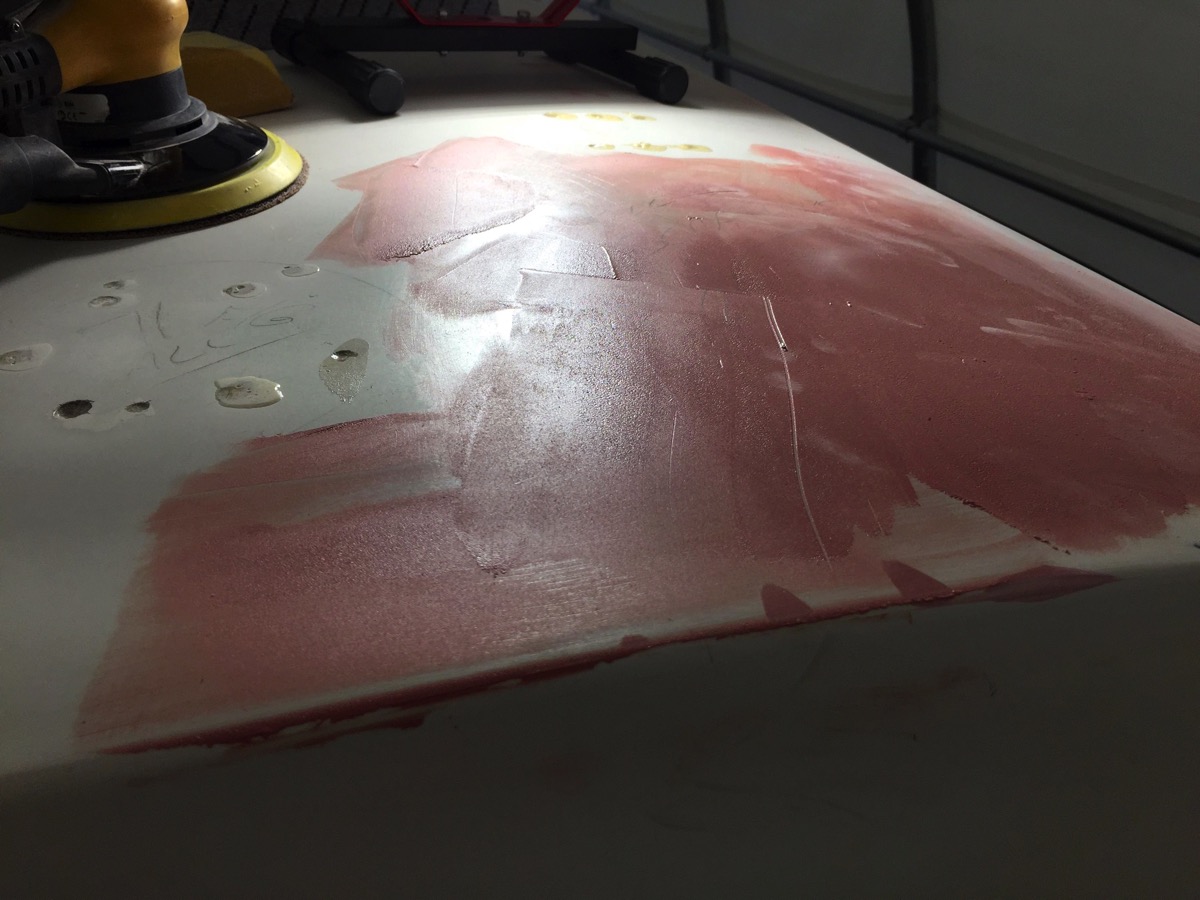
While I was at it I applied more AwlFair to the old cockpit/quarter-berth opening on both sides. Standard apply and sand off process. A previous owner had slapped a gob of filler of some sort on the aft bulkhead and it kept bugging me so I sanding it down and faired it too.  I should be done with this job in the next few days.

Pastels:

Old Port Repair V 2 0

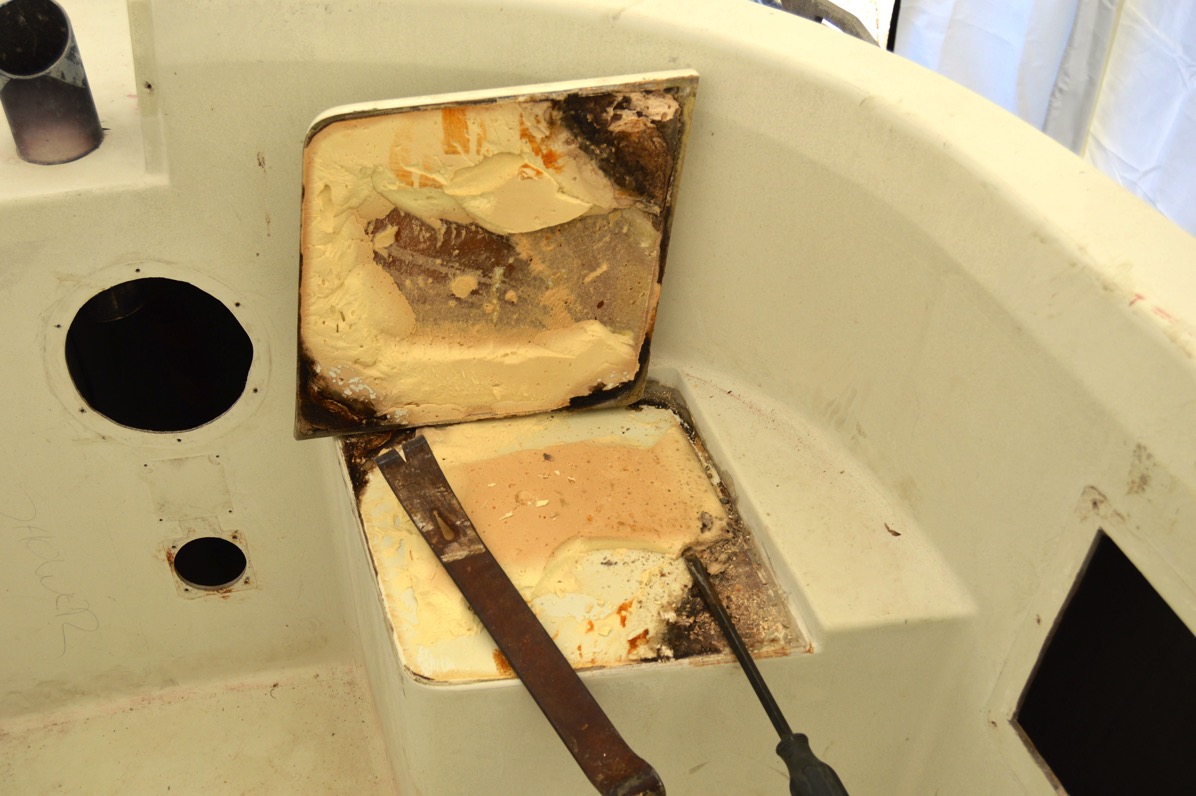
And since I was on a roll, I started to think about doing something with the area underneath the port side of the cockpit driver’s seat. It may have been an option from the factory to put a hinged lid over some sort of storage like  the propane locker on the starboard side but on my boat is was simply glued downed.

So, using tools that usually get me in trouble, I decided to investigate. Fifteen minutes later I had my answer.

Not subtle.

Don t Break It

C&C “stuff:"

Off in one piece

I’m going to work up some sort of storage underneath this. Most likely a removable soft pocket of some sort. TBD.

Looks like an one-hole outhouse...

Starboard pit toilet

Oh, and I did some Frostbite racing in Annapolis last weekend and yesterday put on some shorts and went sailing with my good friend and home builder Vincent on his Corsair 24. Fun.

First Sail 2016Early start.

Tuesday, December 29, 2015

Getting the bilge ready.

I’ve been mostly working on small things for the refit, finishing odd pieces of the cabin sole that need special attention, applying the final coats of satin finish over the coats of gloss AwlWood to the large cabin sole sections. When those were complete I wrapped them in construction paper and put them up for storage in shed.

The Butler skiff had been sitting on sawhorses at the Railway. I decided that rather than splash it, drag it back to the slip and worry about keeping it floating over the winter that I would just store it there. The yard owner fell 6 feet of a strong-back the broke and was out of commission for a week or so. This week we moved the boat, flipped it over and I wrapped that up for the winter too.

All it needs is a nice red bow.

Snugged down for the winter

Before Christmas I spent some time cleaning the bilge. Originally I thought that I could get it ready to paint by simply scrubbing the 33 years of crud using household cleaners and a stiff brush. I was disabused of that idea pretty quickly. So, my fallback method was to bring out the heavy equipment. The power washer. I picked a day that was raining, put on old foul-weather gear and after cleaning with Simple Green and letting it work a bit, I started in.

Not a job to be taken lightly. I blew crud and crap all over the boat. But, it did the trick. There was dirt, dust, old stainless steel hardware and fiberglass bits that came out of every crevice in the hull. I crawled down into the cockpit locker and cleaned the seldom seen areas around and behind the rudder and quadrant. It took 3 days just to dry out properly. 

After that I spent 3 days sanding, grinding and scrapping old paint and caulk. Another afternoon spent washing all the surfaces with thinner and I was pretty much ready to go. I took one day to tape up all hoses, lines and exposed surfaces.

Today I donned my Tyvek coveralls and went to work with rollers and brushes. Not an easy job because I had to spend most of my time on my knees and bent over. At the end of the day I had one coat applied.

Getting started.

First coat start

First coat on and drying.

First coat done

Will need second coat

I may have mentioned in another post about the interesting boats in this yard. A “unique” sailboat showed up a week ago. I was intrigued and walked around it admiring it for a good 15 minutes before it dawned on me what it was. A “modified” Cal 25. I used to own and race one in Annapolis. Stunning.

Years ago I was fortunate to be able to do a tour of a Cal 40 being completely rebuilt and upgraded for racing with the late designer Bill Lapworth. He was firm about the reasons for some of his design elements and felt that changing them might be a bit of overkill. He would not have approved of this change.

Somewhere in Heaven Bill Lapworth is weeping...

Pirate Ship

Monday, November 30, 2015

Clean, plan and move forward...

Ronin deserves better.

It has been better than a year since she was given any attention other than painting, sanding, unscrewing bolts and running wires. And in the time, she has slowly acquired a patina of dirt, mold and just plain scum. In my zeal to keep working on the “big” projects and get them done, I had not really notice how run-down and tired she had become. I think she was trying to tell me that the project was more about me than her.

I work on Ronin in a boatyard that had more than a few abandoned boats that were chopped up, sent to the landfill and quite a few more that although the yard fees are being paid, it is pretty clear that those old boats are probably never going to see the water again. You can see it and feel it when walking around the yard. They’re faded, tattered and covered in a faint verdigris. Projects started and then stopped with a hasty cover thrown over the work with what I am sure is a resolve to get back to it in the spring. But it doesn’t seem to happen.

That is one of my biggest fears. That I will get to a point where I walk away from an unfinished project. I’m not cowed by the costs, the labor involved or the technical difficulties. I’m not fazed by the shear scale of the project.

I fear that I will just lose the drive and the concentration necessary to complete the refit.

But I have a partner is this effort. He’s been with me for years and is aways on the boat waiting for me to show up and get back to the tasks at hand. He’s fearless. He doesn’t take No for an answer and he certainly isn’t sentimental. When I see him, I smile and get back to work.

“Salty” the croc...

I m watching you

So, the other day I downed power tools and sandpaper and picked up a bucket, brush and cleansers. After doing yet another vacuum of the boat I scrubbed down the entire interior. The fiberglass liner that I had painted was showing dirt and spots from the wasp “ejecta”. The melamine covering the cabinetry was covered in large swatches of mold. The teak paneling was growing a new species of moss as near as I could tell.

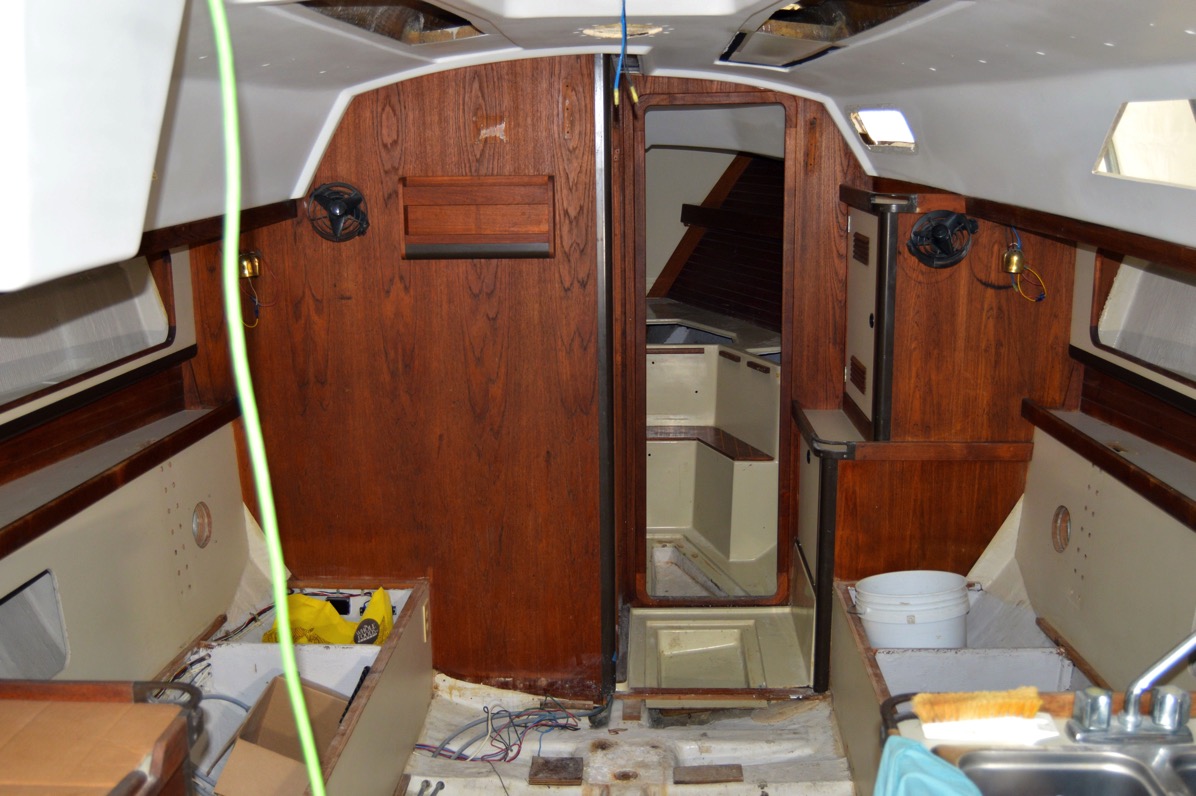
It took two days to get it nice again. A huge difference in feel just going below despite the fact that with everything removed it looks like an industrial site.

Brighter.

A wash is good


Clean aft

When I was done with the cleaning I moved on to next important item. Project planning. This is where I will fall down and not complete this project if it is not updated and followed. The refit will become just another random set of chores with no completion.

I’ve been focusing on the larger effort required to get the decks ready for painting this coming spring. That’s pretty simple on a day-to-day level; grind, fill, sand, fill, sand, etc., etc.

But as that effort is starting to wind down, I need to focus on the remaining large tasks and what can be achieved during the winter months. I sat down at the nav-station with my notes, project plans and Salty to work on a list of jobs that could be worked on in the colder weather. 

After that effort I’ve got a nice list of items and a renewed sense of where to go and what to get done in the next 3-4 months.

Paper technology

Work continues.

'Glassing in the quarterberth port

Thanksgiving with my family and a few doctors visits. Just part of the schedule when trying to get time to work on the boat. All of those events took me away from Reedville for several days. Driving to and from Washington, D.C. can be tiresome. And I will be going back in a few days for some minor out-patient surgery.

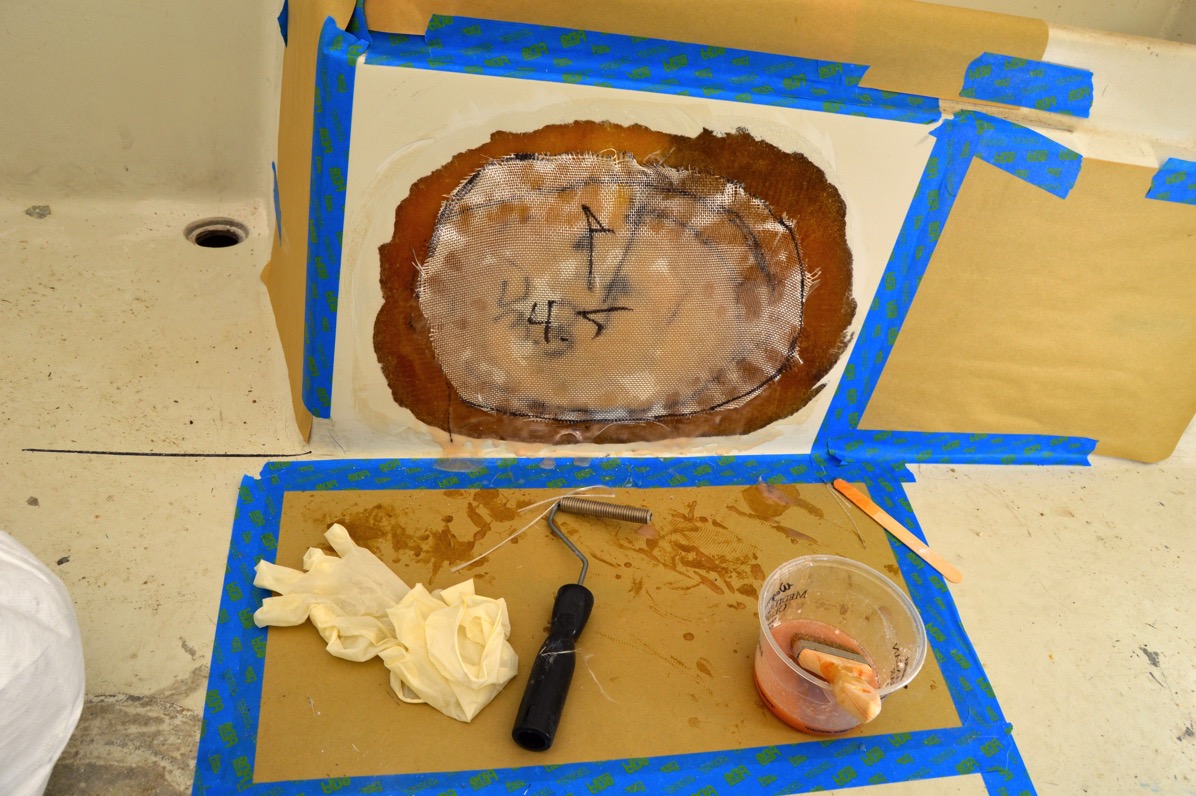
In-between the interruptions I continued work on filling in the old round port providing ventilation to the quarter berth. I cut up some layers of 17 oz. biaxial cloth to fit the diameter of the opening and epoxied them in place. From there I used the plastic template I had created some days earlier to cut up successive layers of 6 oz. woven cloth. These were epoxied into place until the entire area was built up.

Plug it and cover it.

Glass mat plug

Yes, still more wetting out to be done...

Old port layup

Pro tip: don’t use paper or tape for the epoxy overrun. The epoxy just ignores it and sets up on the glass anyway. And I knew that prior to taping it up. Dummy at work yet again...
I put a heat lamp on the whole thing and let it set up for the day.

The next day I came back and started in on sanding the hardened epoxy. After a quick wash to remove the amine blush I did a a couple of passes with the 5” grinder and the 6” sander. Despite my weak fiberglassing skills the layup was nice and fair with virtually no high spots that needed working down.

Ready for AwlFair.

Old port layup sanding

I grabbed the vacuum to remove any dust and then washed the entire area with acetone. After mixing up a batch of AwlFair and troweling it on, I was done with that for the day.

I love AwlFair...

First coat AwlFair

I took a quick trip to the bow and sanded the last AwlFair application near the forward part of the anchor locker and it is ready for priming when that occurs next Spring.

Done enough.

Anchor damage ready for primer

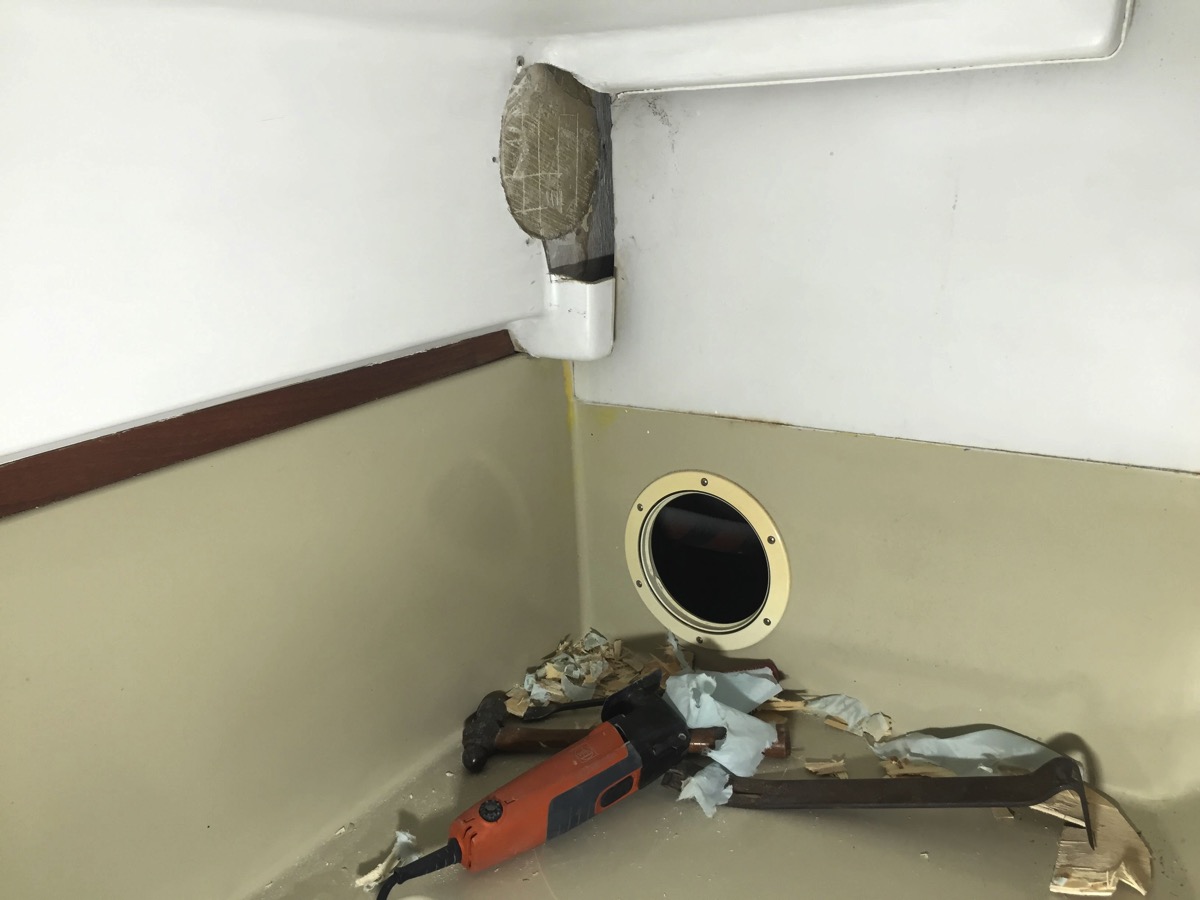
When I came back next I discovered the limitations of PeelPly. I had considered just using plastic between the wood backing plate and the epoxy buildup. I should have.

The wooden plug was firmly fixed in place. If it had been in a more accessible location it would have been fairly easy to remove. It was not.

So, breaking out the “Wonder Tool", my Fein Multimaster I was able to cut and pry the plug out in small bits. Ultimately it was notas onerous a task as I had envisioned.

Bits and pieces.

PeelPly has limitations


Favorite tool deals with it

And since I had it ready I changed the blade and chopped off the wooden dowels I used to plug the old winch holes on the cabin top near the cockpit when filling them with epoxy.

Eh, no one will see it.

Cut off the bungs

After some sanding with the 6” Mirka DA and some of board filing I applied another skim coat of AwlFair.

Break out the heat lamp again.

Heat rays

Thursday, November 19, 2015

Filling and fairing never seems to end.

I awoke this morning to the sound of rain beating on our metal roof. There are times when it is a comforting tattoo that signifies a quiet day of coffee in bed, catching up on the goings-on the world (via the Internet...) and finding some small chores around the house to work on.

Not today.

I rolled out of bed early, put on boat-yard clothes, grabbed some breakfast, checked the NYT and then started to load the yard-truck with the required tools for the day's effort. I did a quick run down the street to check in with George Butler to make sure the skiff was covered and dry. Check.

Next stop was “Ronin”. Despite being a dismal drizzly and rainy day the temperatures were in the mid-sixtes. I unloaded tools and set up the work table. The goal was to sand off more AwlFair compound, check for imperfections and continue on the iterative process of getting the decks ready for priming and painting.

Grey day.

DSC 0068

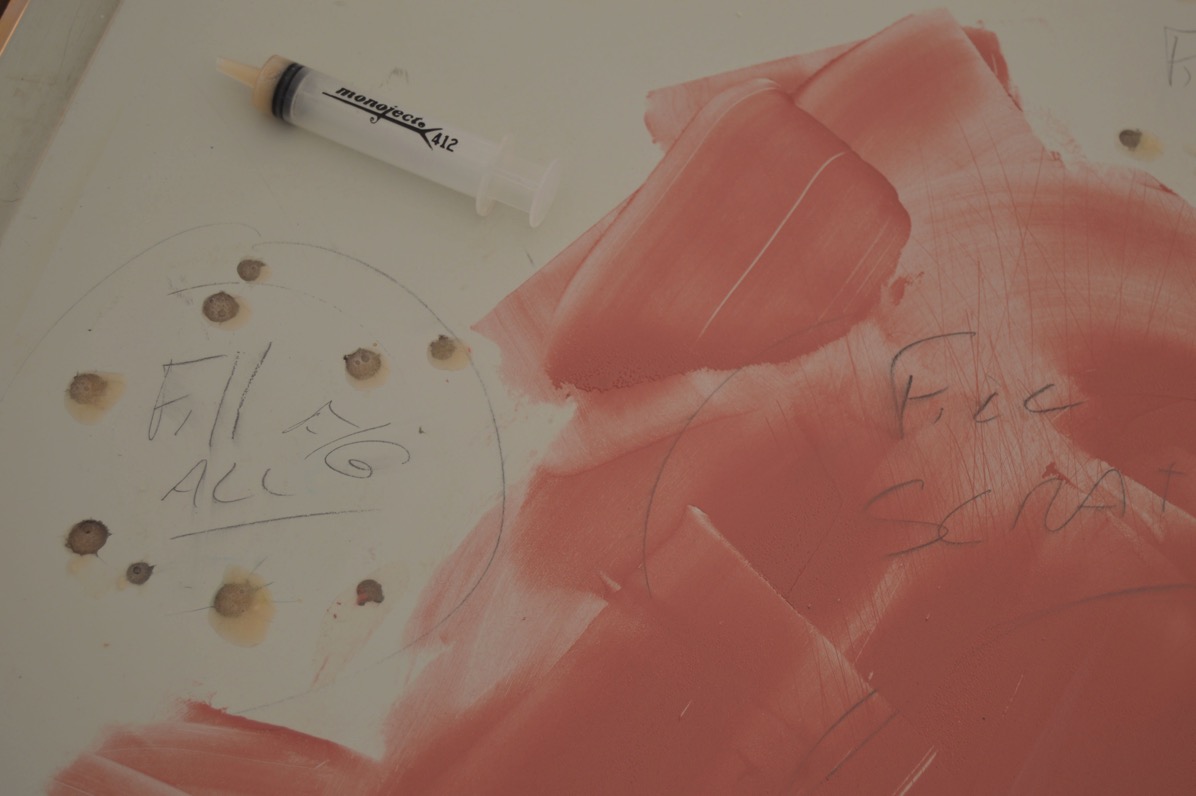
First thing was to identify those spots that needed sanding and more filler. I grabbed my new LED work light and went around the decks hand sanding the smaller spots. I had filled the hardware holes a few days earlier with West System epoxy and a little bit of micro-fiber filler. At the same time I worked some AwlFair into low areas and scratch marks.

Plugged and some fairing.

DSC 0034

Wooden dowels to stop the epoxy leaks.

DSC 0040

After that I spent some time working the board file on the cabin-top near the cockpit to get the area fair. Still not done yet but getting there.

Before and after:

IMG 5650

IMG 5651

Up front in the bow there was an area that had a bad layup and probably some hits that destroyed the deck where the anchor line ran. I had worked up a couple of applications of West System with microfibers to build it up. I machine and hand sanded the buildup.

Ugly epoxy layup.

DSC 0038

Sanded, faired and AwlFair applied.

DSC 0065

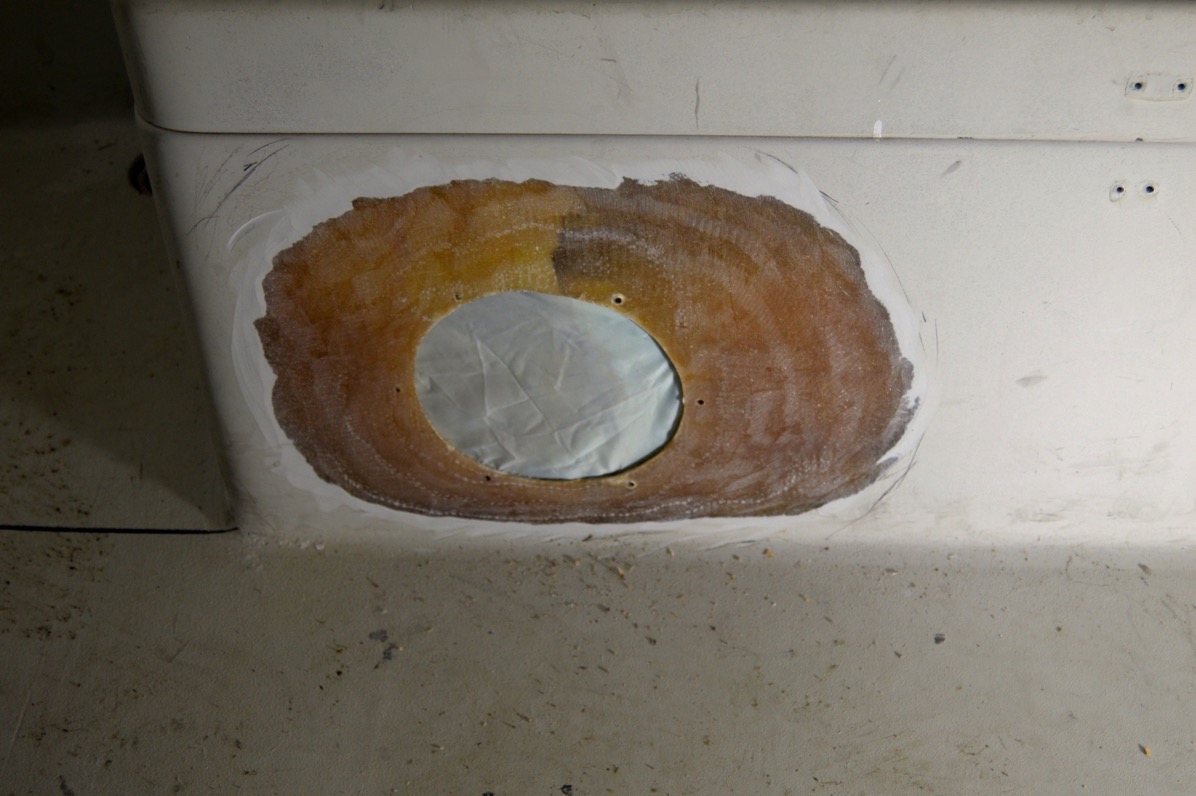
The next effort for the day was to prep the old quarter-berth hole for patching. I measured the opening, adding a few inches to the diameter of the backing plate. I cut the backing plate out of some scrap wood that I had lying around the shed but quickly found out that the gap between the hull and cabin liner was pretty tight.

Where’s my compass when I need it?

DSC 0049

I ran the 2” pneumatic sander along the edges of the filler plate to make if fit. The problem was that it was thicker than than the opening available to me. Next step, fit it.

DSC 0056

When I went to put it in place,the plug didn't even begin to slide into place. So, since I was going to have do some glass-work to finish off the ragged hole at the base of the quarter-berth I cut it away at the interior liner. 

DSC 0051 

After getting the plug to fit I wrapped it with Peel-Ply and maneuvered  it in.

Ready for epoxy.

DSC 0057

DSC 0059

The day was getting on and I decided to wait until the next session to finish the repair. I’ve learned to never rush a task.

Race, sand and paint.

The weather in the Mid-Atlantic and middle Chesapeake Bay has been surprisingly mild this Fall. I wish I could say that I have maximized all of that great weather on boat repair but I have snuck away for a little riding time on the Ducati Multistrada before it gets too cold.

I also had to attend to some yacht club business in Annapolis so I drove up last Sunday to fulfill my membership duties but not surprisingly I confused the event by one day. The club business was on Saturday and I showed up on Sunday. Doh!

I changed gears and hooked up with my good friend, former Cal 25 crew mate and competitor Charlie Husar to join him for a wonderful day of Annapolis Yacht Club Frostbite Series crewing on his boat "Chicken Little". Two quick races in Annapolis were a great way to remember my racing chops. And realize how much I missed it...

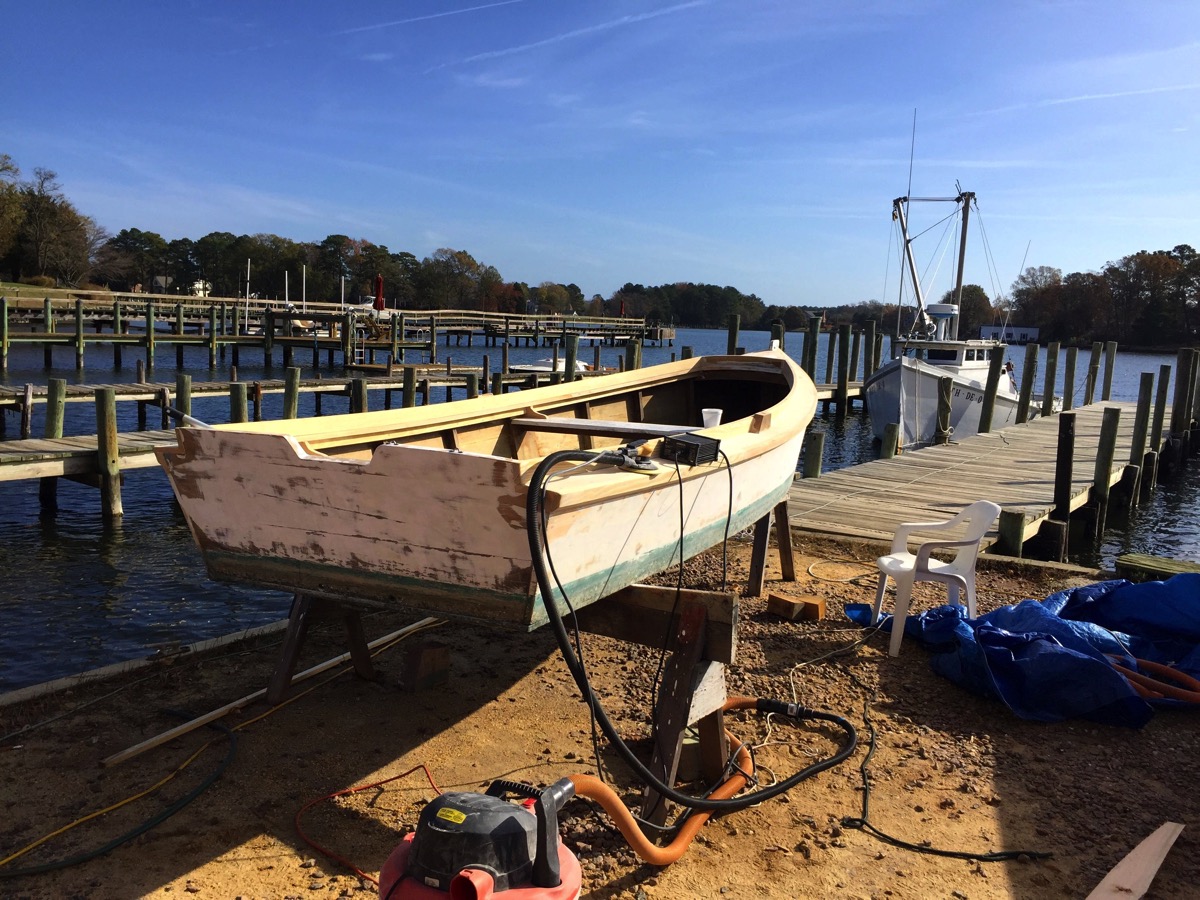
The Butler skiff has been over at Reedville Marine Railway getting some repair work done and is now complete. It is up to me to finish the job. That requires sanding and painting which is right up my alley.

There was a good bit of new raw wood that needed to be dealt with. A hour of sanding with 80-grit paper on my Mirka 6” sander smoothed out the finish enough for paint. Another hour of sanding the paint off the hull prior to putting on new paint completed the effort.

After scrapping off the barnacles below the waterline I slapped on a sheet of 80-grit Stikit on the Porter-Cable DA and readied the sides for some bottom paint.

I quickly painted the new woodwork and sanded hull with a coat of white primer. Simple job with simple tools; a bristle brush and a gallon can of cheap white paint. I like the simplicity of working on “working” boats in a working fishing town. The watermen don’t get to tied up in the perfect finish using the top-of-the-line paint.

Work-boats. No fiberglass in sight.

IMG 5633

Primer coat on and ready for finish paint.

IMG 5640

Tuesday’s work was completed but scheduled meetings in Richmond required missing Wednesday’s great weather to apply the final paint. With rainy weather forecast for Thursday I figured on working on “Ronin” in the shed and finishing up the skiff this coming Friday.


Wednesday, November 11, 2015

Tools for removing stuff.

There’s a fairly long running thread in the C&C email list that I fanatically follow. It concerns the travails of removing and fixing/replacing the fixed ports of some of the new models of C&C’s. I thought that I’d put up a quick post to address some of the questions that others had and to show some tools that posters on the list had recommended.

I knew early on in the ownership of our boat that cleaning up the old Plexus would be a significant effort. I had pulled and replaced to original ports 15 years ago and just used silicone sealant between the new ports and the old, hard Plexus.

Not ideal but worked okay for the subsequent years.

As part of the deck repainting project, I decided to do it correctly this time around.

So, as a response to some the listers who are getting into this project and to answer some questions about what tools to use to remove the old Plexus I thought I’d post a few photos of the tools that I used.

3” Angle grinder.

IMG 5221

This tool is brutal but effective. It takes a careful hand to keep from really making a mess of the exterior gelcoat but it can be done. This removed large quantities of Plexus.

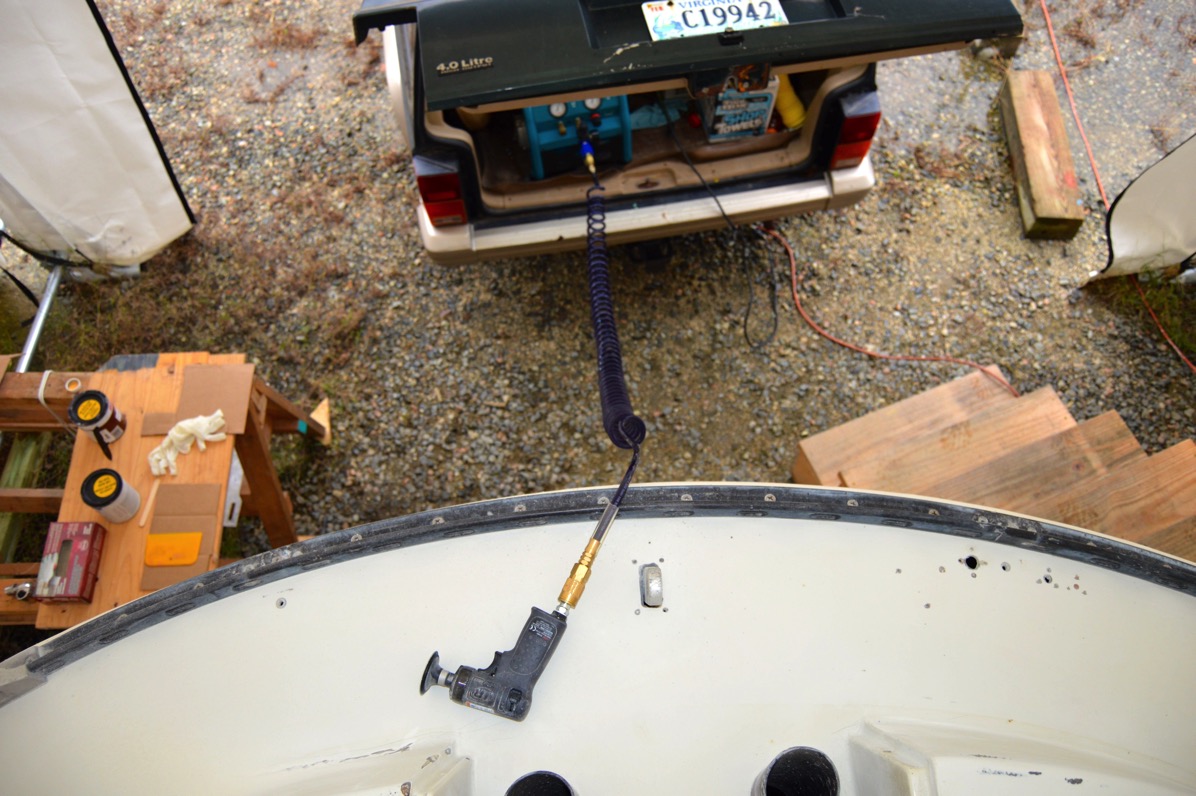
Ingersoll-Rand 2”/3” high speed pneumatic sander.

DSC 0024

This tool will remove a large amount of material also but it is much, much more delicate.

An air compressor is required for this tool so the overall investment is high. The tool itself is not very expensive and I bought a bag of 50 2” 80-grit sanding disks for cheap money. Like all sanding projects I buy lots of sandpaper and the minute it is no longer pushing dust I pitch it and slap on another. It’s cheaper than my time.

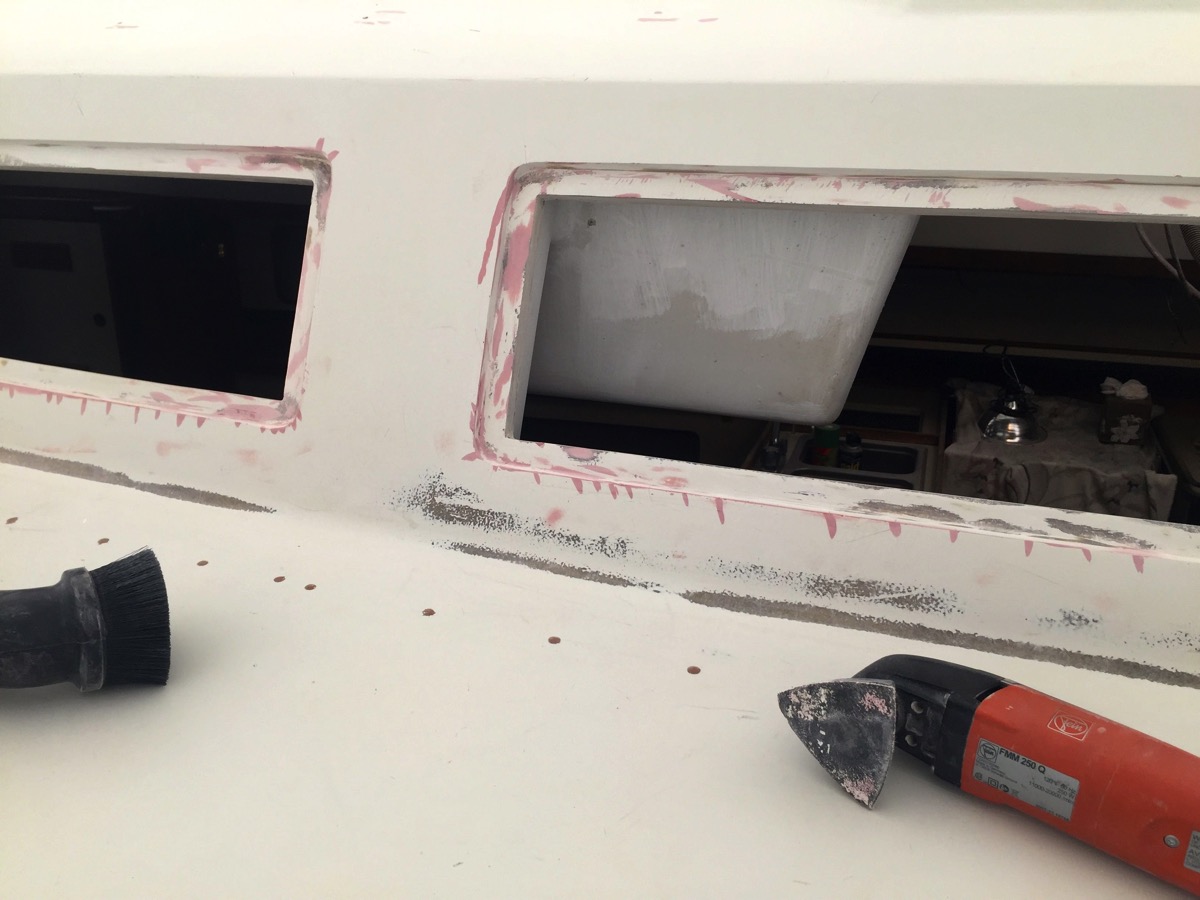
Fein Multimaster.

IMG 5577

One of my absolute favorite tools. I bought this before the patent expired and before other tool makers were allowed to produce oscillating tools. Were I do buy another I’d still buy the (much) more expensive Fein. The quality is leagues ahead of the new tools. I used 40-grit paper initially and then graduated to 80-grit for the fine detail sanding of the corners and the final passes on the inside flats.

Last but not least, hand-sanding blocks.

IMG 5563

Don’t laugh but a small 3M soft hand block with 80-grit Stikit sandpaper does an amazing amount of material removal. And it has the benefit of allowing me to do some fairly fine and detailed sanding when necessary.

Sanding doesn’t always have to be a chore. Good tools make a big difference.